
Few components in your vehicle’s cooling system are as deceptively simple—and critically important—as the humble thermostat. About the size of a hockey puck, this unassuming device regulates coolant flow between your engine and radiator, ensuring your engine runs at its optimal temperature. Yet, when it fails—which it inevitably will over time—it can trigger a cascade of performance issues, from sluggish warm-ups to catastrophic overheating.
As an ASE-certified Master Technician with over 15 years in the shop trenches, I’ve diagnosed and repaired thousands of cooling system problems. And I can tell you this with confidence: thermostat failure is among the most common—and most misunderstood—causes of engine temperature anomalies. Many DIYers and even seasoned drivers chalk up overheating or poor heater performance to a “radiator issue” or “low coolant,” only to discover the real culprit is a $20 thermostat stuck open or closed.
In this comprehensive guide, we’ll break down everything you need to know about thermostat failure: how thermostats work, the telltale signs they’re failing, why they fail, how to diagnose the problem accurately, and—critically—how to replace one correctly the first time. Whether you’re a weekend wrencher planning your first thermostat swap or a curious car owner trying to understand that weird temperature gauge behavior, this article is your definitive resource.
The Engine Thermostat: Small Part, Big Job
Before we dive into failure modes, let’s understand what a thermostat actually does.
Modern internal combustion engines operate most efficiently within a narrow temperature range—typically between 195°F and 220°F (90°C–105°C), depending on the make and model. Too cold, and your engine burns more fuel, wears prematurely, and emits higher pollutants. Too hot, and you risk warped cylinder heads, blown head gaskets, or even seized pistons.
The thermostat sits in the coolant passage between the engine and the radiator. Its job is to restrict coolant flow to the radiator until the engine reaches its designed operating temperature. Once warm enough, the thermostat opens, allowing hot coolant to circulate through the radiator where it’s cooled before returning to the engine.
Most thermostats use a wax pellet housed in a sealed chamber. As coolant warms the pellet, the wax expands, pushing a piston that opens the valve. It’s a purely mechanical, fail-safe design—no electricity required—but like all mechanical parts, it wears out.
How Thermostats Fail: Open or Closed?
Thermostats fail in one of two primary ways:
- Stuck Closed: The valve never opens. Coolant can’t flow to the radiator, so heat builds up rapidly in the engine.
- Stuck Open: The valve never closes (or doesn’t close fully). Coolant constantly circulates through the radiator, preventing the engine from reaching optimal temperature.
Both failure modes cause serious drivability and reliability issues—but they manifest very differently.
Symptom #1: Engine Overheating (Thermostat Stuck Closed)
This is the classic sign of thermostat failure—and the most dangerous.
When the thermostat is stuck closed,coolant flow to the radiator is blocked. Even with a perfectly functioning water pump and radiator, heat has nowhere to go. The engine temperature climbs rapidly, often within minutes of driving.
Key indicators:
- Temperature gauge soaring into the red zone shortly after startup
- Steam or boiling coolant from the overflow tank
- Sudden loss of power or “limp mode” activation (on modern vehicles)
- Hot upper radiator hose but cold lower hose (a diagnostic clue we’ll explore later)
Left unchecked, this can warp cylinder heads, crack engine blocks, or blow head gaskets—repairs that cost thousands versus the $100–$200 a thermostat job typically runs.
Pro Tip:If your engine is overheating,do not keep driving. Pull over safely, shut off the engine, and let it cool. Towing is far cheaper than an engine rebuild.
For more on this critical issue, see our full breakdown of engine overheating causes.
Symptom #2: Engine Takes Forever to Warm Up (Thermostat Stuck Open)
Less dramatic than overheating—but just as problematic—is a thermostat that’s stuck open.
Here, coolant constantly flows through the radiator, even when the engine is cold. As a result, the engine never reaches its efficient operating temperature.
Key indicators:
- Temperature gauge barely moves off the “C” (cold) mark, even after 20+ minutes of highway driving
- Poor cabin heater performance (since the heater core relies on hot engine coolant)
- Increased fuel consumption (cold engines run rich)
- Rough idle or hesitation during warm-up
- Illuminated Check Engine Light with codes like P0128 (“Coolant Thermostat Performance”)
While not an emergency like overheating, chronic overcooling stresses engine components, increases emissions, and reduces fuel economy. Over time, it can even lead to sludge buildup in the oil due to moisture condensation.
Learn more about cooling anomalies in our guide to coolant system problems.
Symptom #3: Erratic Temperature Gauge Behavior
Sometimes, a failing thermostat doesn’t fully stick open or closed. Instead, it sticks intermittently—opening and closing erratically due to degraded wax pellets, corrosion, or debris in the valve seat.
This leads to:
- Temperature gauge that fluctuates wildly (e.g., normal → hot → normal → cold)
- Inconsistent heater output (hot air one minute, cold the next)
- Engine performance that varies with coolant temperature swings
This “limping” behavior is tricky to diagnose because it mimics other issues like a faulty coolant temperature sensor or air pockets in the system. But if other causes are ruled out, the thermostat is prime suspect.
Symptom #4: Coolant Leaks Around the Thermostat Housing
While not a direct symptom of internal failure, a leaking thermostat housing often accompanies or precedes thermostat issues.
Over time, the gasket or O-ring sealing the thermostat housing can harden, crack, or warp due to thermal cycling. Coolant may seep from the housing bolts or seams—especially when the engine is hot and system pressure is high.
Warning:Even a small leak can lead to low coolant levels, which in turn can cause overheating. Don’t ignore weeping coolant around the thermostat area.
Symptom #5: Poor Fuel Economy and Emissions
A stuck-open thermostat keeps the engine perpetually “cold” from the ECU’s perspective. The engine control unit responds by enriching the fuel mixture (adding more gasoline) to compensate for what it thinks is a cold start.
Result?
- 10–20% worse fuel economy
- Failed emissions tests (high hydrocarbons and carbon monoxide)
- Blackened spark plugs or fouled O2 sensors over time
If your gas mileage has inexplicably dropped and the engine never seems to warm up, look past the fuel system—and check that thermostat.
Why Do Thermostats Fail? Common Causes
Understandingwhythermostats fail helps prevent repeat issues:
- Age and Mileage: The wax pellet degrades over time. Most thermostats last 60,000–100,000 miles, but harsh driving conditions can shorten that.
- Coolant Contamination: Old, acidic coolant corrodes the thermostat housing and valve, causing it to stick.
- Improper Coolant Mix: Using straight water or incorrect coolant types accelerates corrosion.
- Manufacturing Defects: Rare, but possible—especially with ultra-cheap aftermarket parts.
- Thermal Shock: Rapid temperature changes (e.g., cold starts followed by hard driving) stress the wax mechanism.
Pro Advice:Always replace the thermostat when doing major cooling system work (e.g.,water pump replacement). It’s cheap insurance.
Diagnosing Thermostat Failure: Beyond the Guesswork
Many DIYers jump straight to replacement—but proper diagnosis saves time and money. Here’s how to confirm a stuck thermostat:
🔧 Test #1: The Radiator Hose Check (Cold Engine)
- Start with a cold engine (overnight cool-down ideal).
- Start the engine and let it idle.
- Feel the upper radiator hose every 30 seconds.
What to expect:
- For the first 3–5 minutes, the hose should stay cool or slightly warm(thermostat closed).
- Once the engine nears operating temp (~195°F), the hose should suddenly get hot as the thermostat opens.
If the hose stays cold→ thermostat may be stuck closed.
If the hose warms immediately→ thermostat may be stuck open.
⚠️ Warning: Only touch hoses when the engine is cold or warming. Never open a hot radiator cap!
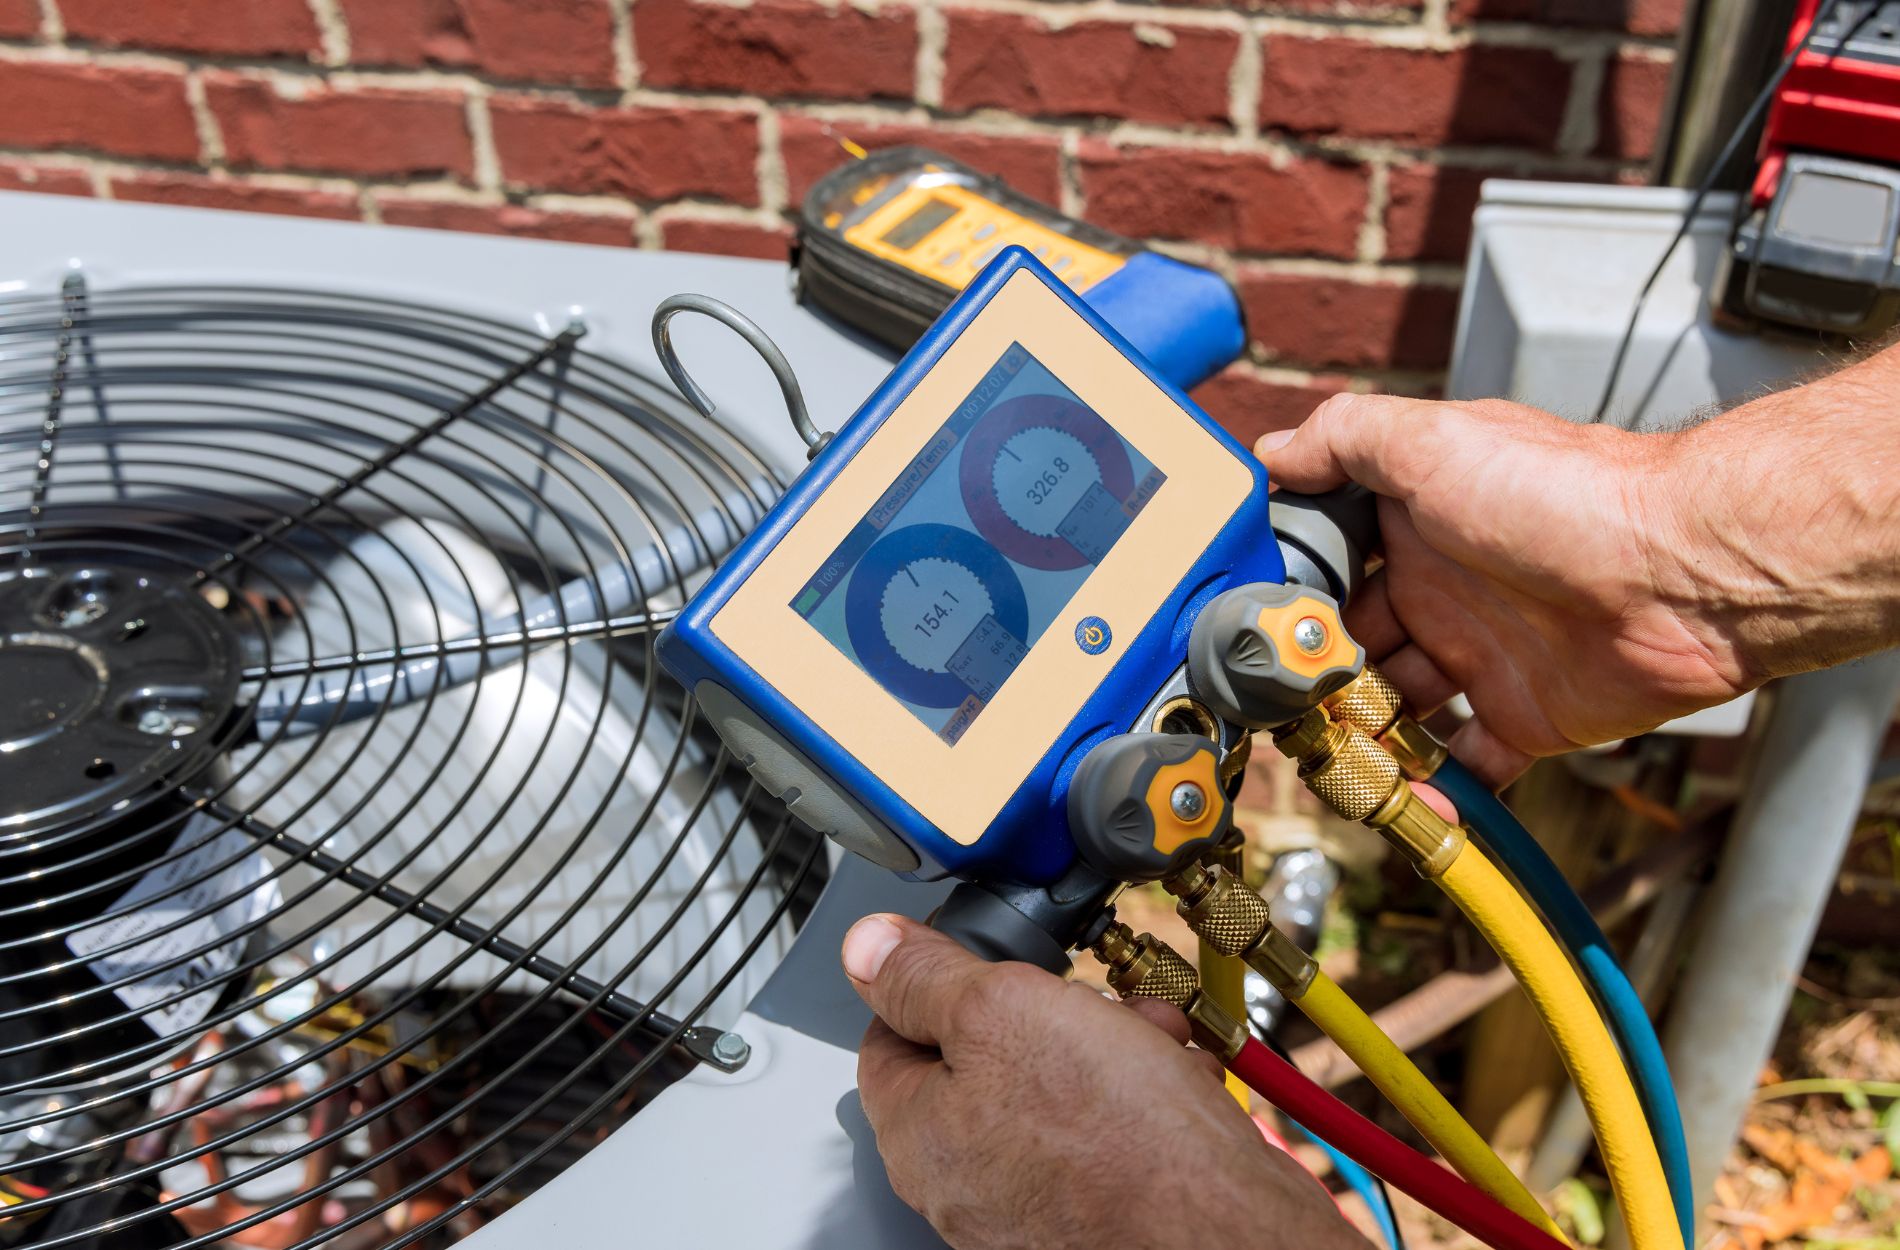
🔧 Test #2: Infrared Temperature Gun
Use an IR thermometer to check:
- Engine block temp near thermostat housing
- Upper radiator hose temp
- Lower radiator hose temp
A stuck-closed thermostat shows a large temp difference (e.g., 220°F at engine, 120°F at radiator). A stuck-open shows minimal difference even when cold.
🔧 Test #3: Scan Tool Data
Modern vehicles report engine coolant temperature (ECT)via OBD2. Monitor live data as the engine warms:
- A healthy engine should reach ~195°F within 5–10 minutes of driving.
- If ECT stays below 160°F after highway driving → stuck open.
- If ECT spikes rapidly past 230°F → stuck closed.
For a full diagnostic workflow, including interpreting live data and performing a visual inspection, see our detailed guide on bad thermostat symptoms, thermostat replacement, stuck thermostat diagnosis.
Thermostat Replacement: A Step-by-Step Guide for DIYers
Replacing a thermostat is a moderate DIY job—but only if done correctly. Here’s how to do it right.
Note:Procedures vary by vehicle. Always consult a repair manual for your specific make/model.
⚙️ Tools & Parts Needed:
- New thermostat (OEM or high-quality aftermarket—never cheap out)
- New gasket or O-ring (often included with thermostat)
- Socket/ratchet set
- Drain pan
- Funnel
- Coolant (correct type and mix for your vehicle)
- Torque wrench (recommended)
- RTV sealant (if required by your vehicle)
Step 1: Drain the Coolant
- Park on level ground, engine completely cold.
- Place drain pan under radiator or engine block drain plug.
- Open radiator petcock or remove lower radiator hose to drain coolant below thermostat level.
- Never pour old coolant down the drain!Recycle it properly.
Step 2: Remove the Thermostat Housing
- Locate the thermostat (usually near the top radiator hose connection on the engine).
- Disconnect hoses and unbolt the housing.
- Note orientation of the old thermostat—install the new one the same way! (Spring usually faces the engine.)
Step 3: Clean and Inspect
- Remove old gasket material thoroughly.
- Inspect housing for cracks, corrosion, or warping.
- Flush any debris from the coolant passages.
Step 4: Install the New Thermostat
- Place new gasket or apply RTV if required.
- Insert thermostat in correct orientation.
- Bolt housing back—do not overtighten. Use a torque wrench if specs are available (typically 12–18 ft-lbs).
Step 5: Refill and Bleed the System
- Reconnect hoses.
- Refill radiator with correct coolant mixture (usually 50/50 antifreeze/distilled water).
- Crucial:Bleed air from the system! Many modern engines trap air in the cylinder head, causing hot spots and false overheating. Follow your vehicle’s specific bleeding procedure (often involves running the engine with the radiator cap off while revving to 2,500 RPM until bubbles stop).
Step 6: Test Drive and Verify
- Start engine and monitor temperature.
- Check for leaks.
- Confirm heater output is hot.
- Take a 15-minute drive and verify stable temperature.
Common DIY Mistakes to Avoid:
- Installing thermostat upside down
- Reusing old gaskets
- Not bleeding air from the system
- Using wrong coolant type
- Overtightening housing bolts (cracks aluminum!)
OEM vs. Aftermarket Thermostats: What’s Best?
Not all thermostats are created equal.
- OEM (Original Equipment Manufacturer): Matches factory specs exactly. Best reliability, but pricier.
- Premium Aftermarket (e.g., Gates, Stant, Mahle): Often equal to OEM. Look for thermostats with exact temperature rating(e.g., 195°F—not “high performance” unless your build requires it).
- Cheap Auto Parts Store Brands: Avoid. Inconsistent opening temps, poor wax quality, short lifespan.
Never install a “high-flow” or “lower temp” thermostat unless you’re building a performance engine. Lowering your engine’s operating temperature can hurt efficiency, increase wear, and trigger check engine lights.
When to Suspect Other Issues (Not the Thermostat)
Before replacing the thermostat, rule out these look-alike problems:
- Faulty coolant temperature sensor: Causes false gauge readings but won’t cause actual overheating.
- Clogged radiator: Restricts coolant flow, mimicking a stuck-closed thermostat.
- Failing water pump: Impeller may erode, reducing circulation.
- Blown head gasket: Causes overheatingandcoolant loss, but usually with white exhaust smoke or oil contamination.
If your thermostat checks out, explore our deep dive into coolant system problems for next steps.
Final Thoughts: Don’t Ignore the Little Guys
The thermostat is a small, inexpensive part—but its role in engine health is massive. Whether it’s stuck open (causing overcooling, poor mileage, and weak heat) or stuck closed (triggering dangerous overheating),thermostat failure demands prompt attention.
For DIYers: This is a rewarding repair that builds fundamental cooling system knowledge. Just follow proper procedures, use quality parts, and always bleed the system.
For car owners: If you notice any of the symptoms above—especially erratic temperature behavior or slow warm-ups—don’t wait. A $150 thermostat job today could save you a $2,500 head gasket repair tomorrow.
Stay cool, drive smart, and remember: in the world of automotive repair, the smallest parts often carry the heaviest load.