It was a Tuesday morning in February when a 2010 Audi A4 rolled into my bay on a flatbed. The owner—a software engineer who’d bought it used six months earlier—stood there looking like someone just told him his dog died. “It just stopped running on the highway,” he said. I popped the hood, pulled the timing cover, and there it was: the timing belt had shredded into about thirty pieces of rubber confetti. The interference engine had turned pistons into valves, valves into shrapnel. $4,500 in repairs because the previous owner skipped a $900 timing belt service.
Understanding German Timing Systems: Belts vs. Chains
Let me clear up the biggest misconception right now: not all German cars use timing belts. BMW went almost exclusively to timing chains in the early 2000s, Mercedes followed suit on most models, while Volkswagen and Audi stuck with belts on many engines well into the 2010s. This matters because belts and chains fail differently, cost different amounts, and need different service schedules.
The VW/Audi Timing Belt Reality
Volkswagen and Audi share engines across their lineup—that’s the beauty and curse of VAG (Volkswagen Auto Group) engineering. The 2.0T FSI and TSI engines that powered millions of Jettas, Golfs, Passats, and A4s from 2005-2014? Timing belts. The older 1.8T from the late ’90s and early 2000s? Timing belt. Even some newer models like the 2.0 TDI diesel—still a timing belt.
The volkswagen timing belt interval is typically 100,000 miles or 10 years, whichever comes first. But here’s what VW doesn’t advertise loudly: that 10-year part. I’ve seen 2008 GTIs with 65,000 miles come in with belts that are cracking and glazed because they’re 12 years old. Time kills rubber just as effectively as mileage.
Audi’s Timing Belt Engines
The audi timing belt situation mirrors VW because they’re the same engines with fancier badges. The 2.0T in an Audi A4 is mechanically identical to the one in a VW GTI. Same belt, same interval, same catastrophic failure mode if you ignore it.
Where Audi gets interesting is with their V6 and V8 engines. The 3.2L V6 used in mid-2000s A6s and Q7s? Timing chains on both sides. The 4.2L V8 in the S4 and S6? Also chains. But those earlier 2.7T and 2.8L V6 engines from the late ’90s and early 2000s had belts, and they were a nightmare to replace—eight hours of labor if everything went smoothly.
BMW: The Chain Gang
BMW made the switch to timing chains across their lineup starting in the early 2000s, and they marketed it as “lifetime” maintenance-free. I’ll tell you what that really means: the chain lasts the lifetime of the original owner’s lease, then becomes the next guy’s problem.
The infamous bmw timing chain issues plague the N20, N26, and N47 engines. These are the 2.0L four-cylinders in 328i, X1, X3, and 5-Series models from 2012-2015. The chain guides are made of plastic that becomes brittle, and when they fail, the chain slaps around like a drunk drummer. I’ve diagnosed dozens of these just by the distinctive rattling at cold start.
Replacing a BMW timing chain isn’t a Saturday afternoon DIY job. It’s 10-15 hours of labor, requires removing the front of the engine, and costs $2,500-$4,000 at an independent shop. At the dealer? Add another $1,500. For more details on specific BMW chain problems, check out our guide on [BMW timing chain issues](bmw-timing-chain-problems).
Mercedes-Benz: Mostly Chains, Some Surprises
Mercedes went the chain route on most engines, but the mercedes timing belt still exists on some models. The OM642 3.0L V6 diesel used in ML, GL, E-Class, and Sprinter vans from 2007-2016? That’s a timing chain setup. The M272 and M273 gasoline V6 and V8 engines? Also chains.
But here’s the curveball: some of those chain-driven Mercedes engines have balance shaft gears driven by belts, or oil pumps driven by belts inside the engine. I’ve seen the M272 V6 (used in E350, ML350, R350 from 2006-2011) lunch itself because the balance shaft gears wore out and sent metal shavings through the oil system. Mercedes issued a service bulletin (TSB 2009-P-051) about this, but most owners have never heard of it.
Replacement Intervals: What the Manual Says vs. What Actually Works
Let’s talk real numbers here. The service manuals give you intervals, but they’re based on ideal conditions that don’t exist in the real world. Your daily driver in Phoenix summer heat? That’s not ideal. Your winter commuter car in Minnesota that makes 15-minute trips? Also not ideal.
VW/Audi Timing Belt Intervals
| Engine | Models | Official Interval | My Recommendation |
|---|---|---|---|
| 2.0T FSI/TSI | A4, A5, GTI, Jetta, Passat (2005-2014) | 100k miles / 10 years | 90k miles / 8 years |
| 1.8T | Jetta, Golf, A4, Passat (1998-2005) | 105k miles | 90k miles / 8 years |
| 2.0 TDI | Jetta TDI, Golf TDI, Passat TDI (2009-2015) | 120k miles / 10 years | 100k miles / 8 years |
| 2.8L VR6 | GTI, Jetta, Passat (1999-2005) | 105k miles | 90k miles / 7 years |
Why do I recommend earlier intervals? Because I’m the guy who has to tell customers their engine is destroyed. The rubber compound in timing belts degrades with heat cycles and ozone exposure. A belt that’s been through eight summers in Texas is not the same as one that’s seen three years in Seattle.
BMW Chain Service Reality
BMW says their chains are lifetime components. What they mean is there’s no scheduled replacement interval. What actually happens is chains stretch, guides wear, and tensioners fail. The N20/N26 engines need chain inspection at 60,000-80,000 miles. If you hear rattling, it’s already too late—you’re looking at replacement, not inspection.
The older N52 inline-six (2006-2015 328i, 528i, X3, X5) is more reliable, but I still see chain issues after 150,000 miles. The VANOS system on these engines wears out too, causing rough idle and check engine lights. That’s a $1,200-1,800 repair separate from the chain.
Mercedes Chain Maintenance
Mercedes timing chains generally last longer than BMW’s, but the supporting components don’t. The M272 V6 balance shaft issue I mentioned earlier? Mercedes later extended the warranty to 10 years/120,000 miles because it was such a widespread problem. If you own one of these (2006-2011 E350, ML350, R350), check if your VIN falls under the warranty extension.
The OM642 diesel V6 is actually pretty solid, but the chain tensioners can fail. I inspect these at every 60,000-mile service. A tensioner is $200-300 and takes two hours to replace. Much better than ignoring it and facing a $8,000 engine rebuild.
Signs Your Timing Belt or Chain Is Failing
Here’s how to tell if you’re running on borrowed time. These are the symptoms I ask customers about when they call for diagnostics.
Timing Belt Warning Signs
Squealing or whining noise from the front of the engine: This usually means the tensioner bearing is dying. The belt itself might be fine, but the tensioner keeps it tight. If the tensioner fails, the belt goes slack and jumps teeth or comes off entirely. I’ve seen this happen on VW 2.0Ts around 80,000 miles if they were running in dusty conditions.
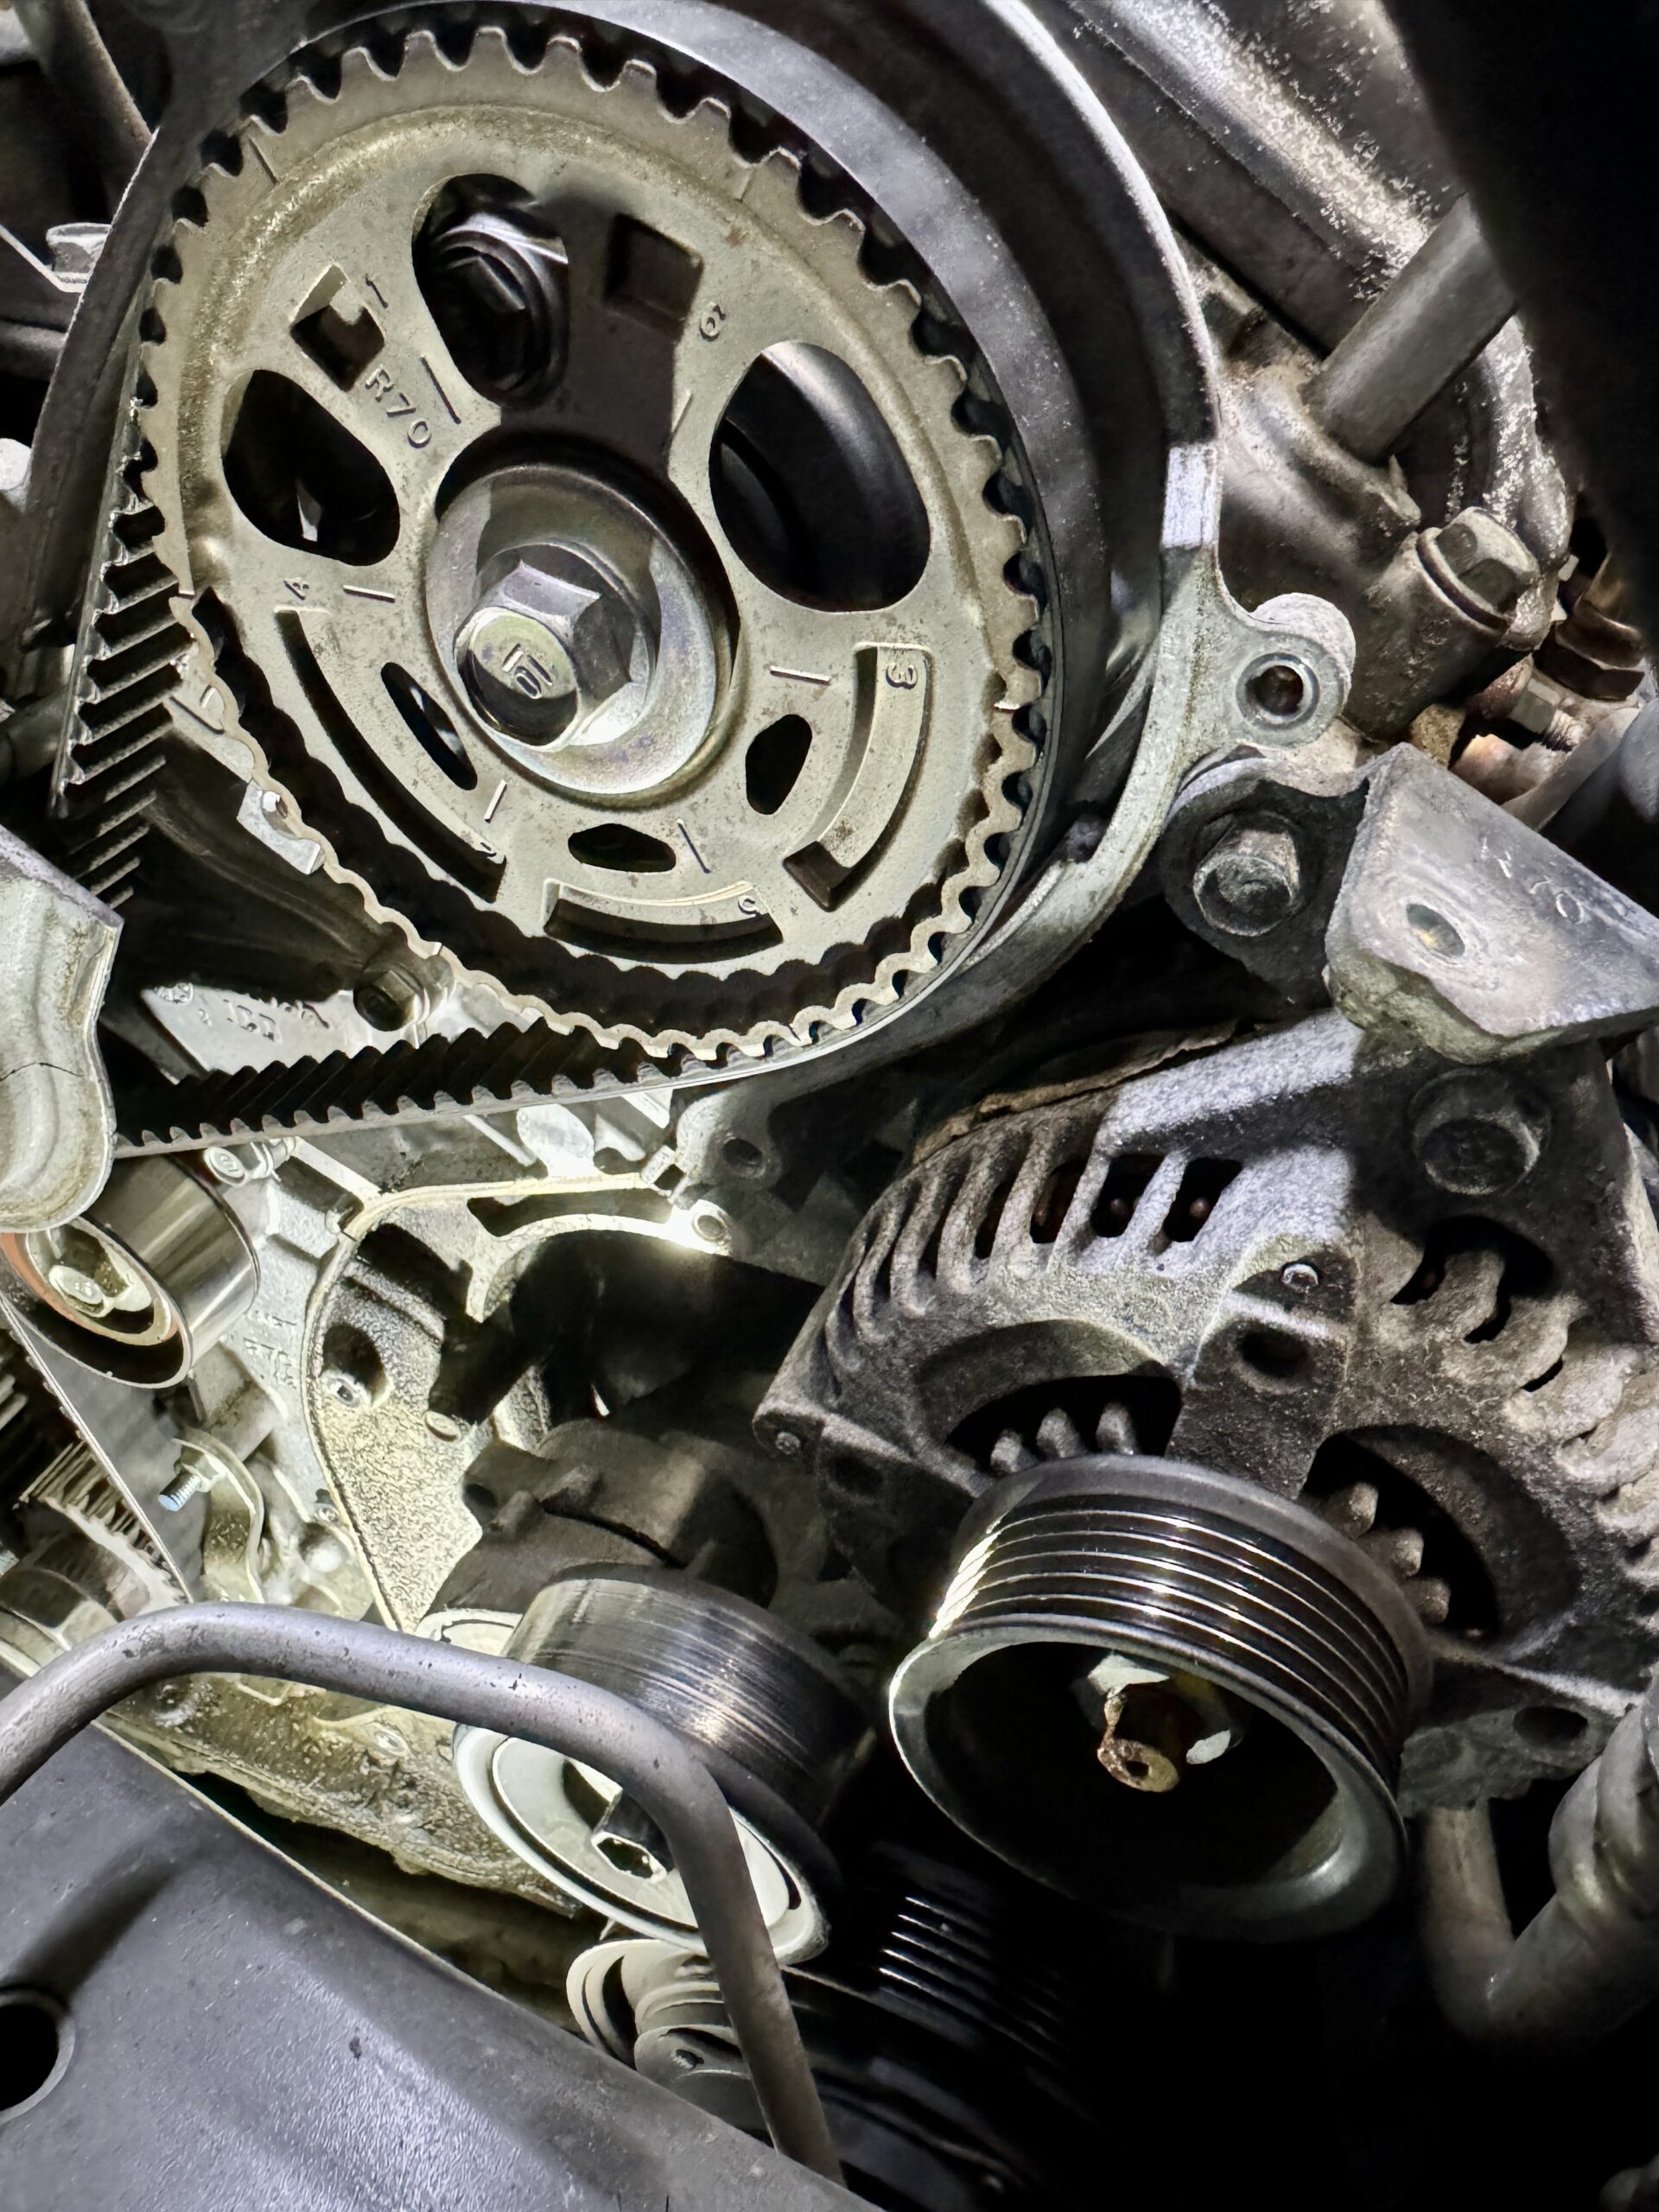
Visible cracks in the belt: If you can see the timing belt through an inspection port or by removing the upper cover, look at the teeth side. Cracks that run perpendicular to the belt length are normal aging. Cracks parallel to the length, or chunks missing from teeth—that’s critical. Replace immediately.
Engine misfires or rough running: If a timing belt has jumped one or two teeth, the camshaft timing is off. You’ll get misfires, poor power, and often a check engine light with cam/crank correlation codes (P0016, P0017, P0018). Don’t drive it—jumping teeth is the prelude to complete failure.
Oil leaks near the timing cover: This isn’t directly a belt problem, but oil contamination kills belts fast. The front crankshaft seal and camshaft seals are right there. If oil is seeping onto the belt, it swells the rubber and causes slipping. Always fix oil leaks during timing belt service.
Timing Chain Failure Symptoms
Rattling on cold starts (first 2-3 seconds): This is the classic BMW N20 death rattle. The chain is loose because the guides have worn or broken. Once you hear this, you have weeks to maybe a few months before catastrophic failure. I’ve literally had customers ignore this warning, then call me from the side of the highway three months later.
Check engine light with timing codes: Modern cars monitor cam and crank timing correlation constantly. If the chain has stretched enough to throw timing off, you’ll get codes. P0016 through P0019 are cam/crank correlation codes. These mean the chain has stretched or jumped teeth.
Reduced power and poor fuel economy: Stretched chains retard the cam timing, which kills performance. Your turbo VW or Audi will feel sluggish. Your BMW will struggle to hit the power band. And you’ll be filling up more often because the engine is working harder to make the same power.
Metallic debris in the oil: During oil changes, I always check the drained oil for metal particles. Timing chain wear generates distinctive shiny metallic flakes. Chain guide material looks like bronze-colored plastic bits. If I see either in your oil, we’re tearing into the timing system.
DIY Timing Belt Replacement: What You’re Getting Into
I’ll be straight with you: replacing a timing belt on a German car isn’t your first DIY job. If you’ve only ever changed oil and swapped brake pads, this is not the next logical step. But if you’re comfortable with engine work, have the right tools, and can follow procedures exactly, it’s doable on many models.
Skill Level and Time Requirements
For a 2.0T VW or Audi (longitudinal front-wheel drive layout), you’re looking at 6-8 hours for your first time. I can do one in four hours, but I’ve done hundreds. The transverse-mounted engines in Jettas and Golfs are actually easier—maybe 5-6 hours.
Audi V6 models with belts (like the older 2.7T)? Don’t even think about it unless you’re an experienced tech. That’s a 10-12 hour job that requires removing the entire front end of the car. We call it the “front-end-off” procedure, and it’s exactly what it sounds like.
BMW timing chains? Unless you have professional-level tools and experience, pay someone. The special tools alone cost $500-800, and you need to drop the oil pan, remove the valve cover, and set precise timing with specialized pins and gauges.
Essential Tools for VW/Audi Belt Replacement
Must-Have Tools:
- Timing belt lock tools (camshaft and crankshaft locks): These are engine-specific. For a 2.0T FSI/TSI, you need VAG tool numbers T10050, T10051, and T10060. OEM versions cost $150-200, but you can get Amazon aftermarket sets for $60-80. Get the good ones—cheap ones break and round off.
- Torque wrench (10-150 ft-lbs range): Non-negotiable. The crankshaft pulley bolt is torqued to 90 ft-lbs plus 90 degrees additional rotation (torque-to-yield method). Over-torque it and you’ll stretch the bolt. Under-torque it and the pulley will work loose.
- Socket set (10mm-19mm): Most bolts are 13mm, 16mm, or 18mm. The crank pulley bolt is typically 18mm.
- Long breaker bar (18-inch minimum): That crank pulley bolt is tightened to 300+ ft-lbs from the factory. You’ll need leverage and probably an impact wrench to get it off.
- Harmonic balancer holder: You need to hold the crankshaft while removing and installing the pulley bolt. A pulley holder or strap wrench works.
- Jack and jack stands (minimum 2-ton capacity): You’ll need the car elevated safely for access underneath.
Highly Recommended:
- Impact wrench (1/2-inch drive, minimum 300 ft-lbs): Makes the crank pulley bolt removal much easier. I use a Milwaukee M18 Fuel that does 1,000 ft-lbs—absolute game changer.
- Automotive stethoscope: For diagnosing bearing noise before and after the job.
- Valve spring compressor: If you’re doing cams or valves while you’re in there (which you might need to if the belt broke).
Parts You’ll Need:
- Timing belt kit: This includes the belt, tensioner, and idler pulleys. OEM kits (INA or Continental branded for VW) run $180-250. Aftermarket kits are $120-180. I use Gates or Dayco aftermarket—they’re fine.
- Water pump: $80-150. Replace it. Just do it. Learn from other people’s mistakes.
- Coolant (1.5 gallons): VW spec G12 or G13 coolant, not universal green stuff. About $40.
- Engine oil and filter (if applicable): Some procedures require draining oil for pan clearance.
- Front crankshaft seal: $8-15. Replace this while you’re in there—it’s a $2 part that’s a pain to do separately later.
- Camshaft seal(s): $10-15 each. Same reasoning as the crank seal.
DIY Cost Breakdown (2.0T VW/Audi Example):
- Timing belt kit: $180
- Water pump: $120
- Coolant: $40
- Crankshaft seal: $12
- Two camshaft seals: $24
- Serpentine belt (replace while there): $25
- Timing lock tools (one-time purchase): $75
- Total DIY Cost: $476 (plus tools if needed)
Shop Cost for Same Job: $1,200-1,800
Your Savings: $724-1,324 (if you already have basic tools)
Step-by-Step Procedure (VW/Audi 2.0T FSI/TSI)
I’m going to walk you through the general procedure. This is based on a 2008-2014 VW GTI or Audi A4 with the longitudinal 2.0T. Always cross-reference with a factory service manual for your specific model year.
When to Skip DIY and Call a Professional
Look, I’m all for DIY work, but some jobs are beyond the scope of home mechanics. Here’s when you should honestly pay someone who does this