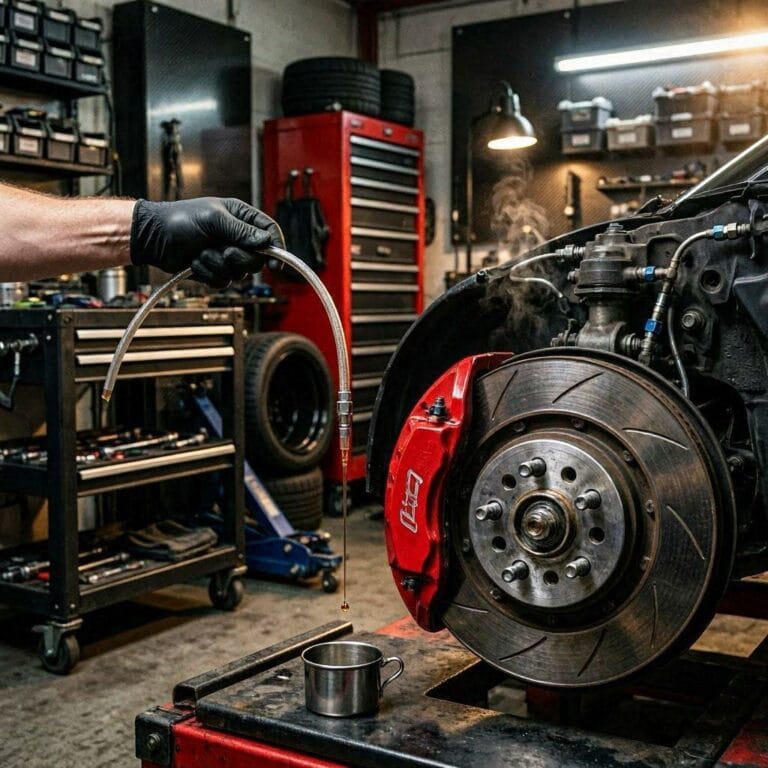
Brake Caliper Piston Seal Kit: Rebuild Procedure
Your brakes pull to one side or feel spongy after a recent pad change. A worn caliper piston seal often causes these issues by letting fluid leak or letting pistons stick.
Rebuilding with a caliper piston seal kit fixes the problem for a fraction of replacement cost.
This guide walks you through the full procedure safely.
What Causes Caliper Piston Seals to Fail?
Caliper piston seals degrade from heat, age, and contaminated brake fluid. Rubber hardens, cracks, or swells. This leads to leaks, sticky pistons, and uneven braking.
Most seals last 50,000 to 80,000 miles. Inspect them during every brake job.
Insider tip: Black sludge around the piston means the caliper piston seal failed. Act fast to protect your rotors.
Top Picks


Should You Rebuild or Replace the Caliper?
Rebuild your caliper when the body and pistons look good. A caliper piston seal kit costs $15-$60 per caliper. Full replacement runs $100-$400+ per side including labor.
Rebuilding saves money and works great on clean bores. Replace the whole unit if you see deep pitting, cracks, or severe corrosion.
Rebuild vs Replace Cost Comparison (Per Caliper, 2026 Estimates)
Rebuild Kit: $15-$60 + 1-2 hours labor
New Caliper: $80-$300+
Reman Caliper: $50-$150 (warranty included)
Tools and Parts Needed for Caliper Rebuild
Gather these items before starting:
- Caliper piston seal kit (seals, dust boots, sometimes pistons)
- Brake cleaner (2 cans minimum)
- DOT 3 or DOT 4 brake fluid (for lubrication)
- Compressed air with blow gun
- Caliper piston tool or large channel locks with rags
- Pick tool or plastic dental pick
- Torque wrench (up to 100 ft-lbs)
- Flare nut wrenches (7/16″, 1/2″, etc.)
- Jack, stands, wheel chocks
- Rags, drip tray, safety glasses
Insider tip: Buy OEM-spec kits for your exact vehicle. Cheap universal kits often fail quickly.
How to Remove the Brake Caliper Safely
Park on level ground and chock the wheels. Loosen lug nuts, jack up the vehicle, and support with stands.
Remove the wheel. Compress the piston with a C-clamp or piston tool. Disconnect the brake line using a flare nut wrench. Plug the line to prevent fluid loss.
Unbolt the caliper from the bracket (20-40 ft-lbs typical for guide pins).
Safety note: Never hang the caliper by the brake hose. Use a wire to support it.
How to Disassemble and Remove Old Caliper Piston Seals
Place the caliper on a clean bench. Remove the dust boot with a screwdriver.
Use compressed air to push out the piston. Place a rag or wood block to catch it safely. Pistons can shoot out with high force.
Pry out the old caliper piston seal carefully with a pick. Avoid scratching the bore. Clean everything thoroughly with brake cleaner.
Inspect the piston and bore for scratches or pitting. Light polishing with fine Scotch-Brite works if needed. Replace damaged parts.
Insider tip: Take photos of the assembly before disassembly. This helps during reassembly.
How to Install New Caliper Piston Seal and Boot
Lubricate the new caliper piston seal generously with clean brake fluid. Install it into the groove square and even. Many seals are square-cut or slightly tapered—follow kit instructions for orientation (wider side usually faces outward for proper retraction).
Slide the new dust boot onto the piston first if possible. Lubricate the piston heavily. Push it in squarely by hand, then use the tool to seat it fully.
Seat the boot lip into the caliper groove.
Step-by-Step Caliper Reassembly and Installation
Reinstall the caliper on the bracket. Torque guide pins to 20-40 ft-lbs and bracket bolts to 80-100 ft-lbs (check your vehicle specs).
Reconnect the brake line and torque to 10-15 ft-lbs. Bleed the brakes thoroughly.
Pump the pedal to seat the pads, then check for leaks.
Warning: Always bleed brakes after opening the system. Air causes soft pedal and poor stopping.
Brake Bleeding and Final Checks After Rebuild
Start bleeding from the farthest wheel: RR, LR, RF, LF. Use a two-person method or vacuum bleeder.
Top off the master cylinder with correct DOT fluid. Test the pedal feel. It should be firm.
Drive gently at first. Check for pulling or heat buildup. Listen for unusual noises.
Comparison: Single Piston vs Multi-Piston Calipers
| Aspect | Single Piston | Multi-Piston |
|---|---|---|
| Rebuild Difficulty | Easier | More seals to replace |
| Seal Kit Cost | $15-30 | $40-80 |
| Typical Torque | Lower | Higher on larger brackets |
| Common Use | Rear brakes, economy cars | Performance front brakes |
Multi-piston calipers need extra care aligning all pistons evenly.
4 FAQs About Caliper Piston Seal Kits
How long does a caliper rebuild take? Expect 1-2 hours per caliper for an experienced DIYer. First-timers should plan 3-4 hours including bleeding.
Can you rebuild calipers without removing them? Some in-situ methods exist but full removal gives better results and proper cleaning.
When should you replace pistons too? Replace pistons if they show scoring, corrosion, or pitting deeper than light surface marks.
Do you need special tools for caliper piston seal replacement? Basic hand tools work. A piston wind-back tool helps on rear calipers with parking brakes. Compressed air makes piston removal easy.
Conclusion
Rebuilding your brake calipers with a quality caliper piston seal kit restores like-new performance at low cost. Follow clean practices, use proper lubrication, and torque everything correctly.
Your brakes will feel firmer and stop more evenly. Always address sticky caliper issues promptly for safety.
Take your time on the first job. The skills you learn will save money on future repairs. Drive safe and enjoy confident braking.
You might also like: Sticky Brake Caliper Symptoms: Diagnosis Guide, Electronic Brake Force Distribution (EBD): Explained, ABS Sensor Cleaning: Remove Metal Shavings
Related: Rear Brake Caliper Piston Tool: Which Type Do You Actually Need?