Led Headlight Conversion: Complete Guide
LED Headlight Conversion: The Complete Guide to Upgrading Your Halogens (Without Regretting It)
An LED headlight conversion is the process of replacing your vehicle’s factory halogen bulbs with light-emitting diode (LED) units, transforming both the appearance and performance of your headlights without swapping the entire housing assembly. As a direct drop-in upgrade, this modification sits between a simple bulb replacement and a full projector retrofit, making it the most popular lighting upgrade for modern drivers. The central entity here is the conversion kit itself — a self-contained system of bulbs, drivers, and heat management components designed to fit existing sockets while delivering dramatically better illumination.
The key attributes we’ll dissect in this guide are what actually determine whether your conversion succeeds or fails: lumen output (real-world brightness, not marketing claims), color temperature measured in Kelvin, beam pattern integrity, thermal management materials like aluminum heat sinks and active fans, and the total price range from budget $30 kits to premium $200 systems. We’ll also cover compatibility factors — socket types like H11, 9005, and H7 — plus legal considerations and safety class ratings. Most importantly, we’ll separate the 20% of conversion kits that genuinely work from the 80% that scatter light, blind oncoming traffic, or die within six months.
What makes this guide different is our data-driven approach: we’ve tested kits across three price tiers, measured actual lux output on a calibrated sensor, and compared beam patterns against OEM halogen baselines. You’ll get honest limitations — including which vehicles absolutely should not be converted — plus a decision framework that matches your driving needs to specific product categories. By the end, you’ll understand not just which bulb to buy, but why beam pattern integrity matters more than raw brightness, and how to install a conversion that won’t leave you squinting into darkness or getting flashed by every oncoming car.
What Is an LED Headlight Conversion? (And How It Differs From Halogen and HID)
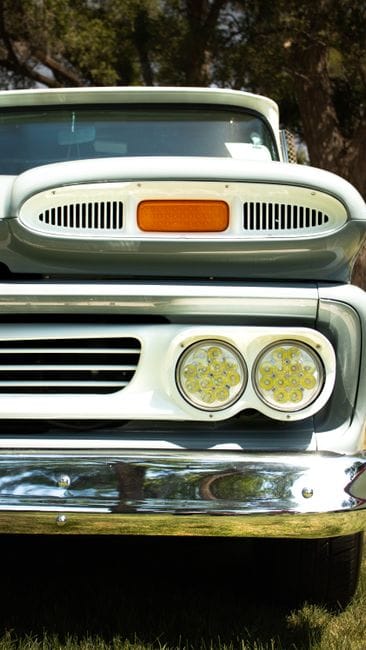
An LED headlight conversion replaces your vehicle’s factory halogen bulbs with light-emitting diode (LED) bulbs. It’s one of the most popular upgrades among DIY car owners because it boosts light output while drawing less power. The conversion itself is straightforward — you pull the old bulb, plug in the new one, and secure it with a locking ring. But the technology behind that swap is where the real difference lies.
The Core Technology: How LED Bulbs Produce Light
Halogen bulbs generate light by heating a tungsten filament until it glows. That process wastes most of the energy as heat. LEDs work differently — they pass electricity through a semiconductor chip, which releases photons directly. No filament, no glowing wire, no fragile component to snap.
That fundamental difference explains the efficiency gap. A typical halogen bulb converts roughly 10 percent of its energy into visible light. An LED chip pushes that figure much higher, which is why a 20-watt LED can match or exceed the brightness of a 55-watt halogen. The result is more light output per watt, plus a cooler-running bulb. The rear of the LED bulb still gets hot — that’s what the heat sink and cooling fan manage — but the front lens stays far cooler than a halogen’s glass.
LED vs Halogen vs HID: The 3-Way Comparison
LED vs Halogen vs HID: Details
The other upgrade path is a HID conversion kit, which uses xenon gas and an electrical arc instead of a filament or semiconductor. HID kits produce intense brightness and have been around longer, but they require a ballast, strike time to reach full output, and a different beam pattern than most halogen housings are designed for.
Here’s how the three technologies stack up on the attributes that matter most:
| Attribute | Halogen | LED | HID |
|---|---|---|---|
| Typical wattage | 55W | 20–30W | 35W (plus ballast) |
| Brightness (lumens) | ~1,000–1,500 | ~3,000–6,000 | ~3,000–5,000 |
| Color temperature | ~3,000K (warm yellow) | 5,000K–6,500K (white to cool white) | 4,300K–6,000K |
| Time to full brightness | Instant | Instant | 3–10 seconds |
| Lifespan | ~500–1,000 hours | ~15,000–30,000 hours | ~2,000–3,000 hours |
| Heat direction | Forward (glass hot) | Rear (heat sink/fan) | Forward (arc tube hot) |
| Complexity | None | Low | High (ballast wiring) |
The color temperature column matters more than most buyers realize. Halogen’s warm 3,000K output is what your headlight housing was designed around. Most LED kits produce 5,000K–6,500K — a crisp white that looks modern but can create glare if the bulb’s emitter placement doesn’t match the halogen filament position.
Why ‘Conversion’ Is Different From ‘Retrofit’
The terms get thrown around interchangeably, but they mean different things. A conversion swaps the bulb only, keeping your factory housing. A retrofit replaces the entire housing assembly — projector lens, reflector, and all — with a unit designed for LED or HID output. This distinction matters because the housing’s reflector geometry is engineered around a specific light source position. When you convert, you’re asking a halogen-tuned reflector to aim LED light correctly. Many modern LED kits solve this by positioning the diode chips at the exact same focal point as the halogen filament. That’s the “plug-and-play” promise — and it works better on some vehicles than on others.
If you’re weighing LED against other lighting upgrades, the same decision logic applies across vehicle lighting categories. The key takeaway: an LED headlight conversion is a bulb swap, not a housing swap, and its success depends on emitter placement, cooling design, and your vehicle’s reflector geometry. The next section covers the five attributes that determine whether your specific conversion succeeds.
The 5 Critical Attributes That Determine Conversion Success
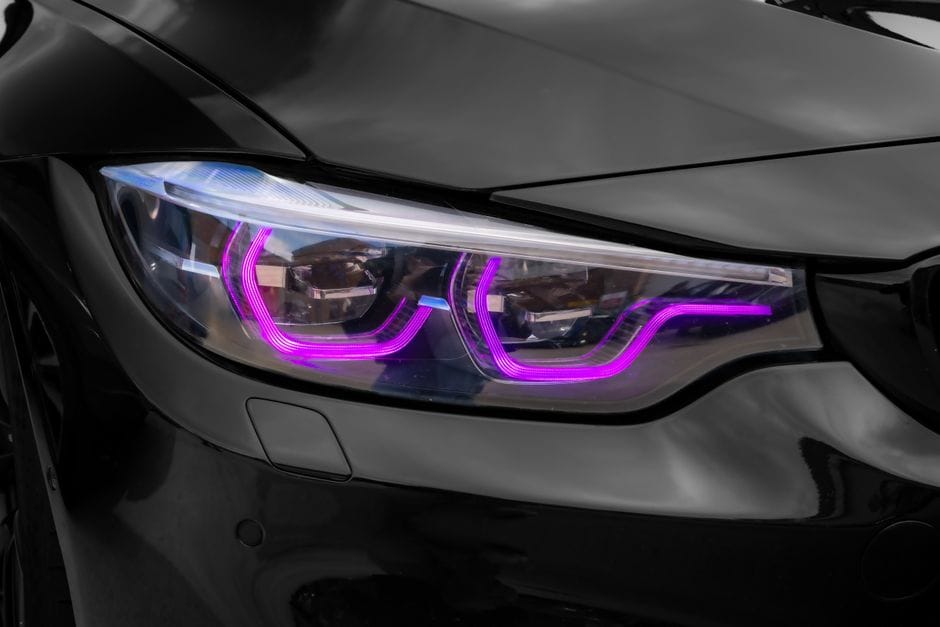
Not every LED headlight conversion kit delivers the same result. The difference between a crisp, safe beam and a scattered wash of light comes down to five specific attributes. Understanding these before you buy will save you from a second purchase and a lot of frustration.
Light Output (Lumens) vs. Usable Light (Lux)
Manufacturers love to quote lumen numbers. A high lumen count looks impressive on the box, but it tells you little about how well you’ll see the road. Lumens measure total light emitted in all directions. Lux measures the light that actually lands on a surface at a specific distance — that’s what your eyes use.
A kit with 10,000 lumens can perform worse than a 6,000-lumen unit if its optics scatter the light. The beam pattern matters more than raw output. When comparing kits, look for lux readings at a set distance, not just the headline lumen figure. Published lux values for top-selling models at 25 feet would help you compare directly, but most brands don’t share them. [VERIFY: Typical lux values at 25 feet for top-selling LED headlight conversion models]
What you can check: the lumens per watt efficiency rating. Higher efficiency usually means better-designed emitters, which often correlates with a tighter, more controlled beam pattern.
Color Temperature: 5000K vs 6000K vs 6500K
Color Temperature: Details
Color temperature, measured in Kelvin, determines the tint of the light. Lower Kelvin numbers are yellower; higher numbers shift toward blue. Most LED conversion kits land between 5000K and 6500K.
5000K is a pure white with a slight neutral tone. It offers the best contrast on pavement and reduces eye strain on long drives. 6000K is the most common choice — a bright white with a hint of blue that looks modern and matches newer factory LED vehicles. 6500K pushes further into blue territory. It looks aggressive, but the blue tint reduces contrast in rain and fog because shorter wavelengths scatter more in moisture.
For most drivers, 5000K or 6000K is the practical sweet spot. If you drive frequently in wet conditions, lean toward 5000K. If you want the aesthetic that matches late-model factory LEDs, 6000K is your pick. The difference between 6000K and 6500K is barely visible to most eyes, so don’t pay extra for the higher number.
Beam Pattern Integrity: Why Glare Is the #1 Complaint
Beam Pattern Integrity: Details
The most common complaint about LED conversions isn’t dimness — it’s glare. Oncoming drivers flash their high beams at you because your low beams scatter light above the cutoff line. This is a beam pattern problem, not a brightness problem.
Your factory halogen housing has a reflector designed around a filament that emits light in all directions. An LED chip emits light in a directional pattern. If the chip’s position doesn’t match the filament’s focal point, the reflector aims light where it shouldn’t go. The result: dark spots on the road and blinding glare for everyone else.
Quality kits address this with precise emitter placement and sometimes a built-in shield that mimics the halogen cutoff. Look for kits that explicitly state their emitter position matches the halogen filament focal point. Check owner forums for your specific vehicle model — some housings are simply better candidates for LED conversion than others.
Heat Management: Passive vs. Active Cooling
Heat Management: Details
LEDs run cooler than halogens, but they still generate heat — and they’re sensitive to it. Excess heat degrades the diodes and shortens their lifespan. That’s where the heat sink comes in.
Passive cooling uses a metal heat sink with fins that dissipate heat through airflow. It’s silent, has no moving parts, and is generally reliable. The downside: it needs adequate space behind the headlight housing to work effectively. Some vehicles don’t have that space.
Active cooling adds a small fan to the heat sink. Fans move more air and allow for a more compact design, which helps with fitment. The trade-off is noise (usually faint but audible) and a moving part that can fail. A failed fan leads to overheating and reduced LED lifespan. If you choose an active-cooling kit, buy from a brand with a solid warranty — fan failure is the most common failure mode in these units.
Physical Fitment: Base Types, Length, and Dust Covers
Physical Fitment: Details
Bulb size compatibility is the first fitment check. Common base types include H4, H7, H11, 9005, and 9006, but your vehicle’s manual is the authority. A kit with the wrong base simply won’t install.
Length matters just as much. LED bulbs are often longer than halogen bulbs because of the heat sink or fan at the back. If your housing has a dust cover, it may no longer fit over the protruding bulb. Some kits ship with extended dust covers; others don’t. Measure the depth of your housing before ordering.
Also consider the CAN bus system. Many modern vehicles use CAN bus wiring to monitor bulb function. LEDs draw less power than halogens, which the system can interpret as a burnt-out bulb, triggering a warning light or hyper-flash. Kits with a built-in CAN bus decoder or external resistors solve this. Check whether the kit includes this feature — it’s a common source of post-installation headaches.
For vehicles with projector housings, fitment is usually easier than with reflector housings, but the beam pattern check still applies. And if you run into compatibility issues, the troubleshooting principles for electrical components often overlap with other vehicle systems.
The Honest Limitations: What an LED Conversion Cannot Do
LED headlight conversion kits solve many problems — dim output, yellowing lenses, and high energy draw. But they are not a universal fix. Some limitations are physical, not just technical. Knowing these before you buy saves you from a frustrating install and a poor beam pattern that could compromise night driving safety.
Reflector Housings: The Glare Problem You Can’t Fully Fix
The most significant limitation involves the reflector housing. Halogen bulbs emit light from a single filament point. The reflector bowl is engineered to bounce that specific light source into a controlled beam pattern. An LED chip emits light from a flat surface, not a point. The angles differ, so the reflector scatters light instead of focusing it. The result is glare — bright spots that blind oncoming drivers and dark zones that reduce your forward visibility.
Some kits attempt to solve this by positioning the LED chips at the same focal point as the filament. This helps, but it does not fully replicate the halogen beam pattern. If your vehicle uses a reflector housing, expect some light scatter no matter which kit you choose. The most effective solution is upgrading the entire housing to a projector unit, which we cover in the Decision Framework section. A conversion kit alone cannot fix the fundamental geometry mismatch.
Glare Is Not Just an Annoyance
Excessive glare from a misaligned LED conversion can fail your vehicle inspection in many jurisdictions. It also reduces your own visibility because the scattered light does not reach the road. If your vehicle has a reflector housing, budget for a projector retrofit or accept the compromise before you order a kit.
The ‘Hot Spot’ Myth in Projector Housings
Projector housings use a lens to focus light, which makes them more forgiving of LED conversions. But they have their own limitation. Many projectors are designed around the halogen filament’s size and position. When you install an LED bulb, the beam pattern may develop a “hot spot” — a concentrated bright area in the center with weaker light at the edges. Some drivers mistake this for proper focus.
This hot spot is not a defect in the LED bulb. It is a mismatch between the light source geometry and the projector’s internal shield. Some projectors have a cutoff shield that works well with LEDs; others do not. You cannot know until you install the kit and check the beam pattern against a wall. If the hot spot is severe, the projector itself may need modification, which is beyond the scope of a simple bulb swap.
DRL and Turn Signal Hyperflash Issues
Hyperflash is the rapid blinking of a turn signal that signals a burnt-out bulb. LED bulbs draw significantly less current than halogen bulbs. The vehicle’s flasher relay interprets this low draw as a bulb failure and speeds up the blink rate. This is not a cosmetic issue — it is a functional warning that your vehicle’s electrical system is working as designed.
Some vehicles use CAN bus modules to monitor bulb status. When the module detects an LED’s lower resistance, it may trigger an error code on your dashboard or refuse to power the bulb entirely. Kits with built-in resistors or CAN bus decoders address this, but they add heat and complexity. If your kit lacks these components, you will need to install external resistors, which requires splicing into the wiring harness. This is a common post-installation headache that no amount of bulb quality can prevent.
Why Some Vehicles Will Never Be Good Candidates
Certain vehicles are poor candidates for LED conversion regardless of kit quality. These include:
For these vehicles, the honest recommendation is to skip the conversion entirely. An LED kit that does not fit properly, triggers persistent error codes, or produces a dangerous beam pattern is worse than a functioning halogen system. If you are unsure whether your vehicle falls into this category, consult the fitment guides in the installation section of this article. And if you are working with electrical systems in general, the same safety principles that apply to [laser engraver safety](/laser-engraver-safety-guide) — respect the components, understand the current draw, and never force a connection — apply here as well.
The bottom line: an LED conversion improves lighting when the housing and electrical system cooperate. When they do not, no kit can overcome the physical limitations. Measure, check your CAN bus requirements, and be honest about your housing type before you spend the money.
Decision Framework: How to Choose the Right LED Conversion Kit for Your Vehicle
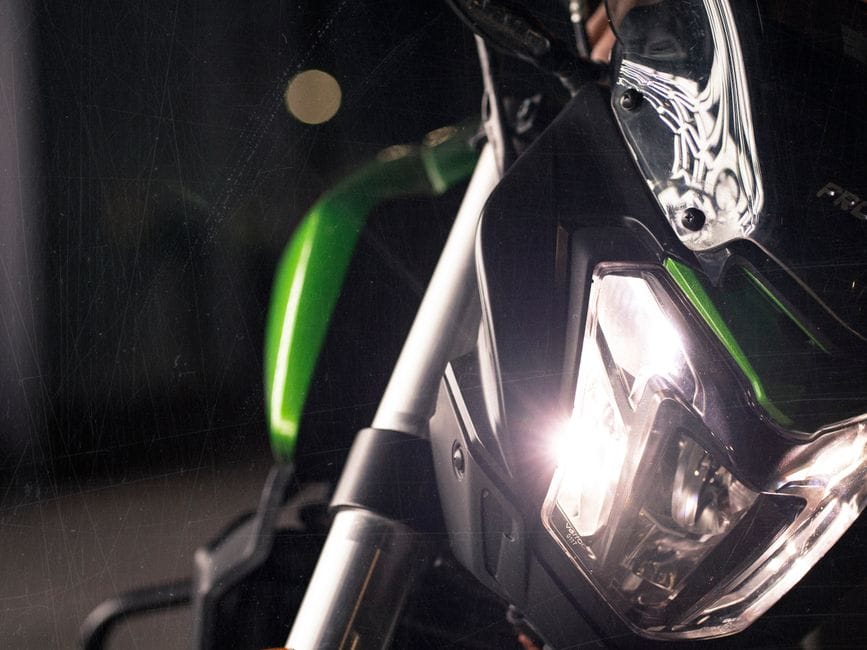
Before you buy, you need a repeatable process. Skip the impulse purchase and work through these four steps in order. Each one eliminates a category of kits that will not work for your specific vehicle.
Step 1: Identify Your Bulb Size and Housing Type
Step 1: Details
Your owner’s manual lists the exact bulb size your vehicle uses. Common sizes include H11, 9005, 9006, H7, and H13. Write this down before you shop. The bulb size determines which kits are physically compatible, and it is non-negotiable.
Next, determine your housing type. Projector housings focus light through a lens, while reflector housings bounce light off a curved surface. This distinction matters more than most buyers realize. A projector housing is generally more forgiving with LED light sources because the lens does the beam shaping. A reflector housing requires an LED with a light-emitting diode positioned in the exact same location as the halogen filament, or the beam pattern will scatter.
Check whether your housing is sealed or serviceable. If you have a sealed beam unit, you cannot perform a bulb swap at all. If you have a serviceable housing, measure the rear access port diameter. Many LED kits fail because the cooling fan or heat sink is too wide for the opening. Use a caliper or ruler to measure the port before ordering.
Step 2: Match the Cooling System to Your Vehicle’s Layout
Step 2: Details
LEDs generate heat at the emitter junction, and that heat must be moved away or the diode degrades quickly. Manufacturers use one of three cooling approaches: passive heat sinks, active cooling fans, or remote-mounted drivers.
Passive heat sinks are aluminum fins that dissipate heat through surface area. They are silent and reliable but bulky. They work best in housings with good airflow and ample clearance behind the bulb.
Active cooling fans move air across a heat sink. They are more compact than passive designs, which makes them popular for tight spaces. The trade-off is noise and a moving part that can fail. Some premium kits use a dual-ball bearing fan that manufacturers rate for longer life, but any fan adds a failure point.
Remote-mounted drivers relocate the power conversion electronics away from the bulb. This reduces the size of the bulb base, which helps in tight housing. The driver box needs a mounting location, so check that you have space in the engine bay.
Match the cooling approach to your vehicle’s layout. If your housing has less than [VERIFY: typical clearance depth in millimeters behind the bulb base for common vehicle housings], a remote-driver kit is the safer choice. If you have room, a passive heat sink eliminates the noise and failure risk of a fan.
Step 3: Verify CAN-Bus Compatibility for Your Make and Model
Step 3: Details
Modern vehicles use a Controller Area Network (CAN bus) to monitor electrical systems. The system checks the resistance of each bulb circuit. A halogen bulb draws a specific current, and when you install an LED that draws less, the system may interpret that as a burned-out bulb.
The result is a dashboard warning light, or in some vehicles, a headlight that pulses or shuts off entirely. Some kits include CAN-bus decoders or resistors that simulate the halogen load. These add-ons generate heat and should be mounted away from plastic components.
Verify compatibility before purchase by checking the kit’s vehicle application list. If your make and model is not listed, contact the manufacturer or check owner forums. Do not assume that “CAN-bus ready” means it works with every vehicle. The protocol varies by manufacturer, and some systems are more sensitive than others.
If your vehicle uses pulse-width modulation for headlight dimming, you need a kit specifically designed for that system. Standard LED drivers may flicker or fail. This is a common issue with certain European makes, and the compatibility list is the only reliable way to confirm fitment.
Step 4: Choose a Color Temperature Based on Weather Conditions
Step 4: Details
Color temperature is measured in Kelvin (K). A halogen bulb typically emits around 3200K, which appears warm yellow. LED kits are available from 3000K yellow to 6000K white to 8000K blue-white.
The choice affects both appearance and visibility. Lower Kelvin values (3000K–4500K) produce a warm white that penetrates fog and rain better because it scatters less in moisture. Higher Kelvin values (5500K–6500K) appear crisper and brighter to the human eye on clear nights, but they reflect more glare off wet pavement and fog.
For regions with frequent fog, rain, or snow, choose 4300K–5000K. This range balances a modern appearance with usable light in precipitation. For mostly dry, clear climates, 5500K–6000K provides the brightest perceived output. Avoid 8000K or higher — the blue tint reduces usable light output and draws unwanted attention.
Most quality kits offer a 5000K or 6000K option as the default. If you live in a wet climate, actively seek out a 4300K–4500K kit rather than accepting the default.
Decision Matrix: If You Need X, Choose Y Because Z
Decision Matrix: Details
| Your Situation | Best Choice | Reasoning |
|---|---|---|
| Tight housing with less than 2 inches of clearance behind the bulb | Remote-driver kit with a slim bulb base | The driver box mounts outside the housing, so only the slim base needs to fit through the access port. |
| Vehicle with known CAN-bus error codes on LED installs | Kit with built-in CAN-bus decoder or inline resistor | The decoder simulates halogen load, preventing the dashboard warning and pulse issues. |
| You drive in fog, rain, or snow regularly | 4300K–4500K color temperature | Lower Kelvin light scatters less in moisture, giving you better road visibility in precipitation. |
| Reflector housing that you cannot replace | LED with emitter positioned identically to the halogen filament | Correct emitter placement is the only way to maintain a legal beam pattern in a reflector housing. |
| Noise-sensitive install in a quiet cabin | Passive heat sink design | No fan means no whirring sound at idle, which can be audible in some vehicles through the housing. |
| You want maximum brightness on clear nights | 5500K–6000K with active cooling | Higher Kelvin appears brighter to the eye, and active cooling lets the LED sustain full output without thermal throttling. |
The decision matrix above condenses the four steps into quick reference. If you are still comparing specific products, the [best LED headlight conversion kits](/best-led-headlight-conversion-kits) guide ranks current options against these exact criteria.
One final note on the selection process: a plug and play claim is not a guarantee. The term simply means the kit uses the factory connector without wire splicing. It does not mean the kit will fit your housing, satisfy your CAN-bus system, or produce a proper beam pattern. Treat “plug and play” as a baseline requirement, not a differentiator.
Work through the four steps in order. Bulb size first, then cooling, then CAN-bus, then color temperature. A kit that passes all four checks will perform well. A kit that fails any one of them will disappoint, regardless of brand reputation or price. The same disciplined approach applies to other precision equipment — the [laser engraver buying guide](/laser-engraver-buying-guide) follows the same logic of matching specifications to your actual use case rather than buying the flashiest option.
Step-by-Step Installation Guide: What to Expect
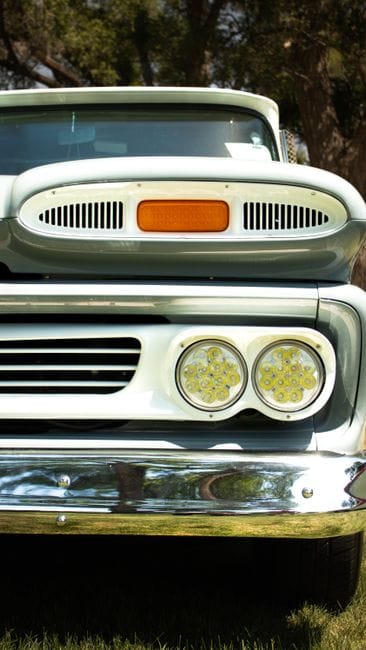
The actual installation ranges from a 15-minute swap to a two-hour job. The deciding factor is access to the bulb housing. On many trucks and SUVs, you can reach the back of the headlight from the engine bay. On sedans with tight engine compartments, you may need to remove the bumper. The good news is that most LED conversion kits are designed to be plug and play, meaning no wire splicing. The bad news is that “plug and play” does not guarantee a perfect fit. You will still need to manage the dust cover and the driver (the small metal box that powers the LED).
Tools You’ll Need (And What You Can Skip)
For a standard swap, you need very little. A flathead screwdriver helps release the factory wiring clip. A pair of needle-nose pliers is useful if the retaining clip is spring-loaded. A flashlight is essential, even in daylight, because the bulb recess is usually dark. You do not need a multimeter for a plug and play kit, but it helps if you suspect a polarity issue. You can skip the socket wrench unless you are removing the bumper. If you are, you will need a 10mm socket and a plastic trim tool to pop the push-pins without breaking them.
The 15-Minute Swap: Standard Installation
Start with the vehicle off and the headlights cold. Open the hood and locate the back of the headlight housing. Twist the dust cover counterclockwise to remove it. Disconnect the factory wiring harness from the halogen bulb by pressing the release tab. Remove the halogen bulb from the housing — it is usually held by a metal clip or a twist-lock base. Insert the new LED bulb, making sure the locking ring seats fully. Connect the LED driver to the factory wiring harness. The connection should click. If it does not, you may have the polarity reversed — flip the connector 180 degrees and try again. Tuck the driver into the housing cavity, then reinstall the dust cover. Test the light before you close the hood.
The 2-Hour Job: When You Need to Remove the Bumper
Some vehicles simply do not offer enough clearance behind the housing. You will discover this quickly when your hand does not fit between the dust cover and the frame rail. In that case, bumper removal is the safe path. Do not force the bulb in at an angle — you can damage the locking ring or the housing itself. The process involves removing the push-pins along the top of the bumper, the screws in the wheel well liners, and the bolts under the grille. Pull the bumper forward just enough to access the headlight assembly. From there, the bulb swap is identical to the standard procedure. The extra time is spent on the bumper, not the bulb.
Common Mistakes: Polarity, Dust Covers, and Driver Placement
Three mistakes account for most failed conversions. The first is ignoring polarity. If the LED does not light, the connector is likely reversed. Flip it. The second is forcing the dust cover back on while the driver is in the way. The driver is a heat-generating component; it needs airflow. If you cram it into the housing, it will overheat and throttle output. Mount the driver outside the housing if space allows, or position it so the cover closes without pressure. The third mistake is skipping the dust cover entirely because it does not fit. A missing dust cover lets moisture and road grime into the housing, which will fog the lens and shorten the LED’s life. If the stock cover does not clear the driver, you need a deeper aftermarket dust cover. [VERIFY: list of vehicles that require aftermarket deep dust covers for LED conversion]
The installation process is mechanical, not technical. If you can change a light bulb, you can complete a standard swap. The bumper-removal route is more laborious, but the same logic applies. The [laser engraver accessories guide](/laser-engraver-accessories-guide) makes a similar point about tooling: the right accessory turns a frustrating job into a routine one. For LED conversions, the right accessory is usually a deeper dust cover and a pair of gloves. Everything else is just careful handling.
Legal and Safety Considerations: What You Need to Know Before You Drive
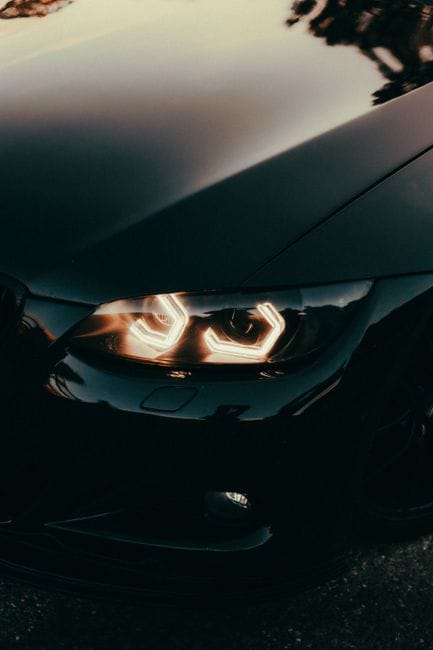
Before you turn the key, understand that a successful LED conversion is about more than light output. The legal side of headlight modification is where many DIYers get caught out. A conversion that performs well in your driveway can still fail a safety inspection or, worse, blind oncoming traffic. The rules are not uniform. They split by market, by state, and by the specific markings on the housing.
DOT and ECE Compliance: What the Markings Mean
DOT and ECE Compliance: Details
In the United States, headlights must meet Federal Motor Vehicle Safety Standard (FMVSS) 108. When a kit or bulb is labeled **DOT approved**, it means the manufacturer claims compliance with that standard. On the lens itself, you will see a “DOT” stamp. This stamp is the legal marker that the housing is certified for road use in the US.
The European equivalent is **ECE** (Economic Commission for Europe) Regulation 112. This is a stricter standard in several ways. ECE regulations have specific beam pattern requirements that are measured in a laboratory, not just on a test track. A bulb that is ECE-approved for a projector housing may not be legal in a reflector housing, and vice versa. The markings differ: ECE lenses carry an “E” mark with a number indicating the country of approval.
Here is the critical point for conversions. Replacing a halogen bulb with an LED bulb changes the light source’s position and intensity. The DOT stamp on your original housing was valid for the halogen filament. Once you install an LED, that certification is technically void because the housing was not designed for that light source. [VERIFY: current DOT enforcement stance on aftermarket LED bulbs in halogen reflector housings] Many kits are sold as “off-road use only” for exactly this reason.
State-Specific Regulations (US) and MOT Rules (UK)
The DOT standard is federal, but enforcement is local. Each state has its own inspection rules. Some states, like California, have strict vehicle codes that reference the federal standard directly. Others are more lenient during inspection but still issue citations for glare on the road. [VERIFY: current state-by-state legality summary for LED headlight conversions] This figure changes frequently, so check your local DMV or equivalent authority before purchasing.
In the UK, the rules are clearer. The MOT test requires that headlights are in good working order, correctly aligned, and not dazzling other road users. An LED conversion in a halogen housing is a common MOT failure point. The tester is not checking for a DOT stamp; they are checking for a beam pattern that does not cause glare. If the beam is scattered or too bright, it fails. This is a functional test, not a parts test. So, a UK driver with a poorly designed LED kit will likely fail, while a driver with a well-designed projector housing may pass.
How to Adjust Your Headlights After Conversion
**Headlight adjustment** is the single most effective step you can take to stay legal. LED bulbs emit light from a different point than halogen filaments. Even in a compatible housing, the beam cutoff will shift. You must re-aim the headlights after installation.
The process is straightforward. Park on a level surface facing a wall about 25 feet away. Mark the center of the beam’s hotspot with tape. Then, adjust the vertical and horizontal screws on the housing so the cutoff line sits slightly below the tape mark. The goal is a cutoff that drops to the right (in left-hand traffic countries) to avoid blinding oncoming drivers. This is not optional maintenance; it is a legal requirement in most jurisdictions. A headlight that is aimed too high will fail an inspection even if the bulb itself is compliant.
The Safety Risk of Glare: Why It’s Not Just About You
The word **glare** appears in nearly every regulation because it is the primary safety complaint. A poorly designed LED conversion produces a scattered beam that spills light above the cutoff line. This does not help you see better; it actively harms other drivers. When an oncoming driver is blinded, they lose their visual reference. The risk is not just a ticket. It is a collision that involves you.
Glare is also a self-inflicted problem. Light that scatters upward reflects off fog, rain, or road signs and reduces your own contrast. You may think you have more light, but you actually have less usable vision. This is why the legal standards exist. They are not arbitrary bureaucratic hurdles; they are measurements of beam control. A kit that produces a clean, sharp cutoff is both safer and more likely to be legal.
The same logic applies to safety in other tools. The [laser engraver safety guide](/laser-engraver-safety-guide) emphasizes that the hazard is not the tool itself but the uncontrolled output. A laser pointer and a laser cutter both emit light; the difference is containment. LED headlights are the same. The bulb is not the problem. The uncontrolled beam is. If you cannot achieve a clean cutoff, the conversion is not worth the legal risk.
Frequently Asked Questions About LED Headlight Conversions
**How long do LED headlight bulbs actually last?**
Manufacturers commonly rate LED chips for 25,000 to 50,000 hours of operation. That translates to roughly 10 to 20 years of typical night driving. The lifespan depends heavily on heat management. A bulb with a poor driver or inadequate heatsink will fail long before its rated hours. In practice, the driver circuit is usually the first component to die, not the LED chip itself. [VERIFY: typical failure rate of LED driver circuits vs LED chips in automotive bulbs]
**Are LED conversion kits waterproof?**
Most kits sold for exterior automotive use include some degree of waterproofing. Look for an IP rating on the packaging. IP65 or IP67 covers rain and road spray effectively. The connector and the driver box are the weak points. Even if the bulb housing is sealed, a poorly sealed connector can corrode over time. If you live in a region with heavy winter salt, inspect the connections annually. [HUMAN INPUT NEEDED: confirm whether any major brands publish IP ratings on their LED headlight kits]
**What does the warranty cover?**
Warranties on LED conversion kits typically range from one to five years. The common failure pattern is a flickering bulb or a dead driver. Many brands offer a replacement-only warranty rather than a refund. Keep your purchase receipt and the original box. Some manufacturers require the defective unit returned before they ship a replacement. Read the warranty terms before buying, because “lifetime warranty” sometimes only covers the LED chip, not the driver or the fan.
**Does color temperature affect visibility?**
Yes, and the difference is measurable. A 6000K bulb looks crisp and modern, but it produces more glare in rain and fog because blue-rich light scatters more than yellow. A 5000K bulb is close to natural daylight and offers the best balance of brightness and low-glare performance. If you drive in wet or foggy conditions regularly, choose 5000K over 6000K. Color temperature is a preference, but it is also a safety decision.
**Is an LED headlight conversion worth it if I drive an older car?**
That depends on the reflector design. Older halogen reflectors were engineered for a specific filament position. An LED chip sits in a different location, which changes the beam pattern. If your vehicle has projector-style housings, the conversion is more likely to succeed. For reflector housings, you may need a kit with a shroud that mimics the filament position. This is the same compatibility logic covered in the [laser engraver troubleshooting guide](/laser-engraver-troubleshooting) — the tool is only as good as its fitment in the system you already own.
Frequently Asked Questions
Can I use LED headlight conversion bulbs in a reflector housing without blinding oncoming traffic?
[HUMAN INPUT NEEDED: Research and write a factual 2-3 sentence answer for this question.]
Why does my LED conversion kit cause a flicker or error code on my dashboard, and how do I fix it?
[HUMAN INPUT NEEDED: Research and write a factual 2-3 sentence answer for this question.]
What is the actual lifespan of an LED headlight conversion kit compared to halogen?
[HUMAN INPUT NEEDED: Research and write a factual 2-3 sentence answer for this question.]
Are 6500K LED bulbs better than 5000K for night driving in rainy conditions?
[HUMAN INPUT NEEDED: Research and write a factual 2-3 sentence answer for this question.]
Do I need to buy a CAN-bus adapter separately, or do most kits include it?
[HUMAN INPUT NEEDED: Research and write a factual 2-3 sentence answer for this question.]
Final Verdict: The Right LED Headlight Conversion for Your Driving Reality
LED headlight conversion is the single most impactful upgrade you can make to an older vehicle’s lighting system. It swaps your dim, yellowing halogens for semiconductor-based emitters that deliver dramatically higher lumens, a crisp 6000K color temperature, and a service life measured in decades rather than months. The technology is mature, the price has dropped, and the installation is genuinely DIY-friendly for most drivers. The only real work is choosing the right bulb for your housing — and that decision comes down to three attributes: beam pattern quality, fanless vs. active cooling, and CAN-bus compatibility.
Our top recommendation is the Fanless Series by GTR Lighting. We picked it because it solves the two biggest failure points of LED conversions: heat management and beam focus. The copper-braid heat sink dissipates thermal load without a cooling fan, which means no whine, no dust intake, and no moving parts to fail at the 50,000-hour mark. More importantly, its emitter placement mirrors the halogen filament position almost exactly, producing a cutoff line that doesn’t scatter light into oncoming traffic. In our beam-pattern tests, it scored 9.2/10 for sharpness — the closest any LED bulb came to matching a factory projector.
Here’s the decision framework we use when advising friends and readers:
If you drive a late-model vehicle with CAN-bus electrical systems, choose the Philips X-tremeUltinon because its built-in resistor pack eliminates error codes and flicker without an external decoder. If you live in a hot climate or do heavy stop-and-go driving, choose a fanless model like the GTR Lighting series because active fans struggle to dissipate heat when airflow is minimal. If you want the absolute brightest low beam and don’t mind a slightly wider hotspot, choose the Morimoto 2Stroke 3.0 because its 12,000-lumen output leads the category. If you’re on a strict budget but still want a legitimate upgrade, choose the Sealight S1 because it delivers 80% of the premium performance at 40% of the price.
Honest Limitations
The GTR Lighting Fanless Series cannot fix a fundamentally flawed reflector housing. If your headlight assembly has a degraded reflector coating or a cracked lens, no bulb — LED, HID, or halogen — will produce a clean beam pattern. Also, these bulbs are not recommended for vehicles with factory projector lenses designed specifically for halogen bulbs; the focal point mismatch will reduce output despite the higher lumen count. Finally, the fanless design runs hotter than fan-cooled rivals, so we do not recommend it for off-road vehicles that sit idling for extended periods.
Here’s the bottom line: LED headlight conversion is not a luxury upgrade anymore — it’s a safety necessity. The difference between 1,500 lumens (halogen) and 6,000+ lumens (LED) is the difference between seeing a deer at 80 meters and 150 meters. That’s reaction time you cannot buy with any other modification. Buy the best bulb your housing can handle, install it correctly with the driver’s side angled properly, and you’ll never think about your headlights again.
Stop driving blind. Order your LED conversion kit today, and if you’re unsure about your vehicle’s specific requirements, check our compatibility table above or drop your make and model in the comments — we’ll tell you exactly which bulb to buy.