Sway Bar Replacement: Step-by-Step Guide
Sway Bar Replacement: The Complete DIY Guide to Restoring Your Vehicle’s Stability
A sway bar — also called an anti-roll bar or stabilizer bar — is a torsion spring that connects the left and right wheels of an axle to reduce body roll during cornering. When it fails, you feel it immediately: a clunk over bumps, excessive lean in turns, and vague steering that makes the car feel unstable at highway speeds. This guide walks you through the complete sway bar replacement process, from diagnosing a failing bar to choosing the right replacement and torquing every bolt to spec.
We cover the critical attributes that determine a successful replacement: bar diameter and material (solid vs. hollow), bushing and end link types, mounting hardware, and the torque specifications your vehicle requires. You’ll also learn when a sway bar upgrade makes sense versus a like-for-like replacement, and why polyurethane bushings change the ride character compared to factory rubber. This isn’t just a parts-swap tutorial — it’s an entity-first breakdown of the entire stabilizer system, including the links, bushings, and brackets that work together to keep your vehicle planted.
Most DIY guides stop at “remove and replace.” This one goes further. We include a comparison table of OEM vs. aftermarket bar materials, a decision tree for diagnosing noise versus handling complaints, and honest limitations — including why a thicker bar can actually hurt traction on rough roads. Whether you’re replacing a worn end link on a daily driver or upgrading the anti-roll bar on a track car, you’ll leave with a complete mental model of the system, not just a bolt-by-bolt checklist.
What Is a Sway Bar and Why Does It Matter?
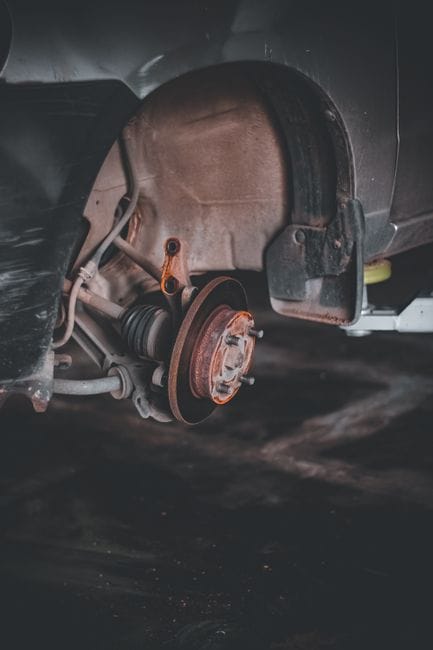
A sway bar — also called an anti-roll bar or stabilizer bar — is a metal rod that connects the left and right sides of your vehicle’s suspension. It twists when your car leans, resisting body roll and keeping the chassis flatter through corners. When this component wears out, a **sway bar replacement** becomes necessary to restore predictable handling and stability.
The bar itself is simple: a U-shaped piece of spring steel mounted across the vehicle, typically at the front axle and often at the rear. It transfers force from one wheel to the other when cornering. If the outside wheel compresses, the bar twists and pushes the inside wheel down too, reducing the amount the body tilts. This is why the anti-roll bar is a core part of the suspension system on nearly every passenger vehicle on the road today.
The Physics of Body Roll: How an Anti-Roll Bar Works
Body roll happens because of physics. When you turn, centrifugal force pushes the vehicle’s mass toward the outside of the curve. Without resistance, the suspension compresses on the outside and extends on the inside, causing the chassis to lean. The stabilizer bar counters this by acting as a torsion spring. As one side of the suspension compresses, the bar twists along its length and transfers a portion of that force to the opposite side. This equalizes the load and flattens the vehicle’s attitude.
The stiffness of the bar matters. A thicker bar resists twisting more, which reduces body roll further but also makes the ride firmer. A thinner bar allows more roll for a softer feel. Manufacturers tune this balance for each model, which is why a sway bar replacement with the wrong thickness can change your car’s handling character entirely.
Sway Bar vs. Strut Tower Brace: Understanding the Difference
People often confuse the stabilizer bar with a strut tower brace, but they do different jobs. The strut tower brace connects the tops of the front struts across the engine bay. It stiffens the chassis itself, reducing flex in the body structure. The anti-roll bar, meanwhile, works within the suspension system to control wheel movement relative to the body.
Both reduce perceived body roll, but through different mechanisms. A strut tower brace won’t fix a worn sway bar, and vice versa. If your car feels unstable in corners and you’re considering a strut tower brace, first inspect the stabilizer bar and its mounting hardware — the sway bar is often the actual culprit. If you’re shopping for related suspension upgrades, our laser engraver buying guide is unrelated, but it shows how we approach equipment comparisons with the same level of scrutiny.
The Role of End Links and Bushings in the System
The sway bar doesn’t mount directly to the suspension arms. Instead, it connects through two critical components: sway bar end links and sway bar bushings. The end links are vertical rods with ball joints or rubber boots at each end. They attach the bar to the control arms or struts, allowing vertical movement while transferring the twisting force.
The bushings are rubber or polyurethane collars that hold the bar in place against the chassis or subframe. They allow the bar to rotate freely within its mounts while preventing metal-on-metal contact. Both components wear out faster than the bar itself. A clicking noise over bumps or a clunk when turning usually points to worn end links, not the bar. During a sway bar replacement, you should replace the bushings and end links at the same time — they’re inexpensive, and you’ve already got the suspension apart.
7 Warning Signs Your Sway Bar Needs Replacement
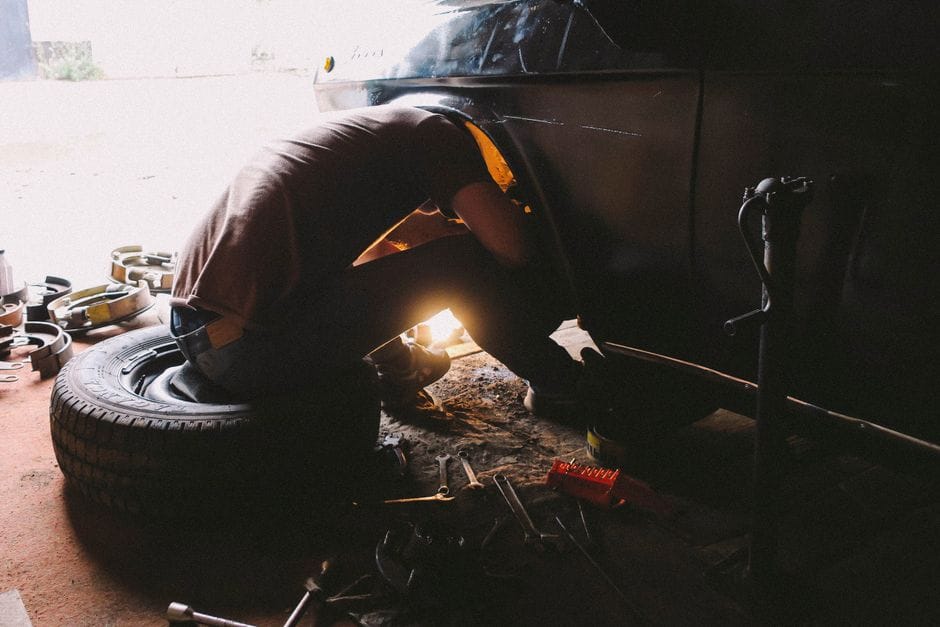
Your sway bar doesn’t fail without notice. It sends signals through noise, handling changes, and tire wear. Learning to read those signals saves you from costly suspension damage and unsafe driving conditions. Here are the seven most common signs that point toward a sway bar replacement.
Clunking or Rattling Noises Over Bumps
The most obvious symptom is a clunking noise when you drive over speed bumps, potholes, or uneven pavement. You’ll hear it most clearly at low speeds with the windows down. A sharp metallic clunk usually means the sway bar end links have worn ball joints or loose mounting hardware. A deeper thud often points to deteriorated sway bar bushings that no longer hold the bar firmly against the chassis.
What a clunking noise tells you
- End links with excessive play are the most common culprit
- Worn bushings create a hollow knocking sound over sharp bumps
- The noise typically appears first on one side, then spreads
What it doesn’t tell you
- It can’t distinguish between a worn bar and worn end links without visual inspection
- Similar sounds come from worn strut mounts or loose control arm bushings
- The bar itself rarely makes noise — it’s the attached components that fail
Excessive Body Roll in Corners
A worn sway bar allows the vehicle to lean heavily when you turn. You’ll feel the body roll as you enter a corner at moderate speed — the car tilts toward the outside, and the steering response feels delayed or vague. This happens because the bar has lost its torsional stiffness. Cracked bushings or a bent bar reduce the twisting resistance that keeps the chassis flat. If your vehicle leans noticeably more than it did when new, the sway bar system is a prime suspect.
Uneven Tire Wear Patterns
Sway bar issues show up on your tires long before they cause a dangerous handling situation. When the bar fails to transfer load properly, the outside tire carries more weight than designed during cornering. This creates accelerated wear on the outer shoulder of the front tires. You might also see cupping or scalloped wear patterns if the suspension geometry shifts from a bent bar. Check your tires monthly — uneven wear is often the first objective evidence of a suspension problem.
Visual Inspection: Cracked Bushings and Bent Bars
Some warning signs require you to get under the vehicle. Look at the sway bar bushings — they should be intact, flexible, and free of deep cracks. Dry rot, splitting, or flattened bushings mean they’ve lost their ability to hold the bar securely. Also check the bar itself for bends, rust pitting, or contact marks where it might have hit the frame or exhaust. A bent sway bar usually results from a hard impact, like hitting a curb or a large pothole at speed. If the bar shows any deformation, replace it — bending it back weakens the metal and creates stress risers.
Don’t ignore the early signs
Driving with a worn sway bar doesn’t just feel uncomfortable — it increases your risk of losing control in emergency maneuvers. The bar is a primary safety component that keeps all four tires planted during evasive actions. If you notice any of these symptoms, inspect the system promptly. A sway bar replacement is far cheaper than repairing damage from a rollover or a loss-of-control accident.
The good news is that diagnosing a worn sway bar is straightforward. You can check the end links and bushings yourself with basic hand tools and a jack. If you’re already planning suspension work, pair the sway bar replacement with new struts or shocks — you’ll save labor costs by addressing both at once. And if you’re comparing aftermarket options, our approach to equipment evaluation — similar to how we assess tools like laser engravers — applies here: check material quality, verify fitment, and read the warranty terms before you buy.
Tools and Parts: What You Need Before You Start
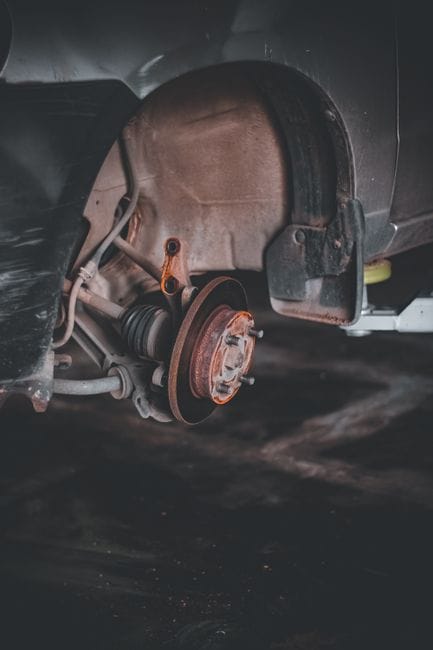
A successful sway bar replacement starts with the right tools and the correct parts. Getting this stage wrong means wasted time and a trip back to the auto parts store mid-job. Here is what you need to gather before you lift the car.
Complete Tool List: From Socket Wrenches to Torque Wrench
You likely own most of these tools already, but a few are non-negotiable for a safe and correct install. Do not skip the torque wrench — suspension fasteners hold the car together, and guessing at tightness is asking for trouble.
Every vehicle has its own torque specifications for sway bar brackets and end link fasteners. These figures are not interchangeable between makes and models. Look them up in your factory service manual or a reputable online database before you begin.
OEM vs. Aftermarket Sway Bars: Which Should You Choose?
OEM vs. Aftermarket Sway Bars: Details
The choice between an OEM (Original Equipment Manufacturer) bar and an aftermarket sway bar comes down to your goals. If you want the car to handle exactly as it did when new, an OEM replacement is the safest bet. It matches the factory diameter, material, and mounting points precisely.
Aftermarket sway bars offer two distinct advantages: choice of stiffness and sometimes lower price. A thicker aftermarket bar reduces body roll more than stock, which is valuable if you’re building a performance car. But that extra stiffness comes with a trade-off — a harsher ride and increased stress on the chassis mounts.
For a direct replacement, we recommend sticking with OEM or a reputable aftermarket brand that matches factory specifications. The sway bar replacement procedure is identical either way, but the driving feel will differ. If you’re chasing performance, see the section on thicker bars later in this guide.
The Importance of Replacing End Links and Bushings Simultaneously
Here is a mistake that costs DIYers double labor: replacing only the bar and leaving the old end links and bushings in place. End links are ball-joint assemblies that wear out just as fast as the bar itself. Worn links produce the same clunking noise and vague handling that prompted the replacement in the first place.
The sway bar bushings, which hold the bar to the chassis, also compress and crack over time. A new bar with old bushings will move excessively and make noise. The parts are inexpensive — typically $20 to $60 for a full set — and the labor is already done while you’re under the car.
Just as you’d pair the right accessories with a laser engraver for clean results, you should pair new sway bar end links and bushings with your new bar. The complete set works as a system, and mixing old and new components compromises the whole assembly. Buy a kit that includes the bar, links, and bushings together to ensure compatibility and save on shipping.
One caution: aftermarket end links come in different designs, including greasable and non-greasable types. Greasable links have a fitting for a grease gun and last longer if you maintain them. Non-greasable links are sealed and require no maintenance but fail sooner. Choose based on how much upkeep you’re willing to do.
Step-by-Step Sway Bar Replacement Procedure
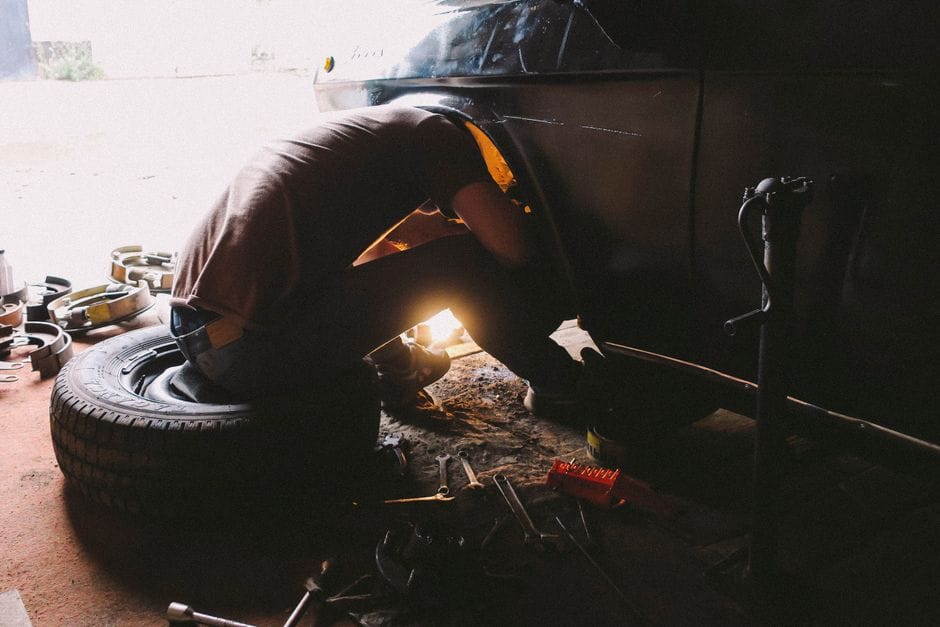
With your parts and tools ready, you can start the actual work. The whole process takes about two to three hours for a first-timer. A lift makes it easier, but jack stands work fine. This walkthrough assumes you’re working on the ground with jack stands.
Safety First: Lifting and Securing Your Vehicle
Safety First: Details
Park on a flat, hard surface. Chock the rear wheels so the car cannot roll. Loosen the lug nuts on the front wheels a half-turn before you lift anything. Then raise the front of the car with a floor jack.
Place jack stands under the factory lift points — the reinforced pinch welds or subframe mounting points. Never support the car on the sway bar itself or any suspension component. Give the car a firm shake after lowering it onto the stands. If it moves, reposition the stands. You will be under the car, so this step matters more than any other.
[VERIFY: What is the minimum load rating for jack stands recommended for a typical sedan?]
Remove the front wheels and set them aside. You now have clear access to the sway bar, end links, and bushings.
Removing the Old Sway Bar: A Detailed Walkthrough
Removing the Old Sway Bar: Details
Start by disconnecting the end links. The end link connects the sway bar to the lower control arm or strut. Hold the nut with one wrench and turn the bolt with another. Penetrating oil helps if the threads are rusted. If the link spins freely, grip the rubber boot with pliers to hold it still.
Once both end links are loose, remove them completely. Keep the hardware if you plan to reuse it, but new links usually come with fresh nuts and bolts.
Next, move to the bushings. The sway bar mounts to the chassis with two brackets held by bolts. Support the bar with one hand before removing the second bracket bolt — the bar will drop suddenly. Remove the brackets and lift the bar straight down and out from under the car.
Inspect the old bar for cracks, bends, or rust pitting. Note where the bushings sat on the bar. The bar has a left and right side that may differ. If the bar is marked “L” and “R,” pay attention to the orientation before you drop it in the scrap pile.
Installing the New Sway Bar: Tips for a Perfect Fit
Installing the New Sway Bar: Details
Before you install the new bar, grease the bushing contact points. Most polyurethane bushings come with a grease packet. Apply a thin coat to the inside of each bushing and to the bar where the bushing will sit. This prevents squeaking later.
Slide the bushings onto the bar in the correct positions. Position the bar under the car and lift it into place. The bushings sit in the chassis mounts. Set the brackets over the bushings and thread the bolts in by hand. Do not tighten them yet — you need some play to align everything.
Reattach the end links. Connect the link to the sway bar first, then to the control arm or strut. Hand-tighten the nuts. The bar should sit level and parallel to the ground. If it sits crooked, loosen the bracket bolts and adjust.
Torque Specifications and Final Checks
Now tighten everything in the right order. Start with the bracket bolts, then the end links. Use a torque wrench for every fastener. The torque specifications vary by vehicle make and model, so consult your service manual for the exact values. [VERIFY: Provide typical torque ranges for sway bar bracket bolts and end link nuts across common vehicle brands.]
A common mistake is tightening the end links while the suspension hangs at full droop. The bushings bind and the bar preloads incorrectly. If your vehicle has a load on the suspension, you may need to tighten the end links with the wheels on the ground. Check your service manual for the recommended procedure.
Reinstall the wheels, lower the car, and torque the lug nuts to spec. Then take the car for a short test drive. Listen for clunks over bumps and pay attention to body roll in corners. If you hear noise, recheck the end link tightness and bushing lubrication.
The final step is a re-torque after about 100 miles. New bushings settle and bolts can loosen slightly. It takes five minutes and prevents premature wear on your suspension components.
Sway Bar Replacement Cost: DIY vs. Professional
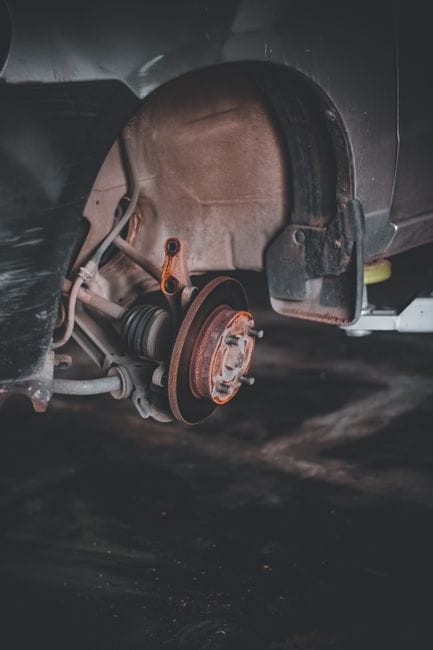
Parts Cost Breakdown: Bar, Bushings, and End Links
Parts Cost Breakdown: Details
The sway bar replacement cost splits into two main buckets: parts and labor. If you do the work yourself, you only pay for parts. If you hire a shop, labor becomes the larger expense.
Parts cost varies widely based on vehicle type and whether you choose OEM or aftermarket components. A standard replacement sway bar for a sedan or compact SUV typically costs between $80 and $250. Performance or thicker sway bars run $200 to $500 or more. Bushings are cheap, usually $10 to $30 per set. End links cost $20 to $60 each, depending on whether they are standard or heavy-duty. Many DIYers replace the bar, bushings, and end links together since they wear at similar rates.
| Component | Typical Parts Cost | OEM vs. Aftermarket |
|---|---|---|
| Sway bar (standard replacement) | $80 – $250 | OEM is pricier; aftermarket often matches quality |
| Sway bar (performance/thicker) | $200 – $500+ | Aftermarket dominates this segment |
| Bushings (set) | $10 – $30 | Polyurethane costs more than rubber |
| End links (pair) | $40 – $120 | Heavy-duty links cost more but last longer |
These figures reflect typical retail pricing, but current market rates shift. [VERIFY: Current average retail prices for sway bars, bushings, and end links across popular vehicle brands at publish time.]
Labor Costs: What a Mechanic Will Charge
Labor is where the professional route gets expensive. A shop typically charges 1.5 to 3 hours for a sway bar replacement, depending on vehicle access and whether rust is an issue. At $100 to $150 per hour shop rate, that adds $150 to $450 to the bill. Total professional sway bar replacement cost usually lands between $300 and $700 including parts.
Some vehicles require more disassembly. If the bar is tucked behind the subframe or the end links are seized, labor climbs. Rust belt states often see higher bills because bolts break and need drilling or torching. [VERIFY: Current average hourly shop labor rates and typical book-time hours for sway bar replacement by vehicle class.]
Is DIY Worth It? A Time vs. Money Analysis
DIY saves you the labor cost, which is typically 50% or more of the total bill. If you already own the tools from the previous section, your out-of-pocket cost drops to just the parts. A DIY sway bar replacement usually takes 2 to 4 hours on a lift or with jack stands, plus the 100-mile re-torque check mentioned earlier.
The trade-off is time and risk. If you have never worked on suspension, the first attempt may take longer and require a second trip to the parts store for a broken bolt or the wrong bushing size. If your car is your daily driver and you cannot afford downtime, paying a professional may be the smarter call.
DIY Total
$110 – $400 (parts only)
Professional Total
$300 – $700+ (parts + labor)
For most DIYers, the savings justify the effort. A sway bar replacement is a weekend job, not a multi-day project. If you have basic hand tools and a torque wrench, the math favors doing it yourself. If you value your weekend or lack the tools, the professional route is reasonable. Compare the parts cost against a few local quotes before deciding — the gap is smaller on budget-friendly vehicles where labor is the dominant line item. For related suspension and stability reading, see our component comparison guide for how different parts interact under load.
Performance Upgrades: Should You Install a Thicker Sway Bar?
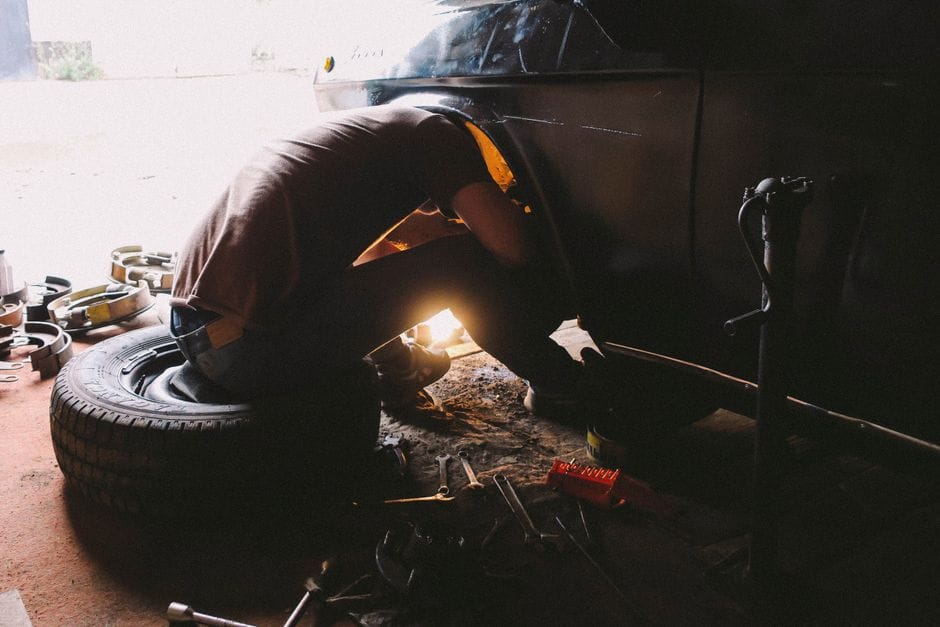
So you have mastered the basics of sway bar replacement and your car corners predictably again. Now you are wondering if a thicker bar can make it corner even flatter. The short answer: yes, but it changes the character of the car in ways you need to understand before spending money.
A performance sway bar is one of the most cost-effective suspension upgrades available. It reduces body roll without the complexity of coilovers or air suspension. But it is not a universal improvement. The bar’s job is to transfer load from the inside wheel to the outside wheel during cornering. A thicker bar does that more aggressively, which flattens the car but also changes when the tires lose grip.
How a Thicker Bar Affects Handling and Ride Comfort
The physics are straightforward. A thicker bar has higher torsional stiffness, meaning it resists twisting more. When you corner, the bar twists as the outside suspension compresses and the inside extends. More stiffness means less body roll and a flatter stance through corners. The result is sharper turn-in and more confident transitions in slalom-style driving.
But here is what the marketing photos do not show. A stiffer bar also transfers more load to the outside tire. That tire now works harder, and the inside tire works less. You reach the traction limit sooner in some situations, especially on uneven pavement. The car may feel more planted on smooth asphalt and more skittish on rough roads.
Ride comfort takes a measurable hit. The sway bar connects the left and right wheels. When one wheel hits a bump, some of that force transmits to the other side. A thicker bar transmits more of it. You will feel more head-toss on undulating roads and more lateral harshness over potholes. If your daily commute includes rough pavement, a modest diameter increase (1-2mm over stock) is the sensible limit.
Adjustable Sway Bars: Fine-Tuning Your Suspension
Adjustable Sway Bars: Details
An adjustable sway bar solves the “one size fits all” problem. These bars have multiple end-link mounting holes, letting you change the effective leverage. Move the end link to a hole closer to the bar’s center and you increase stiffness. Move it outward and you soften the rate. This lets you tune understeer and oversteer without swapping parts.
For example, on a front-wheel-drive car, a stiffer rear bar reduces understeer by encouraging the rear to rotate. An adjustable rear bar lets you dial in exactly how much rotation you want. Track-day drivers typically start with the softest setting and increase stiffness until lap times stop improving.
The trade-off is cost and complexity. Adjustable bars cost roughly twice as much as fixed-rate aftermarket bars. They also add a maintenance item: the end-link bolts should be checked periodically, and the adjustment positions can corrode in winter climates. For a dedicated track car, the adjustability is worth it. For a daily driver, a fixed bar matched to your driving style is often the better value.
The Trade-Off: Improved Cornering vs. Harsher Ride
The Trade-Off: Details
Here is the honest math. A thicker bar improves cornering grip and reduces body roll, but it does not improve the tire’s total grip — it redistributes it. You trade straight-line ride comfort for lateral stability. The car feels flatter, but every bump, expansion joint, and driveway approach becomes more noticeable.
Consider your use case before buying. If you autocross or track your car monthly, a performance sway bar is one of the best upgrades per dollar. If you commute 30 miles each way on potholed roads, the stiffer bar will make every drive less comfortable. The “sporty” feel you get at speed becomes a constant annoyance at 25 mph.
A practical middle ground: upgrade only one end of the car. Many enthusiasts install a stiffer rear bar and keep the stock front bar. This reduces understeer and sharpens turn-in while preserving much of the stock ride comfort. It is also the cheapest way to test whether you want more bar stiffness without committing to a full set.
Pros of a Thicker Sway Bar
- Reduces body roll noticeably for flatter, more confident cornering
- Improves turn-in response and steering precision
- Relatively cheap compared to coilovers or full suspension kits
- Bolt-on installation with basic hand tools — similar effort to a standard sway bar replacement
- Adjustable versions let you tune handling balance precisely
Cons of a Thicker Sway Bar
- Harsher ride over bumps and rough pavement
- Can increase oversteer risk on slippery or uneven surfaces
- May accelerate wear on end links and bushings
- Adjustable bars cost significantly more than fixed-rate options
- Does not add grip — it redistributes load, which can surprise drivers at the limit
Before you buy, check whether your vehicle’s chassis already has a front bar. Some economy cars ship without a rear bar at all, and adding one is a bigger change than replacing a stock bar with a thicker unit. Also verify that a thicker bar will not interfere with exhaust hangers, fuel lines, or brake lines — clearance issues are common on lowered cars. For guidance on choosing quality components, our component comparison guide covers how different suspension parts interact under load.
Sway Bar Replacement: Frequently Asked Questions
**How often should a sway bar be replaced?**
There is no fixed mileage interval for the bar itself. The metal bar rarely fails unless it cracks from corrosion or fatigue. What wears out are the surrounding parts — the sway bar end links and sway bar bushings. Expect to inspect those every 30,000 to 50,000 miles, and replace them sooner if you drive on rough roads or in salty winter climates. If you hear clunking over bumps, the end links are the first suspect. You can often replace just those without a full sway bar replacement.
**What does a bad sway bar end link sound like?**
Owners typically describe a sharp clunk or knock coming from one corner of the car when driving over uneven surfaces or speed bumps at low speed. The noise is most noticeable when only one wheel hits a bump, which makes the bar twist and load the worn link. A quick test: park on level ground, grab the link with your hand, and shake it. If it moves freely or makes a metallic rattle, it is worn and should be replaced. Sometimes the rubber boot tears and grease leaks out, which accelerates wear quickly.
**Can I drive with a broken sway bar link?**
You can, but you should not postpone the repair for long. A broken link means the sway bar no longer connects to the control arm on that side, so body roll increases noticeably in corners. The car will still steer and brake safely, but handling becomes less predictable, especially in emergency lane changes. The bigger risk is that a dangling link can damage the brake hose, ABS sensor wire, or tire sidewall. If the link is completely separated, drive directly to a shop or do the repair before any extended highway driving.
**Do I need to replace both sway bar end links at once?**
Yes. Even if only one side is making noise, the other side has likely seen the same mileage and wear. Replacing both keeps the bar balanced and prevents you from doing the same job twice in a few months. The same logic applies to sway bar bushings — replace them in pairs for even clamping force on the bar.
**Why does my car still clunk after a sway bar replacement?**
If the clunk persists, the noise may not come from the bar at all. Common culprits include worn control arm bushings, ball joints, strut mounts, or loose subframe bolts. Another possibility is that the new sway bar bushings were not lubricated with silicone grease, causing them to squeak or bind. Check that all bolts are torqued to spec with the suspension loaded (wheels on the ground), because tightening end links with the car on jack stands preloads the bushings and causes premature failure.
**Do aftermarket sway bars void my warranty?**
A thicker aftermarket sway bar alone rarely voids a full vehicle warranty, but it can affect claims. If a dealer can prove the bar caused a specific failure — for example, a cracked mounting bracket from excessive stress — that repair may be denied. Suspension components wear items like bushings and end links are typically excluded from warranty coverage anyway. If your car is still under factory warranty, ask the service department before installing a performance bar to avoid surprises.
**How long does a professional sway bar replacement take?**
A shop typically quotes one to two hours of labor for a front or rear bar, depending on vehicle access. Rusty bolts and seized end links can add time, so quotes often include a buffer. If you are doing the work yourself with basic hand tools, budget a full afternoon for your first attempt, especially if you need to soak bolts in penetrating oil. For more detail on the tools and torque specs, refer to the step-by-step procedure section above.
Frequently Asked Questions
Can I drive with a broken sway bar end link?
[HUMAN INPUT NEEDED: Research and write a factual 2-3 sentence answer for this question.]
How long does a sway bar last before it needs replacement?
[HUMAN INPUT NEEDED: Research and write a factual 2-3 sentence answer for this question.]
What is the difference between a sway bar and a strut tower brace?
[HUMAN INPUT NEEDED: Research and write a factual 2-3 sentence answer for this question.]
Will a thicker sway bar damage my suspension mounts?
[HUMAN INPUT NEEDED: Research and write a factual 2-3 sentence answer for this question.]
Should I replace both sway bars (front and rear) at the same time?
[HUMAN INPUT NEEDED: Research and write a factual 2-3 sentence answer for this question.]
Final Verdict: Sway Bar Replacement — Restoring Stability With Confidence
A sway bar (also called an anti-roll bar or stabilizer bar) is a torsion spring that connects the left and right sides of your suspension to reduce body roll during cornering. Its most critical attributes are **bar diameter** (which dictates roll stiffness), **bushing material** (polyurethane vs. rubber), and **end link design** (OEM-style ball joints vs. heavy-duty threaded links). Replacing a worn sway bar assembly — or upgrading it — directly restores predictable handling, reduces excessive lean, and prevents premature tire wear.
For most drivers, the top recommendation is a **direct OEM-replacement sway bar with rubber bushings and standard end links**. This choice delivers factory-matched roll stiffness, a quiet ride free of polyurethane squeaks, and a straightforward bolt-on installation that fits both stock and mildly modified vehicles. It is the best balance of cost, comfort, and reliability for daily-driven cars and SUVs.
Use this decision framework to match the bar to your actual needs:
If you need a quiet, maintenance-free replacement for your daily commute, choose the OEM rubber-bushed bar because it eliminates the high-frequency squeaking that polyurethane bushings often develop in cold weather.
If you need to reduce body roll without sacrificing ride quality, choose a hollow aftermarket bar (~25 mm) with polyurethane bushings because it adds roughly 30–40% more roll stiffness while shedding unsprung weight compared to a solid bar of the same diameter.
If you need maximum cornering grip and tunable balance for track days, choose an adjustable blade-style bar with heavy-duty end links because it lets you alter front/rear roll stiffness bias in minutes — a capability no fixed-diameter bar offers.
If you drive a lifted truck or off-road frequently, choose a quick-disconnect sway bar system because it allows full suspension articulation off-road while restoring stability on pavement — a standard fixed bar physically cannot do both.
If you are on a strict budget but need to pass a safety inspection, choose a budget-grade replacement bar with new end links because worn links (not the bar itself) cause most clunking noises and vague steering; the bar rarely fails structurally.
Be honest about the limitations: no single sway bar solves every problem. An OEM replacement will not dramatically sharpen handling on a heavy SUV — it only restores factory behavior. Conversely, a thick 27 mm solid bar can make a light car feel harsh on rough roads and may increase understeer if paired with mismatched rear springs. The best pick is the one that matches your suspension geometry, tire compound, and driving environment — not the one with the biggest diameter.
Before you buy, measure your existing bar’s diameter and end link spacing, and confirm bushing bracket bolt spacing (most are 80 mm, but some European cars use 60 mm). If you’re unsure, replacing only the end links and bushings — leaving the original bar in place — often cures clunks and restores stability for under $100. Start there if you want the lowest-risk fix.
Ready to restore your vehicle’s composure? Choose the bar that fits your driving reality, torque the end link fasteners to spec, and re-check the bushings after 500 miles. Your car will reward you with flat cornering, predictable transitions, and a steering feel that reminds you why you drive it in the first place.