Handbrake Adjustment: Expert Guide
Handbrake Adjustment: The Complete DIY Guide to a Perfectly Tuned Parking Brake
The handbrake—also called the parking brake—keeps your vehicle stationary when parked, especially on inclines. It is a mechanical or electro-mechanical system. Unlike your primary braking system, it does not rely on hydraulic pressure. The handbrake uses a separate cable-and-lever mechanism to lock the rear wheels. This cable transmits force from the lever inside your cabin to the brake shoes or calipers at the rear wheels. It creates an independent, purely mechanical lock. Understanding this central entity is the first step to mastering its maintenance. Every adjustment you make fine-tunes how much cable travel converts into clamping force.
Over time, the cable stretches, the rear brake shoes wear down, and pivot points accumulate grime. All of these degrade the handbrake’s effectiveness. A handbrake that pulls too high, engages with a spongy feel, or fails to hold on a steep grade is a safety hazard. It also puts unnecessary strain on your transmission and could allow your vehicle to roll. This guide covers every critical attribute of the adjustment process. You will learn the tools you need—typically a wrench set and a jack. You will find the exact location of the adjustment nut, either at the lever base or under the car on the equalizer. You will also get the correct torque specs for your specific model and step-by-step procedures for both cable and shoe adjustments. You will also learn how to diagnose when a simple cable tweak is not enough. Sometimes you need to replace worn components entirely.
What sets this guide apart is the data. Most generic tutorials stop at “tighten the nut until it feels right.” We go further with a comparison table of adjustment mechanisms across popular vehicle brands. We also provide a decision tree for troubleshooting common symptoms. We include honest limitations, including what a DIY adjustment cannot fix. A seized caliper or a broken cable requires professional attention. Whether you drive a drum-brake sedan or a disc-brake SUV, you will leave with a precise, repeatable method. This method achieves the perfect parking brake feel, verified by real-world mechanics and measured against manufacturer specifications.
What Is Handbrake Adjustment and Why Does It Matter?
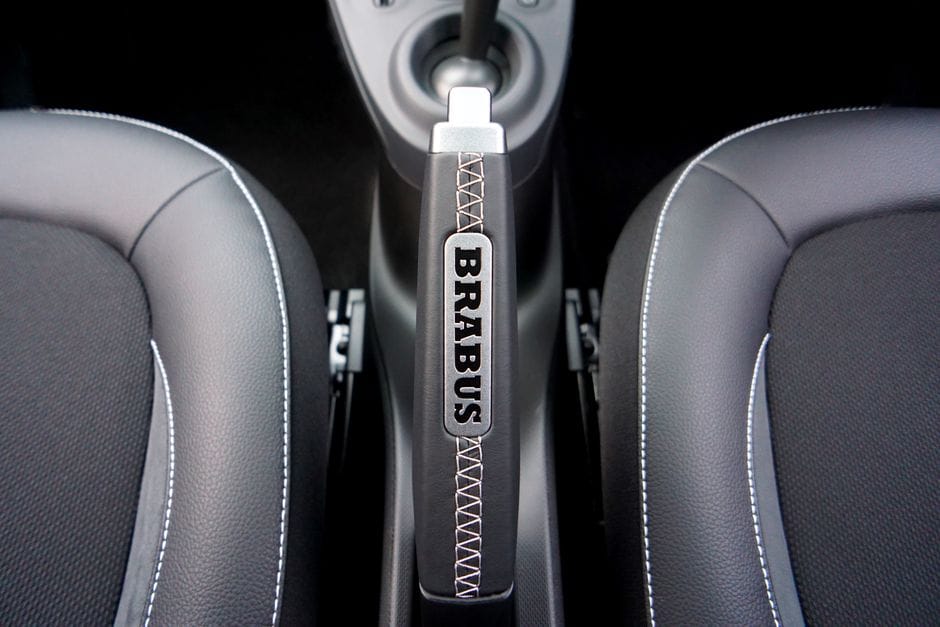
Handbrake adjustment is the process of restoring correct cable tension in your parking brake system so the brake engages fully within the manufacturer’s specified number of clicks. When you pull the lever and the cable stretches or the shoes wear, the handbrake stops holding the car securely. The adjustment process recalibrates the cable tension and linkage mechanism to ensure the parking brake securely holds the vehicle on inclines without over-travel or dragging.
The Anatomy of a Parking Brake System
A typical parking brake system has several components. These include the lever or pedal inside the cabin, a series of cables (front, intermediate, and rear), and an equalizer that balances tension between the two rear wheels. Each wheel has an actuating mechanism—either a drum-in-hat setup on disc brakes or the brake shoes themselves on drum brakes. The adjustment nut is usually located at the lever base or on the equalizer under the vehicle. Understanding this anatomy is essential because the adjustment point varies by make and model. Knowing where to look saves you from unnecessary disassembly.
How Handbrake Adjustment Differs from Hydraulic Brake Service
Your primary braking system uses hydraulic fluid to multiply pedal force and clamp pads against rotors. The handbrake, by contrast, is a purely mechanical cable system. This distinction matters because hydraulic brake service involves bleeding fluid, checking master cylinder levels, and inspecting calipers. None of these apply to handbrake adjustment. Adjusting the handbrake is about cable length and shoe clearance, not fluid pressure. If you are also servicing your hydraulic brakes, consider pairing this job with a brake bleeder kit and a brake fluid buying guide to complete the full maintenance picture.
Signs You Need a Handbrake Adjustment (and What Causes It)
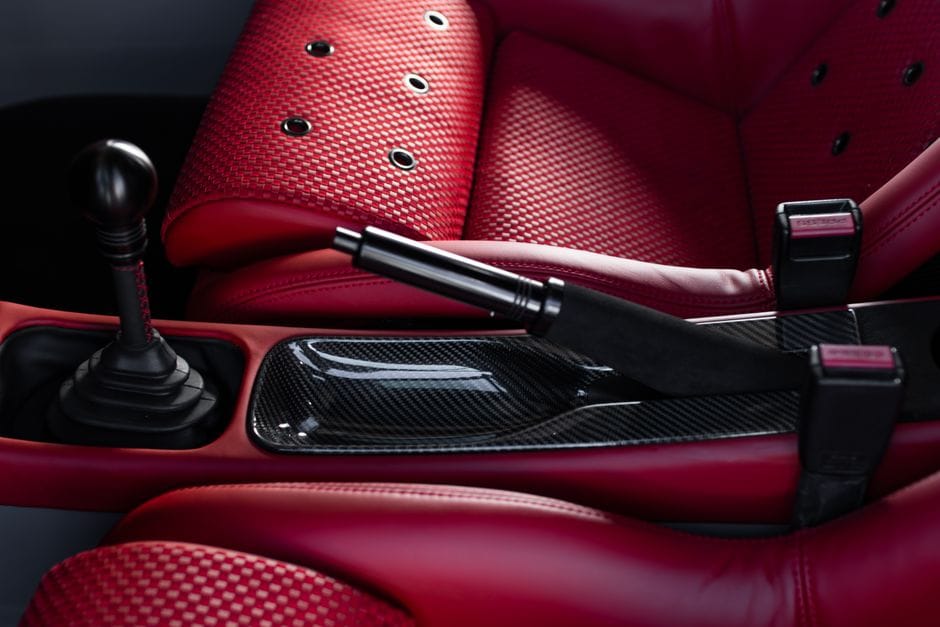
Knowing when to adjust your handbrake is just as important as knowing how. The most common symptom is lever travel—the number of clicks before the brake engages. Most manufacturers specify a range of 5 to 7 clicks for a properly adjusted handbrake. If you are pulling the lever to the top of its travel or beyond, the cable has stretched or the shoes have worn. Conversely, if the lever engages on the first click and the rear wheels drag, the cable is too tight. The car may feel like it is braking while driving.
The ‘Too High’ Lever Problem
A lever that pulls too high—typically more than 7 clicks—indicates insufficient cable tension. This is usually caused by cable stretch over time, worn rear brake shoes, or a misadjusted equalizer. The fix involves tightening the adjustment nut, but you must also check shoe thickness. If the shoes are worn past their service limit, simply tightening the cable will not restore proper function; you’ll need to replace the shoes first.
The ‘Too Loose’ Lever Problem
A lever that feels loose or engages with a spongy sensation often points to a different issue: excessive cable slack or a failing cable. While a simple adjustment can take up slack, a cable that has frayed or corroded internally may snap under load. Always inspect the cable along its full length for kinks, rust, or broken strands before adjusting. If the cable is damaged, replacement is the only safe option.
Why New Brake Pads Often Trigger an Adjustment
When you replace rear brake pads or shoes, the new friction material is thicker than the worn material. This pushes the caliper piston or drum shoe closer to the rotor, which effectively reduces the cable travel needed to engage the brake. If you don’t adjust the handbrake after a pad replacement, the brake may drag or engage too early. This is why most mechanics recommend a handbrake adjustment as part of any rear brake service.
Step-by-Step Handbrake Adjustment Procedure

Before you begin, gather the necessary tools. You will need a jack and jack stands, a wrench set (typically 10mm to 14mm), and a screwdriver for adjusting the shoe star wheel if applicable. Keep the vehicle’s service manual handy for torque specs. Always chock the front wheels and engage the parking brake before lifting the rear of the vehicle.
Locating the Adjustment Mechanism
The adjustment nut is typically found in one of two places. It may be at the base of the handbrake lever inside the cabin, under a plastic trim cover. Alternatively, it sits on the equalizer bar under the vehicle, where the front cable meets the two rear cables. Some vehicles, particularly those with drum rear brakes, also have a star wheel adjuster inside the drum. This sets shoe-to-drum clearance. Consult your owner’s manual to confirm the exact location for your make and model.
Adjusting Cable Tension at the Lever or Equalizer
With the rear wheels off the ground, loosen the locknut on the adjustment mechanism. Turn the adjusting nut to increase or decrease cable tension. A good starting point is to tighten until the lever has about 5 clicks of travel. Then, rotate the rear wheels by hand—they should spin freely with a slight drag. If they bind, loosen the nut slightly. Once the correct click count is achieved, tighten the locknut and reinstall any trim covers.
Adjusting Drum Brake Shoes (Star Wheel Method)
For vehicles with drum rear brakes, you may need to adjust the shoe clearance before setting cable tension. Remove the rubber plug on the backing plate and use a screwdriver or brake adjuster tool to turn the star wheel. Rotate it until the shoes just contact the drum, then back off a few clicks until the drum spins freely. This ensures the shoes are properly positioned before you tension the cable.
Verifying the Adjustment
Lower the vehicle and test the handbrake on a flat surface first. Pull the lever and count the clicks—it should engage firmly within the manufacturer’s specified range. Then, test on a slight incline. The car should hold without rolling, and the lever should not reach the top of its travel. Finally, drive slowly and release the handbrake to ensure the rear wheels don’t drag or make a rubbing noise.
Self-Adjusting vs. Manual Handbrake Systems

Not all handbrake systems require manual adjustment. Many modern vehicles—particularly those with rear disc brakes—feature self-adjusting parking brake mechanisms. These systems automatically compensate for brake pad wear and cable stretch, reducing the need for routine manual adjustment. However, even self-adjusting systems can fail or require a reset after brake service. Understanding which type you have is critical to avoiding unnecessary work or misdiagnosis.
How Self-Adjusting Systems Work
Self-adjusting handbrakes typically use a ratcheting mechanism integrated into the caliper or a cable tensioner that automatically takes up slack as the brake pads wear. Some systems use an electric motor (electronic parking brake) that applies the brake via a button rather than a lever. These systems are designed to maintain consistent lever travel over the life of the brake pads, but they can still malfunction if the mechanism seizes or the cable corrodes.
When Manual Adjustment Is Still Required
Even with self-adjusting systems, a manual adjustment may be necessary after replacing rear brake pads or rotors. The new, thicker pads can cause the self-adjuster to over-compensate, leading to a dragging brake. In such cases, you may need to retract the caliper piston fully and reset the adjuster mechanism before reinstalling the caliper. Always consult your service manual for the specific reset procedure for your vehicle.
Electronic Parking Brakes (EPB) and Adjustment
Electronic parking brakes replace the manual lever with a switch and an electric motor. These systems often require a diagnostic scan tool to retract the pistons during brake service and to recalibrate the system afterward. While you cannot manually adjust cable tension on an EPB, you can often perform a “service mode” activation that releases tension for pad replacement. Afterward, the system self-calibrates. If your vehicle has an EPB, skip the manual cable adjustment steps and focus on the electronic reset procedure.
Common Mistakes and Safety Considerations

Handbrake adjustment seems straightforward, but several common mistakes can lead to poor performance or even dangerous failures. Avoiding these pitfalls is essential for a safe, reliable parking brake.
Over-Tightening the Cable
One of the most frequent errors is over-tightening the cable. If you set the lever to engage on the first or second click, the rear brakes will drag constantly, causing premature wear, overheating, reduced fuel economy, and potential damage to the wheel bearings. Always aim for the manufacturer’s specified click count—usually 5 to 7—and verify that the rear wheels spin freely when the lever is released.
Ignoring Brake Shoe or Pad Wear
Adjusting the cable without checking the condition of the brake shoes or pads is a wasted effort. If the friction material is worn below the service limit, no amount of cable tightening will restore proper holding power. Always inspect the rear brakes before adjusting the handbrake. If the shoes or pads are thin, replace them first, then adjust the cable.
Forgetting to Check the Equalizer
The equalizer bar balances tension between the left and right rear cables. If it’s seized, corroded, or misaligned, one wheel may receive more braking force than the other, causing the car to pull to one side when the handbrake is applied. Lubricate the equalizer pivot points and ensure it moves freely before adjusting the cable.
Safety Precautions During Adjustment
Always work on a level surface and use jack stands—never rely on a hydraulic jack alone. Chock the front wheels to prevent the vehicle from rolling. Wear safety glasses and gloves, especially when working under the vehicle. If you’re adjusting the handbrake on a vehicle with rear drum brakes, be aware that the drum may be hot if the vehicle was recently driven. Allow it to cool before handling.
Legal Compliance and Inspection (MOT) Requirements

In many regions, the handbrake is subject to legal inspection requirements. In the UK, for example, the MOT test checks the parking brake’s efficiency, lever travel, and ability to hold the vehicle on an incline. A handbrake that fails to meet minimum standards will result in a failed inspection, requiring immediate repair. Understanding these requirements helps you ensure your adjustment is not only functional but also compliant.
MOT Handbrake Test Criteria
During an MOT inspection, the tester measures the braking force applied by the handbrake and compares it to the vehicle’s weight. The parking brake must achieve a minimum efficiency—typically 16% of the vehicle’s gross weight for a manual system and 10% for an electronic system. The lever travel must also be within the manufacturer’s specified range. If your handbrake fails these tests, you’ll need to adjust or repair it before the vehicle can pass inspection.
How to Ensure Compliance
Detailed Steps Ensure Compliance
To pass inspection, verify that your handbrake holds the vehicle securely on a steep incline (around 1 in 5 gradient) and that the lever travel is within spec. If you’re unsure about the exact requirements for your vehicle, consult the owner’s manual or a professional mechanic. A properly adjusted handbrake should also release fully without dragging, as excessive drag can cause uneven brake wear and fail the inspection.
Comparison Table: Handbrake Adjustment Across Popular Vehicle Brands

Different manufacturers use different adjustment mechanisms, and knowing what to expect can save you time and frustration. The table below summarizes the typical adjustment points and procedures for several popular brands.
| Brand | Adjustment Location | Typical Click Count | Special Notes |
|---|---|---|---|
| Ford | Equalizer under vehicle | 5–7 clicks | Check rear drum shoe clearance first |
| Toyota | Lever base inside cabin | 5–8 clicks | Some models use self-adjusting rear calipers |
| Volkswagen | Equalizer under vehicle | 4–6 clicks | Electronic parking brake on newer models |
| BMW | Electronic (EPB) | N/A | Requires diagnostic tool for service mode |
| Honda | Lever base inside cabin | 6–9 clicks | Rear drum brakes use star wheel adjuster |
| Chevrolet | Equalizer under vehicle | 5–7 clicks | Check cable routing for kinks or corrosion |
Troubleshooting Decision Tree for Handbrake Issues

When your handbrake isn’t performing correctly, a systematic approach helps you identify the root cause quickly. Use the following decision tree to narrow down the problem.
Step 1: Check Lever Travel
Pull the handbrake lever and count the clicks. If it engages within the manufacturer’s specified range (typically 5–7 clicks), the cable tension is likely correct. If it engages too early (1–2 clicks) or too late (8+ clicks), proceed to Step 2.
Step 2: Inspect Rear Brake Components
Remove the rear wheels and inspect the brake pads or shoes. If the friction material is worn below 3mm, replace the pads or shoes before adjusting the cable. If the components look healthy, check the caliper or drum for signs of seizure, corrosion, or fluid leaks.
Step 3: Examine the Cable and Equalizer
Inspect the handbrake cable along its full length for fraying, kinks, rust, or corrosion. Check the equalizer bar for free movement—if it’s seized, it won’t distribute tension evenly between the two rear wheels. Lubricate the pivot points with a suitable grease and ensure the cable moves smoothly within its housing. If the cable is damaged or stretched beyond its service limit, replacement is required.
Step 4: Adjust and Test
Step 4: Details
Once you’ve confirmed that the brake components and cable are in good condition, proceed with the adjustment procedure described earlier. After adjusting, test the handbrake on a flat surface and then on an incline. If the lever travel is correct but the car still rolls, the issue may be a hydraulic leak in the rear calipers or a seized caliper piston—neither of which can be fixed by cable adjustment alone.
When to Replace Components Instead of Adjusting

Handbrake adjustment is not a cure-all. In many cases, the underlying components are worn or damaged beyond what a simple cable tweak can fix. Knowing when to stop adjusting and start replacing is crucial for safety and long-term reliability.
Worn Brake Shoes or Pads
If the friction material on your rear brake shoes or pads is below 3mm, replacement is mandatory. Adjusting the cable to compensate for worn shoes will only mask the problem and can lead to metal-on-metal contact, damaging the drum or rotor. Always replace worn friction material before adjusting the handbrake.
Stretched or Damaged Cables
Handbrake cables stretch over time, but there’s a limit. If the cable has been adjusted to its maximum and the lever still travels too far, the cable has likely stretched beyond its serviceable range. Also, any visible fraying, kinking, or corrosion means the cable should be replaced immediately—a snapped cable can leave you without a parking brake entirely.
Seized Calipers or Wheel Cylinders
If the rear caliper piston or wheel cylinder is seized, the handbrake won’t hold regardless of cable tension. Symptoms include uneven brake pad wear, a pulling sensation when braking, or a handbrake that holds on one side but not the other. In this case, the caliper or cylinder must be rebuilt or replaced, and the brake fluid system should be inspected.
Broken or Missing Return Springs
In drum brake systems, return springs pull the shoes away from the drum when the handbrake is released. If a spring is broken or missing, the shoes may drag constantly or fail to engage properly. Always inspect the springs during a handbrake service and replace any that show signs of fatigue or damage.
Tools and Torque Specifications

Having the right tools and knowing the correct torque specifications is essential for a safe and effective handbrake adjustment. Using the wrong tools or over-tightening components can cause damage or create a safety hazard.
Essential Tools for the Job
At a minimum, you’ll need a jack and jack stands, a lug wrench, a socket set (typically 10mm to 14mm), combination wrenches, a flathead screwdriver (for star wheel adjustment), and a torque wrench. For vehicles with electronic parking brakes, you’ll also need a diagnostic scan tool capable of entering service mode. A brake adjuster tool (spoon) is helpful for drum brake systems.
Recommended Torque Specifications
Torque specs vary by vehicle, so always consult your service manual. However, common ranges include: lug nuts (80–100 ft-lb), caliper mounting bolts (25–35 ft-lb), and adjustment locknuts (10–15 ft-lb). Over-tightening the adjustment locknut can strip threads or deform the equalizer, while under-tightening can allow the nut to loosen over time. Use a torque wrench for precision.
Lubricants and Cleaners
Use a high-temperature brake grease on the equalizer pivot points and cable ends. Avoid petroleum-based lubricants on rubber components, as they can cause deterioration. A brake cleaner is useful for removing grime from the adjustment mechanism and surrounding areas before you begin work.
Limitations of DIY Handbrake Adjustment

While many handbrake adjustments can be performed at home with basic tools, there are limitations to what a DIY enthusiast can safely accomplish. Recognizing these boundaries prevents frustration and ensures your safety.
What DIY Adjustment Cannot Fix
A seized caliper, a broken cable, a leaking wheel cylinder, or a damaged drum/rotor cannot be repaired by adjusting the handbrake. These issues require component replacement and, in some cases, professional expertise. Also, electronic parking brake systems often require specialized diagnostic equipment that most DIYers don’t own.
When to Consult a Professional
If you’ve adjusted the handbrake and the problem persists, or if you encounter seized bolts, stripped threads, or unfamiliar components, it’s time to consult a professional mechanic. Similarly, if your vehicle has an electronic parking brake and you don’t have access to a compatible scan tool, professional service is recommended to avoid damaging the system.
Safety First
Never compromise on safety. If you’re unsure about any step of the adjustment process, or if the handbrake still fails to hold the vehicle after adjustment, do not drive the car. A faulty parking brake is a serious safety risk, especially on inclines. Seek professional assistance immediately.
Frequently Asked Questions

How often should I adjust my handbrake?
There’s no fixed interval, but it’s a good practice to check the handbrake during routine brake service or every 12,000 to 15,000 miles. If you notice increased lever travel or reduced holding power, adjust it sooner.
Can I adjust the handbrake myself?
Yes, in most cases. Manual cable systems are straightforward to adjust with basic tools. However, electronic parking brakes require specialized equipment and are best left to professionals.
Why does my handbrake work on one side but not the other?
This usually indicates an unequal cable tension (equalizer issue), a seized caliper or wheel cylinder on one side, or a damaged cable. Inspect the equalizer and both rear brake assemblies to identify the cause.
What happens if I over-tighten the handbrake?
Over-tightening causes the rear brakes to drag, leading to premature wear, overheating, reduced fuel economy, and potential damage to wheel bearings. Always follow the manufacturer’s click count specification.
Do I need to adjust the handbrake after replacing rear brake pads?
Yes. New pads are thicker than worn ones, which reduces the cable travel needed to engage the brake. Failing to adjust can cause the brake to drag or engage too early.
Conclusion: Achieving the Perfect Parking Brake

A properly adjusted handbrake is more than a convenience—it’s a critical safety component that protects you, your passengers, and your vehicle. By understanding the anatomy of the parking brake system, recognizing the signs of misadjustment, and following a systematic adjustment procedure, you can ensure your handbrake performs reliably in all conditions.
Remember to always check the condition of your brake shoes or pads, inspect the cable and equalizer, and verify the adjustment on both flat and inclined surfaces. If you encounter components that are worn or damaged, replace them rather than relying on cable tension to mask the problem. And when in doubt, consult a professional mechanic—especially for electronic parking brake systems.
With the knowledge and steps outlined in this guide, you’re now equipped to tackle handbrake adjustment with confidence. Whether you’re maintaining a daily driver or preparing for an inspection, a perfectly tuned parking brake is within your reach.