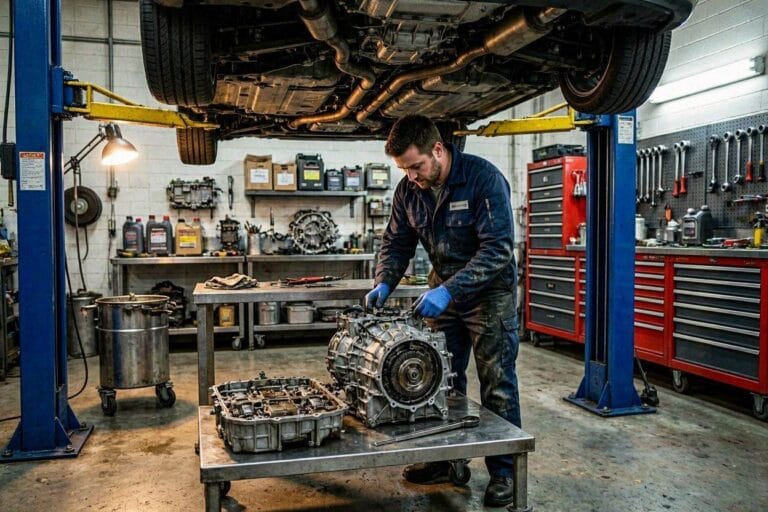
Clutch Cable Replacement: Symptoms & DIY Installation Guide
A broken clutch cable strands you on the road. A stretched clutch cable grinds your gears. This guide shows every symptom, tool, and step to replace your clutch cable safely at home.
What Is a Clutch Cable and How Does It Work?
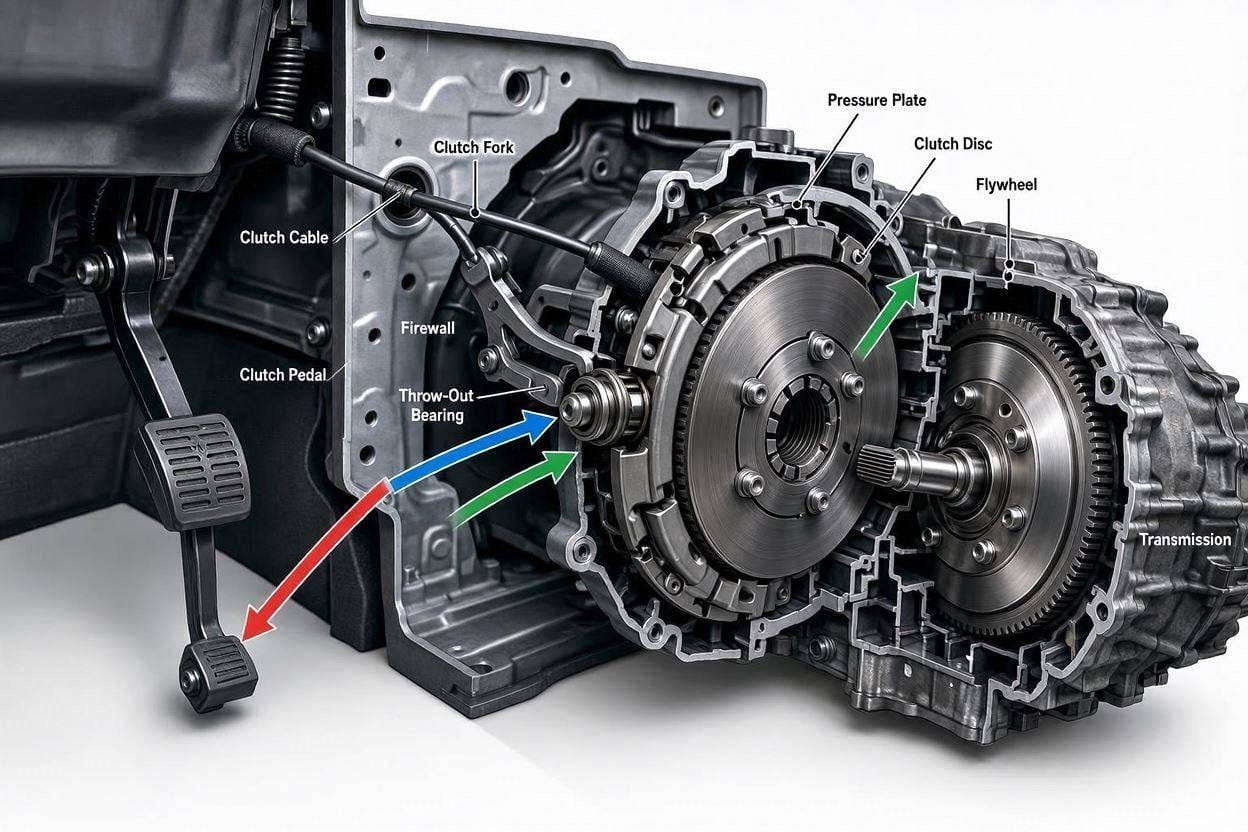
A clutch cable is a mechanical linkage connecting the clutch pedal to the clutch release mechanism. When you press the pedal, the cable pulls the clutch fork to disengage the engine from the transmission, allowing smooth gear changes.
The inner steel cable slides inside a fixed outer housing. The housing mounts to the bulkhead. The inner cable connects to the pedal at one end and the clutch lever at the other. Pressing the pedal pulls the cable. The cable moves the release fork. The fork pushes the throw-out bearing. The bearing disengages the clutch disc from the flywheel.
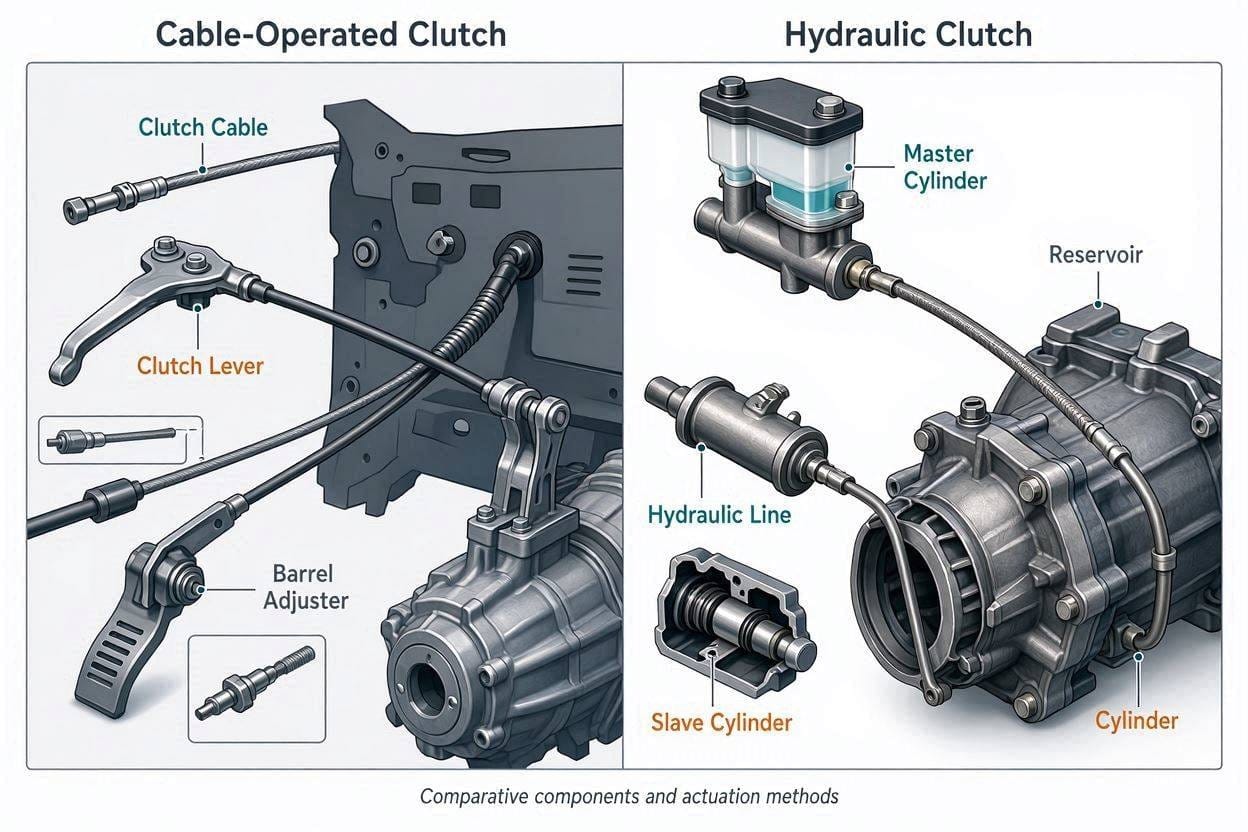
Cable-operated clutches use pure mechanical force. Hydraulic clutches use brake fluid and master cylinders. Cables are simpler. Hydraulics are smoother. We compare both systems later in this guide.
Quick Definition: A clutch cable is a mechanical linkage connecting the clutch pedal to the clutch release mechanism. When you press the pedal, the cable pulls the clutch fork to disengage the engine from the transmission, allowing smooth gear changes.

6 Warning Signs Your Clutch Cable Is Failing
1. Clutch Pedal Feels Stiff or Heavy
A stiff clutch pedal often indicates a frayed inner cable snagging inside the outer housing or insufficient lubrication.
Check the pedal pivot first. A dry pivot feels stiff but the cable moves freely. Lubricate the pivot with white lithium grease. If the pivot moves smoothly, remove the cable from the pedal. Pull the inner cable by hand. Resistance means fraying inside the housing. Replace the cable. Do not adjust a frayed cable.
2. Clutch Pedal Drops to the Floor (No Resistance)
If the pedal flops to the floor with no resistance, the cable has likely snapped or the bulkhead mounting has failed.
Look under the dash. A snapped cable leaves the pedal dangling free. A failed bulkhead mount lets the outer housing pull through the firewall. The pedal still moves but the cable does not. Inspect the bulkhead grommet or metal plate for cracks. Replace the cable and repair the mount.
3. Difficulty Shifting Gears or Grinding Noises
Incomplete clutch disengagement from a stretched or frayed cable prevents smooth gear shifts and causes grinding.
The clutch disc stays partially engaged. The input shaft keeps spinning. You force the gear selector against moving teeth. This grinds the synchronizers. Stop driving immediately. Continued grinding destroys the transmission. Replace the cable before the gearbox needs rebuilding.
4. Clutch Cable Frayed or Visible Damage
Examine exposed cable sections at the pedal and clutch lever ends for broken strands, kinks, or melted outer housing.
Frayed strands lie close to the inner cable. They look like a bottle brush. One broken strand means more will follow. Kinks create weak points. The cable snaps at the kink. Melted outer housing comes from exhaust heat. Reroute the replacement cable away from the manifold.
5. Clutch Cable Stretched Beyond Adjustment Range
When free play exceeds manufacturer specifications even at maximum adjustment, the cable has stretched permanently and requires replacement.
Measure free play at the pedal face. Most manufacturers specify 1.0 to 1.5 inches (25 to 38 mm) of pedal travel before resistance builds. Turn the barrel adjuster or threaded end fully tight. If free play still exceeds spec, the inner cable has elongated. No adjustment fixes stretch. Install a new cable.
6. Vehicle Creeps Forward With Clutch Depressed
Incomplete disengagement from cable stretch or fraying causes the clutch to drag, making the vehicle creep in gear.
The clutch disc rubs against the flywheel at idle. The car lurches forward at stoplights. This overheats the clutch. The friction material glazes. Creeping while stopped is dangerous. Traffic gaps shrink. You cannot hold the car on a hill with the clutch alone. Replace the cable immediately.
Safety Alert: A failing clutch cable can leave you stranded or cause sudden loss of clutch control in traffic. Inspect immediately if you notice any of these symptoms.
Clutch Cable vs. Hydraulic Clutch: Quick Comparison
Table
| Feature | Cable-Operated Clutch | Hydraulic Clutch |
|---|---|---|
| Mechanism | Mechanical cable linkage | Fluid pressure via master/slave cylinders |
| Pedal Feel | Can become stiff over time | Generally consistent and lighter |
| Maintenance | Requires periodic lubrication and adjustment | Fluid changes; self-adjusting |
| Common Failures | Fraying, stretching, breakage | Fluid leaks, slave cylinder failure |
| DIY Friendliness | Moderate — mechanical only | Complex — requires bleeding |
| Cost to Replace | $30–$80 (cable only) | $150–$400+ (full system) |
Cable clutches dominate older vehicles and budget models. Hydraulics appear in modern performance cars. See our full comparison of clutch system types for deeper analysis.
DIY Clutch Cable Replacement: Step-by-Step Guide
Tools and Materials Needed
-
Socket set and spanners (8 mm to 17 mm typical)
-
Pliers, flathead screwdriver, Phillips screwdriver
-
Penetrating oil (PB Blaster or WD-40 Specialist)
-
Replacement clutch cable (OEM or quality aftermarket like Dorman or ATP)
-
High-temperature wheel bearing grease
-
Cable lubricant (motorcycle cable lube or light machine oil)
-
Modelling clay (for lubrication funnel)
-
Axle stands rated for your vehicle weight
-
Wheel chocks
DIY Cost: $30–$80 for cable + 1–2 hours labor
Mechanic Cost: $150–$300 (parts + labor)
Savings: $120–$220+ doing it yourself
Step 1 — Safety First: Secure the Vehicle
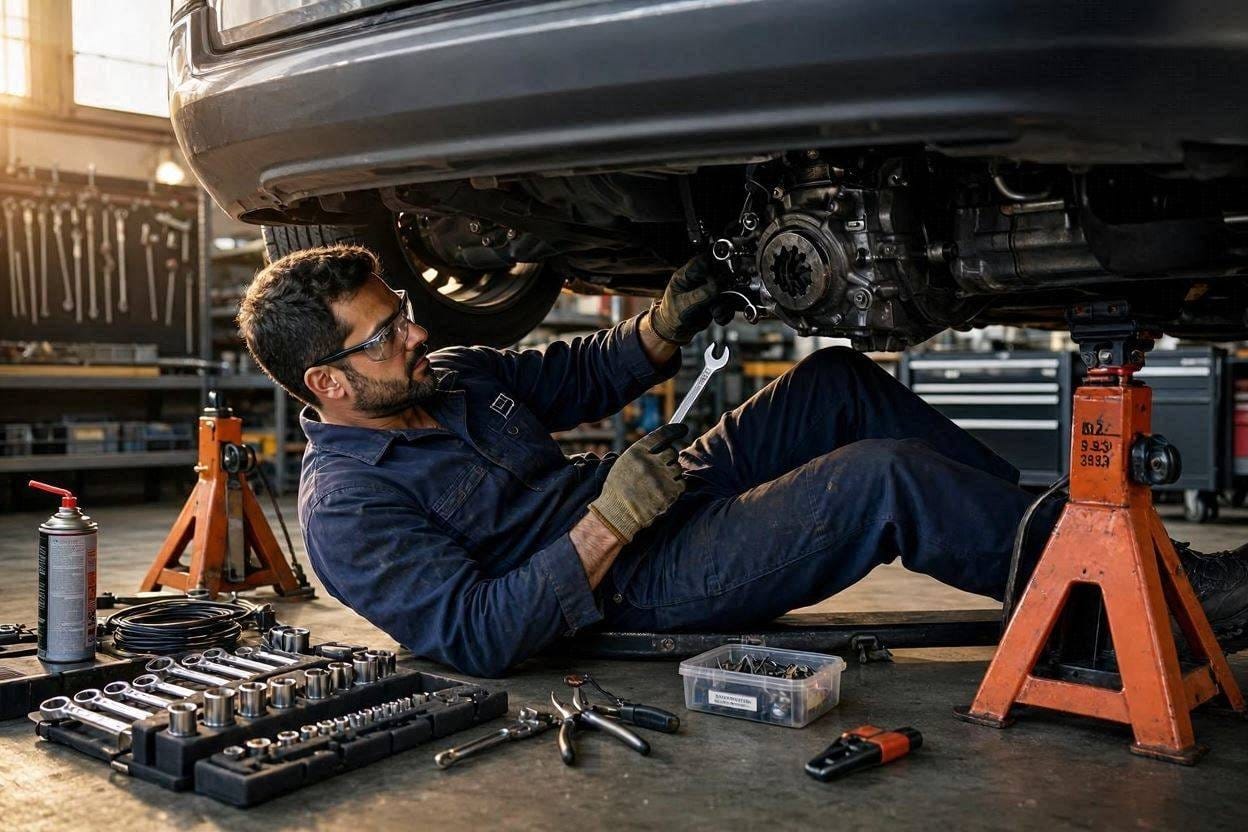
Park on level ground. Engage the parking brake. Place wheel chocks behind the rear wheels. Loosen the front lug nuts slightly. Jack up the front of the vehicle. Lower onto axle stands. Never work under a vehicle supported only by a jack. Disconnect the negative battery terminal if the cable routes near starter wiring or alternator.
Step 2 — Disconnect the Old Cable From the Clutch Lever
Crawl under the vehicle. Locate the clutch lever on the bell housing. Remove the rubber dust cover. Identify the connection type. Threaded end: hold the adjuster nut with a 13 mm wrench. Remove the locknut with a second wrench. Back out the adjuster. Nipple end: push the clutch lever forward toward the engine. Pull the cable nipple free with pliers. Note the exact cable routing. Trace every bracket and clip. Photograph the path with your phone.
Step 3 — Disconnect From the Clutch Pedal
Move to the driver footwell. Remove the lower dash trim. Use a trim tool or flathead screwdriver. Pop the clips gently. Identify the pedal connection type. Nipple fitting: push the cable forward, lift the nipple out of the slot. Eyelet: remove the clevis pin and cotter pin. Circlip: spread the clip with circlip pliers. Slide the cable free. Set all hardware in a magnetic tray.
Step 4 — Remove the Outer Cable Housing
Pull the outer housing free from the bulkhead. Some use a rubber grommet. Others bolt to a metal plate. Some clip into plastic lugs. Remove the housing from every guide bracket. Pull it through the clutch housing hole. Inspect the bulkhead mounting point. Look for rust, cracks, or fatigue. A corroded bulkhead lets the housing pull through. Repair or reinforce before installing the new cable.
Step 5 — Inspect and Prepare the New Cable
Verify the part number against your VIN. Check the cable length against the old one. Lay them side by side. Match the end fittings exactly. Lubricate the inner cable before installation. Metal cables: form modelling clay into a funnel around the housing end. Pour light machine oil into the funnel. Gravity feeds the oil down the housing. Nylon-coated cables: use silicone lubricant only. Petroleum oil swells and destroys the nylon coating.
Pro Tip: Pre-lubricate the new cable overnight by hanging it vertically and allowing oil to soak through the entire length. This ensures smooth operation from day one.
Step 6 — Install the New Cable
Route the new cable through the bulkhead first. Match the original path exactly. Secure through every guide bracket. Keep the housing at least 2 inches from exhaust components. Connect the outer housing to the clutch housing. Attach to the clutch lever. Attach to the pedal in reverse order. Reinstall all dust covers and trim panels. Double-check every connection before testing.
Step 7 — Adjust Clutch Free Play
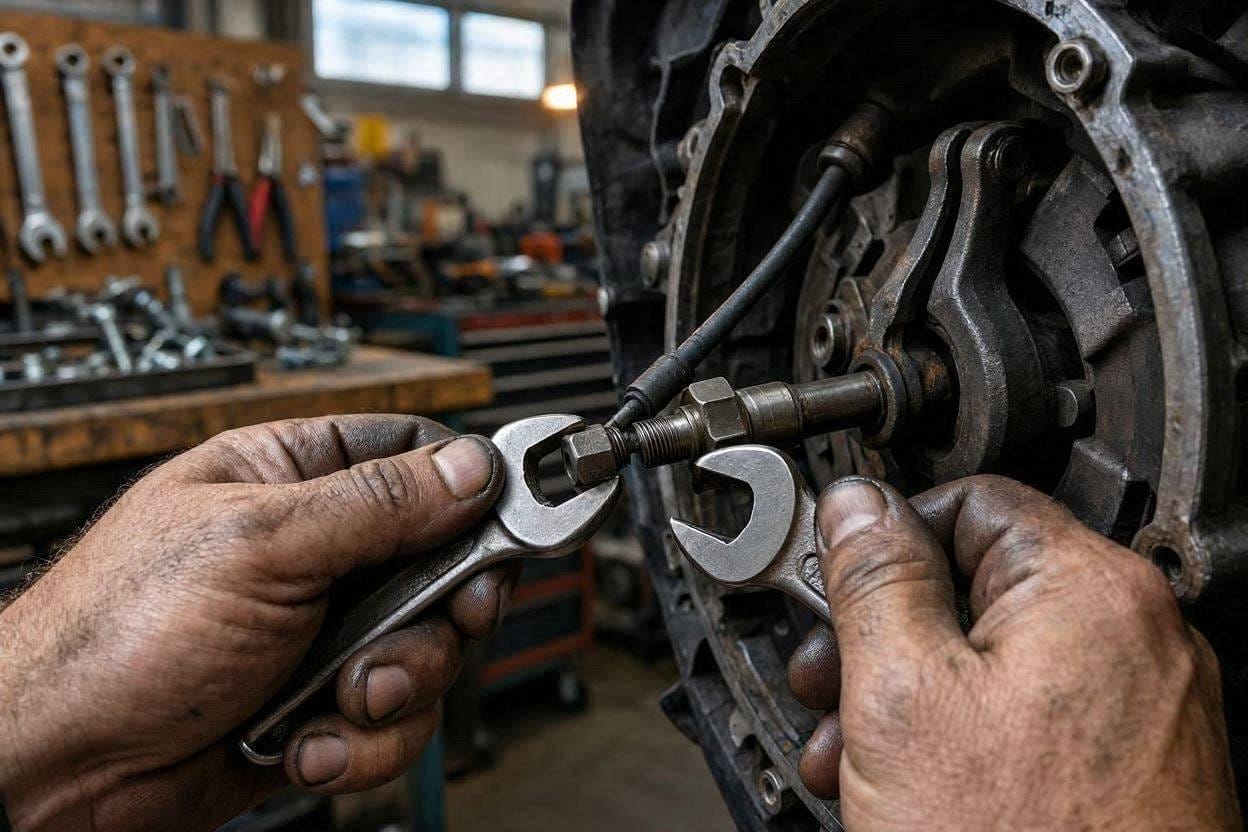
Manufacturer specification typically runs 1.0 to 1.5 inches (25 to 38 mm) at the pedal face. Measure from the pedal rest position to the point where resistance builds. Use the barrel adjuster at the pedal or the threaded end at the lever. Turn clockwise to reduce free play. Turn counterclockwise to increase free play. Tighten the locknut to 15 to 20 lb-ft. Verify smooth operation through full pedal travel.
Adjustment Reference: For detailed adjustment procedures, including handlebar adjusters and fine-tuning techniques, see our dedicated guide on clutch-adjustment-guide.
Common Beginner Mistakes to Avoid
-
Mistake 1: Forgetting to note original cable routing — causes pinching or exhaust contact
-
Mistake 2: Using wrong lubricant on nylon-coated cables — destroys inner coating
-
Mistake 3: Overtightening adjuster nuts — strips threads or prevents self-adjustment
-
Mistake 4: Ignoring bulkhead corrosion — cable will pull through again
-
Mistake 5: Not testing full steering lock-to-lock (motorcycles) or full pedal travel
Expert Tips for Longer Cable Life
Lubricate metal inner cables monthly with a pump oil can. Apply at the housing end. Work the pedal to distribute the oil. Nylon-coated cables need annual inspection only. The coating is self-lubricating. Keep the cable routed away from exhaust heat sources. Wrap the housing with heat-resistant sleeve if proximity is unavoidable. Avoid resting your foot on the clutch pedal. This adds constant tension. The cable stretches prematurely. Replace rubber dust covers if cracked. Dirt and moisture accelerate corrosion. Check free play every 6 months during routine maintenance. Catching stretch early prevents transmission damage.
Troubleshooting After Installation
Table
| Problem | Likely Cause | Solution |
|---|---|---|
| Pedal still stiff | Insufficient lubrication or pinched cable | Re-lubricate or reroute |
| Gear grinding persists | Incorrect free play adjustment | Readjust to spec; check clutch plate wear |
| Pedal has excessive free play | Cable stretch or wrong adjustment | Tighten adjuster; verify cable length |
| Cable comes loose from lever | Missing locknut or worn nipple | Replace hardware; inspect lever slot |
| Squeaking noise | Dry clutch lever pivot or cable housing | Grease lever pivot; re-lubricate cable |
When to Replace vs. When to Adjust
Replace Immediately If:
-
Visible fraying or broken strands
-
Cable stretched beyond adjuster range
-
Snapped or kinked outer housing
-
Bulkhead mounting failed
Adjust Only If:
-
Minor free play changes within specification
-
Recent clutch component replacement changed geometry
-
Cable is otherwise intact and properly lubricated
FAQ: Clutch Cable Replacement
Q: How much does it cost to replace a clutch cable? A: DIY replacement costs $30–$80 for the cable plus 1–2 hours. Professional mechanic rates range from $150–$300 depending on vehicle accessibility.
Q: Can you drive with a broken clutch cable? A: No. A completely broken cable means no clutch disengagement. You cannot shift gears safely without damaging the transmission.
Q: How long does clutch cable replacement take? A: For most vehicles, 1–2 hours for a DIYer with basic tools. Complex routing or dash disassembly may extend to 3 hours.
Q: Can a stretched clutch cable be repaired? A: No. Once a clutch cable has stretched beyond its adjustment range, it cannot be restored to original length and must be replaced.
Q: What happens if my clutch cable breaks while driving? A: You’ll lose clutch pedal resistance. If already in gear, you can shift using engine RPM matching (advanced technique), but you should pull over safely and call for assistance.
Q: How often should I lubricate my clutch cable? A: Metal inner cables benefit from monthly lubrication. Nylon-coated cables are self-lubricating and only need annual inspection.
Q: Is a cable clutch better than hydraulic? A: Cable clutches are simpler, cheaper to repair, and more DIY-friendly. Hydraulic clutches offer lighter, more consistent pedal feel but are more complex to service.
Q: Why is my clutch pedal hard to press after cable replacement? A: Check for proper lubrication, verify the cable isn’t pinched in routing, and ensure the clutch lever pivot is greased.
Conclusion: Keep Your Clutch Cable Maintained
A failing clutch cable announces itself early. Stiff pedals, grinding gears, and creeping at stops are your warnings. Inspect the cable at every oil change. Measure free play twice a year. Lubricate metal cables monthly. Replace frayed or stretched cables before they strand you. Preventive maintenance costs $30 and an hour. A destroyed transmission costs $2,000 and a week in the shop.
Explore our detailed adjustment procedures for fine-tuning your clutch. | Diagnose deeper pedal problems with our specialized guide. | Solve shifting issues before they ruin your gearbox. | Compare clutch system types to understand your entire drivetrain.
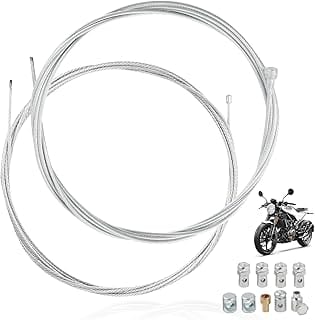
Top Clutch Cable Replacement – Our Picks
Best Overall
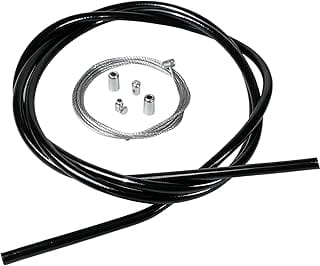
Universal Clutch Cable 2 mm Diameter 2 m with Shea
€12.99
Best Value
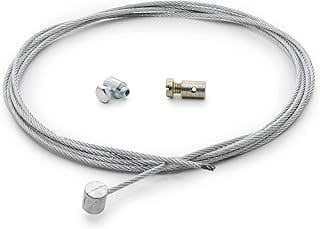
Easyboost Clutch Cable Coupling Cable Diameter 2 m
€10.99
Premium Pick
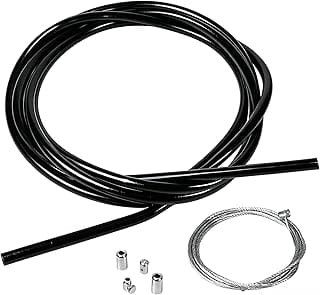
Universal Clutch Cable Diameter 2 mm 2 m with Shea
€10.99
Editor’s Choice
2 pieces 2 m universal throttle cable and clutch c
€7.99
You might also like: Flywheel Resurfacing vs. Replacement: Which Should You Do?, Clutch Adjustment Guide: Cable & Self-Adjusting Clutches, Cable vs Hydraulic Clutch: Which System Is Better for Your Car?