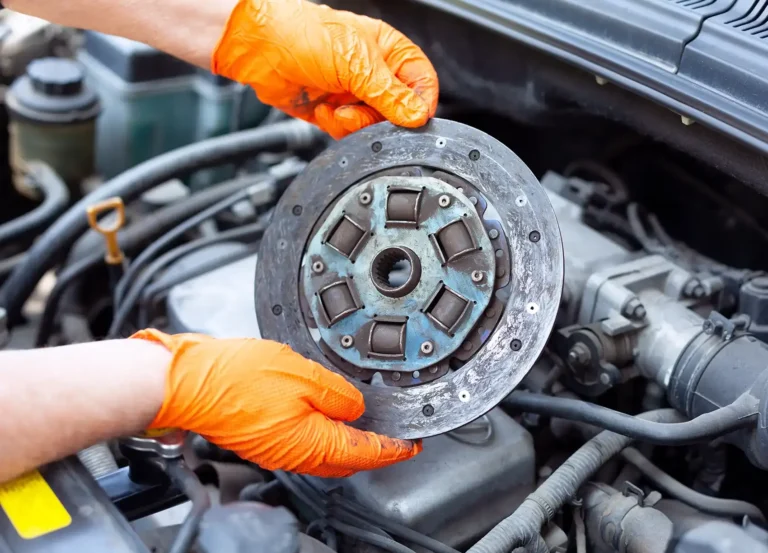
That grinding squeal over every bump drives you insane. You just replaced the brake pads six months ago. The noise returned. The real culprit? Worn brake hardware.
What Is Brake Hardware and Why Does It Fail?
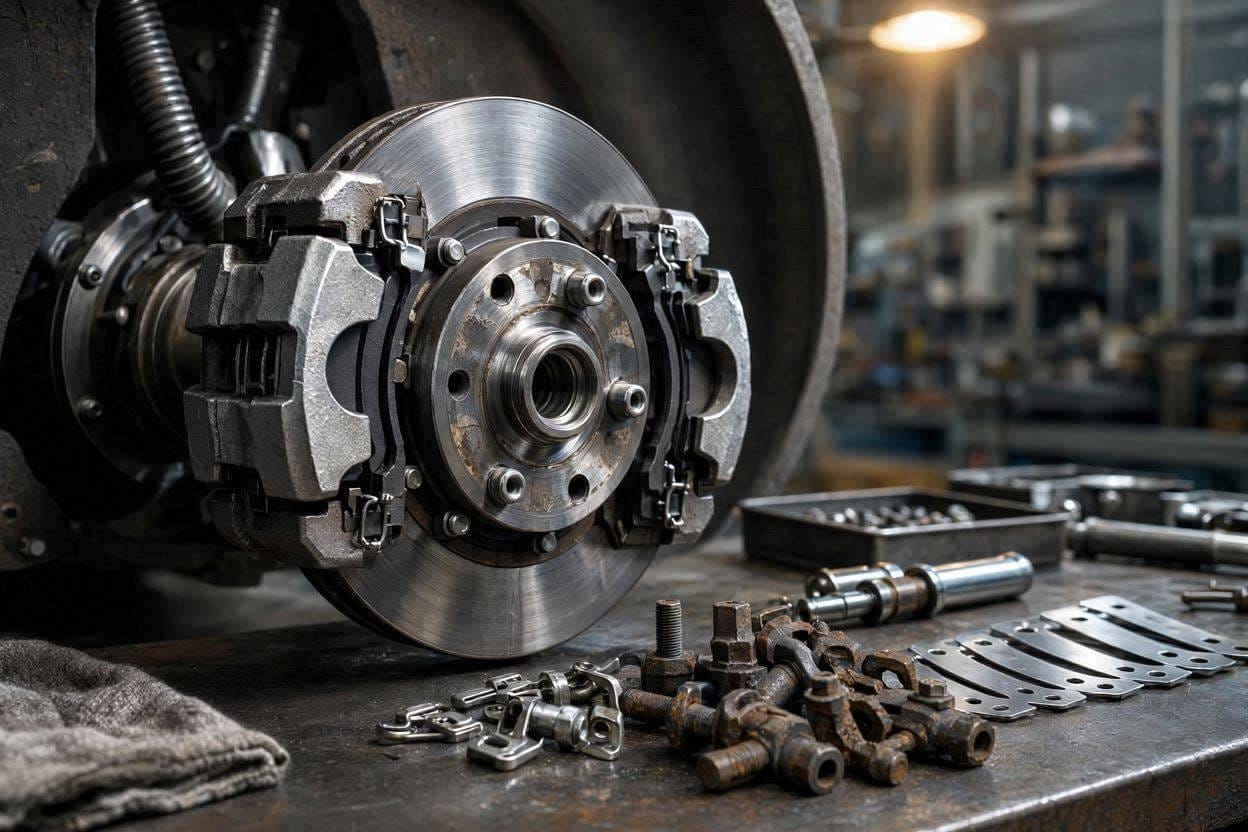
Brake hardware includes clips, springs, shims, and pins that hold pads in place. These parts endure extreme heat cycles. Temperatures reach 300-400°F during normal braking. Hardware fatigues after 30,000-50,000 miles. Corrosion accelerates failure in salt-belt states.
Most drivers ignore hardware during a brake pad replacement. Shops reuse old clips to save time. Those clips lose tension. Pads rattle. Noise begins. Premature pad wear follows.
Insider Tip: Hardware kits cost $12-$35 per axle. Compare that to $150-$400 for new pads and rotors from rattle-induced uneven wear.
What Are the Signs You Need Brake Hardware Replacement?
 brake hardware inside a disc brake assembly.” width=”1248″ height=”832″ srcset=”https://vehiclebar.com/wp-content/uploads/2026/07/Realistic_automotive_technician_inspecting_front_disc_brake-1.jpg 1248w, https://vehiclebar.com/wp-content/uploads/2026/07/Realistic_automotive_technician_inspecting_front_disc_brake-1-300×200.jpg 300w, https://vehiclebar.com/wp-content/uploads/2026/07/Realistic_automotive_technician_inspecting_front_disc_brake-1-1024×683.jpg 1024w, https://vehiclebar.com/wp-content/uploads/2026/07/Realistic_automotive_technician_inspecting_front_disc_brake-1-768×512.jpg 768w” sizes=”auto, (max-width: 1248px) 100vw, 1248px” />
Listen first. Clicking or rattling over bumps signals loose pads. Squealing without pedal pressure means clips lost spring tension. Uneven pad wear reveals stuck or corroded slide pins.
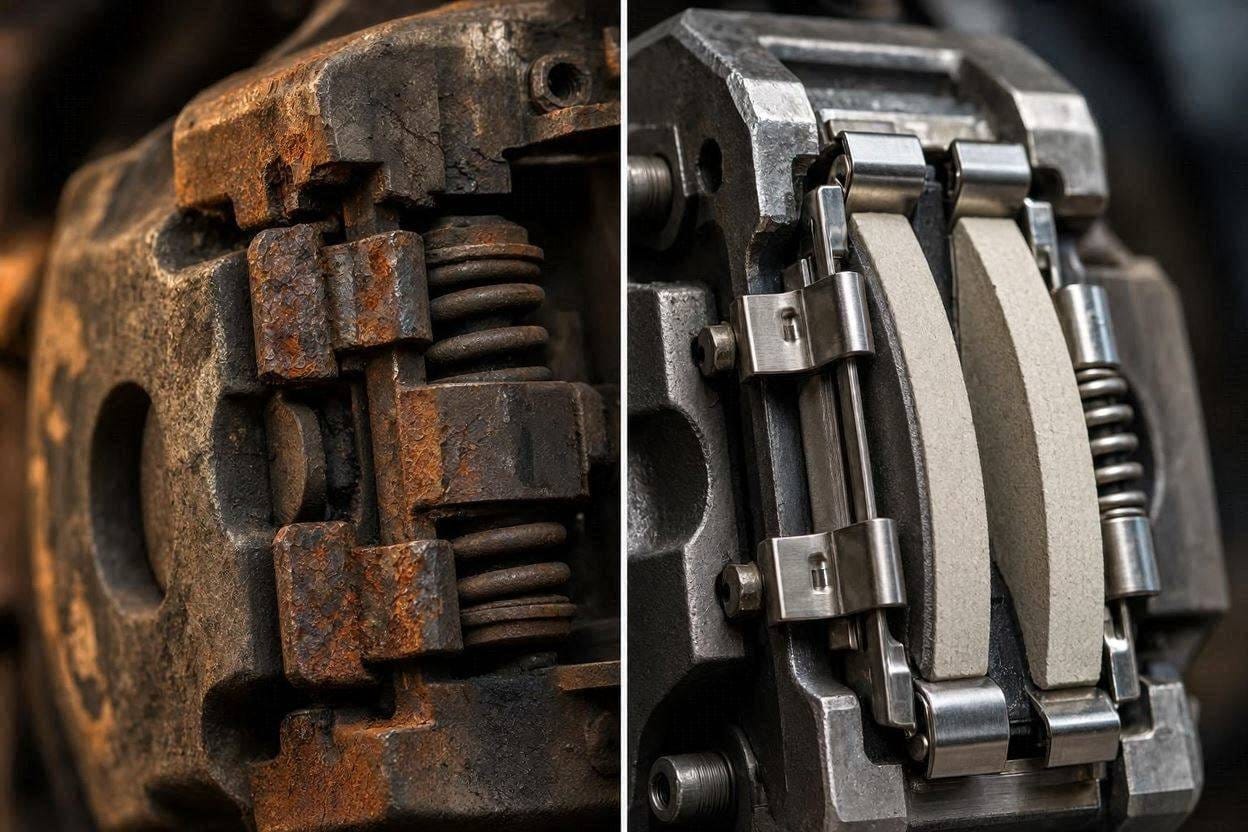
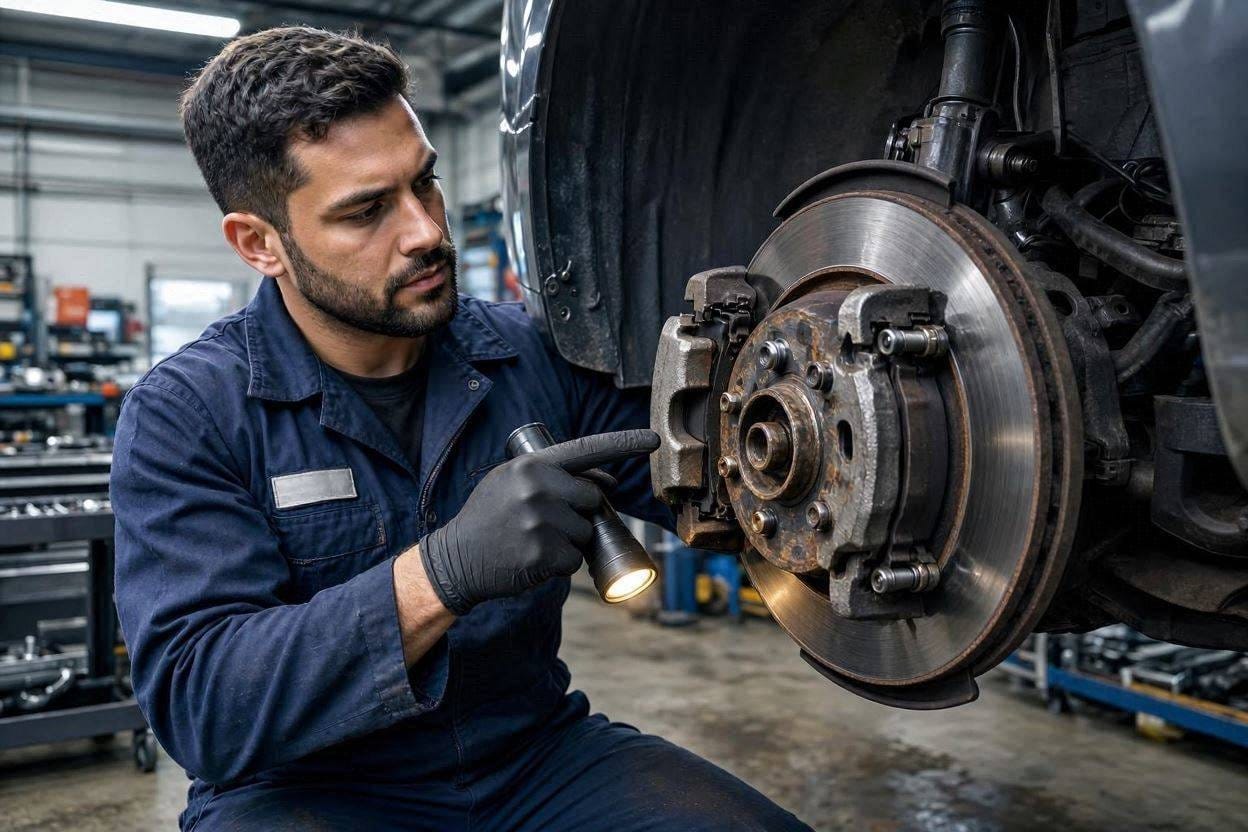
Visual inspection confirms the diagnosis. Remove the wheel. Check the caliper bracket clips. Look for rust, cracks, or flattened springs. Measure clip tension with a feeler gauge. Specs vary by manufacturer. Most require 0.010-0.030 inch clearance.
Feel the pedal. A spongy or inconsistent stroke points to seized guide pins. Pins must slide freely. Stuck pins cause uneven pressure. The pad drags on one side.
Insider Tip: Spray hardware with brake cleaner. Wipe residue. If rust returns within 48 hours, the metal is porous. Replace it. Surface rust hides deeper decay.
How Does Bad Hardware Damage Your Brakes?
Loose pads vibrate. Vibration creates noise. Noise is a symptom. The damage runs deeper.
Pads wear unevenly when clips fail. The inboard pad contacts the rotor center. The outboard pad tilts. Rotors develop thickness variation. Pedal pulsation follows. Resurfacing or replacement becomes necessary.
Corroded pins stick in the bracket. Calipers cannot center over rotors. Dragging brakes overheat fluid. Boiling fluid causes fade. Stopping distances increase by 20-30% in extreme cases.
Insider Tip: Check the anti-rattle clip contact points. Shine a flashlight at an angle. Polished spots indicate movement. Movement equals wear. Replace the clip.
What Tools Do You Need for Brake Hardware Replacement?
Gather the right tools before starting. Missing tools cause delays. Delays lead to shortcuts.
Required Tools:
Safety Gear:
Insider Tip: Take photos before disassembly. Phone cameras are free. Reference photos save hours of confusion during reassembly.
Step-by-Step Brake Hardware Replacement Guide
 brake hardware clips during a brake service.” width=”1248″ height=”832″ srcset=”https://vehiclebar.com/wp-content/uploads/2026/07/Professional_mechanic_replacing_brake_hardware_on_a_modern_p.jpg 1248w, https://vehiclebar.com/wp-content/uploads/2026/07/Professional_mechanic_replacing_brake_hardware_on_a_modern_p-300×200.jpg 300w, https://vehiclebar.com/wp-content/uploads/2026/07/Professional_mechanic_replacing_brake_hardware_on_a_modern_p-1024×683.jpg 1024w, https://vehiclebar.com/wp-content/uploads/2026/07/Professional_mechanic_replacing_brake_hardware_on_a_modern_p-768×512.jpg 768w” sizes=”auto, (max-width: 1248px) 100vw, 1248px” />
Follow these steps exactly. Skipping steps invites failure.
Step 1: Secure the Vehicle
Park on level concrete. Engage the parking brake. Place wheel chocks behind rear tires. Loosen lug nuts one turn while wheels are on the ground. Raise the vehicle with a jack. Support with jack stands rated for your vehicle weight. Never work under a jack alone.
Step 2: Remove the Wheel and Inspect
Remove lug nuts completely. Pull the wheel straight off. Inspect the rotor surface. Look for scoring or blue heat marks. Check pad thickness through the caliper window. Minimum safe thickness is 3mm (about 1/8 inch).
Step 3: Remove the Caliper
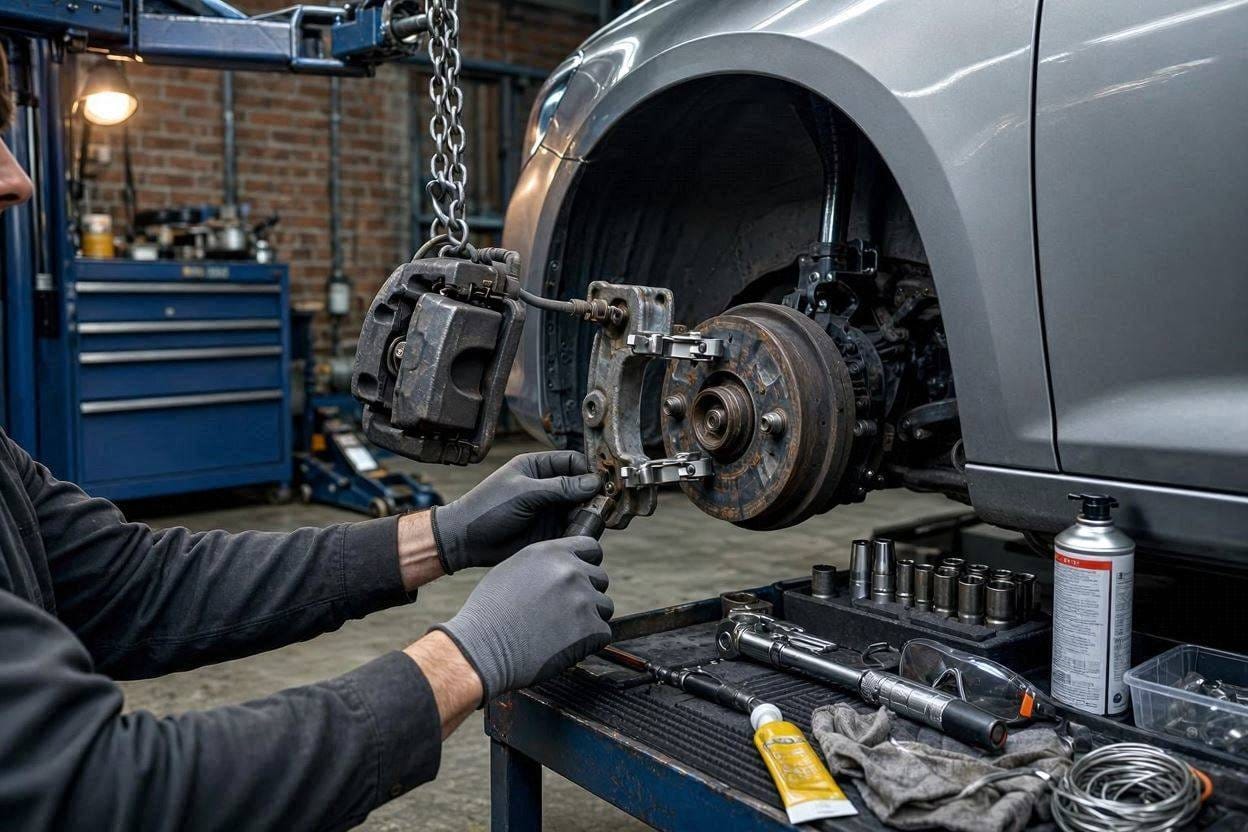
Locate the caliper bracket bolts. These are larger than caliper slide bolts. Usually 17mm. Break them loose with a breaker bar. Remove bolts completely. Lift the caliper assembly off the rotor. Hang it from the strut with a bungee cord. Never let the caliper dangle by the brake hose.
Step 4: Remove Old Pads and Hardware
Pull the pads straight out. Note the orientation. Inboard and outboard pads differ. Remove the anti-rattle clips from the bracket. Use needle-nose pliers. Clips snap into grooves. Pry gently to avoid bending the bracket.
Step 5: Clean Everything
Spray the bracket with brake cleaner. Scrub with a wire brush. Clean the pad abutment surfaces where pads slide. Remove all rust and old lubricant. Wipe dry with a lint-free cloth. Clean the caliper slide pins. Remove rubber boots. Inspect boots for tears.
Step 6: Install New Hardware
Open your brake hardware kit. Match each new clip to the old one. Snap clips into bracket grooves. Verify they seat fully. A half-seated clip pops out under vibration. Install new slide pin boots if included.
Step 7: Lubricate Correctly
Apply silicone brake lubricant to pad backing plates where clips contact. Apply thin film to slide pins. Never put lubricant on the friction surface. Never use petroleum-based grease. It destroys rubber boots and attracts dust.
Step 8: Install New Pads
Slide pads into bracket. They should move freely by hand. No binding. No rocking. Reinstall the caliper over pads. Compress the piston with a C-clamp if necessary. Bolt the bracket to the spindle. Torque to factory spec. Usually 80-100 ft-lbs for bracket bolts. Check your manual.
Step 9: Reassemble and Bed-In
Step 9: Details
Reinstall the wheel. Hand-tighten lugs. Lower vehicle. Torque lug nuts to spec. Usually 80-100 ft-lbs for most cars. Pump the brake pedal until firm. Perform a bedding procedure: 10 stops from 30 mph to near stop. Allow cooling between stops.
Insider Tip: After the first 500 miles, retorque all hardware. Heat cycles settle components. A quick check prevents roadside surprises.
How Much Does Brake Hardware Replacement Cost?
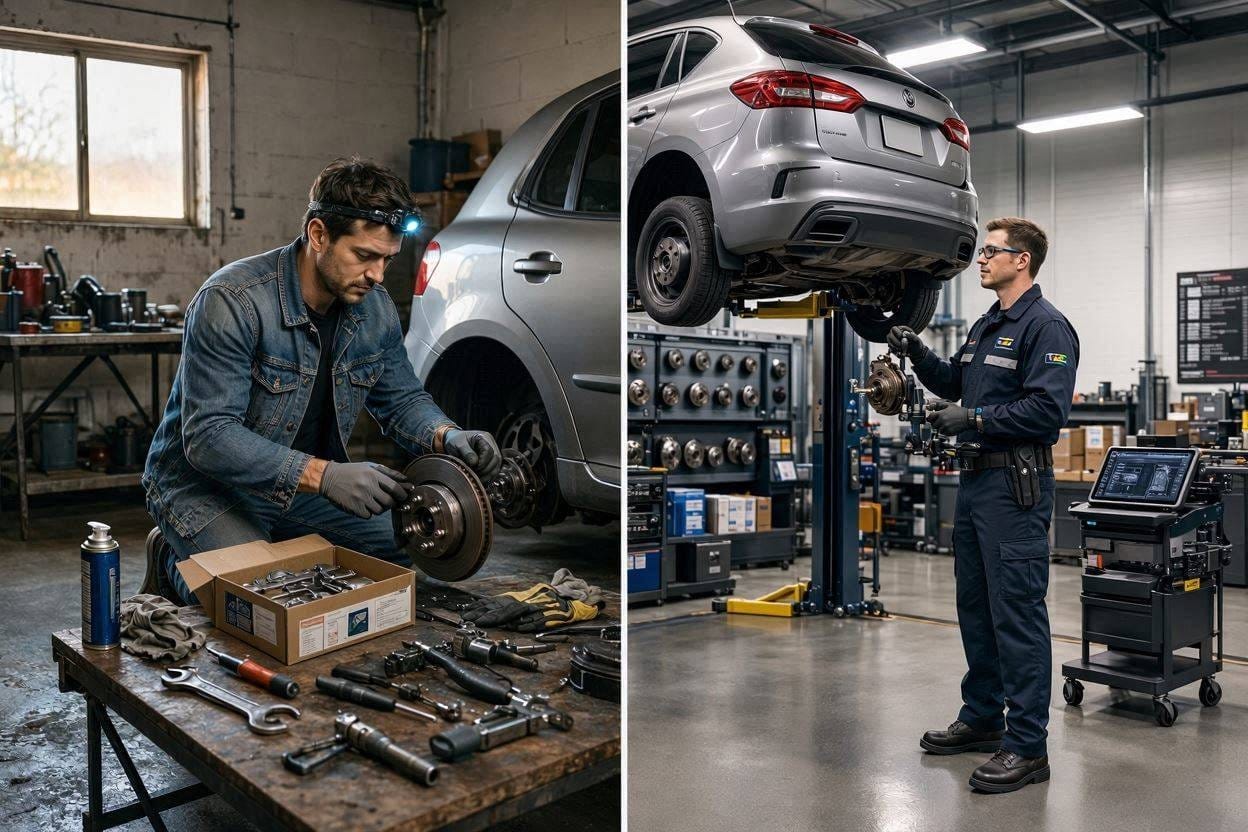
Costs vary by vehicle and who does the work. Here is the breakdown.
| Component |
DIY Cost |
Shop Cost |
Notes |
| Brake hardware kit |
$12-$35 |
$25-$60 |
Per axle; OEM costs more |
| Brake pads (quality) |
$30-$80 |
$80-$150 |
Ceramic lasts longer |
| Brake rotors (if needed) |
$40-$120 |
$100-$250 |
Replace if scored or thin |
| Labor |
$0 |
$150-$300 |
1.5-2.5 hours per axle |
| Total job |
$50-$150 |
$300-$600 |
Includes pads and hardware |
Insider Tip: Dealer brake pad hardware kits cost double aftermarket prices. Aftermarket kits from Wagner, ACDelco, or Beck/Arnley meet OEM specs. Verify the part number matches your VIN.
Can You Replace Brake Hardware Without Replacing Pads?
Technically yes. Practically no.
Pads conform to old clips. Old clips develop wear patterns. New clips sit differently. Pads may rock or bind. Always replace pads and hardware together.
Exception: If hardware failed prematurely from corrosion. Pads remain thick and even. In this case, clean pads thoroughly. Inspect backing plates for rust. Replace hardware only if pads pass inspection.
Insider Tip: Keep old hardware as emergency spares. A broken clip on a road trip ruins your weekend. A zip-locked bag in the trunk saves the day.
How Often Should You Replace Brake Hardware?
Replace hardware with every brake pad replacement. No exceptions. Pads last 30,000-70,000 miles depending on driving style. Hardware fatigues in the same window.
Inspect hardware during tire rotations. Most manufacturers recommend rotation every 5,000-7,500 miles. A quick glance at the caliper bracket takes 30 seconds. Catching corrosion early prevents noise.
Insider Tip: Fleet vehicles in taxi or delivery service replace hardware every 15,000 miles. Severe duty cycles justify aggressive intervals. Apply this logic if you tow or drive mountain roads.
What Happens If You Ignore Worn Brake Hardware?
The consequences escalate quickly. Noise is just the beginning.
Pads chatter against rotors. Rotors develop runout beyond 0.002 inch. Steering wheel shake appears. Calipers cock sideways. Seals leak fluid. Brake failure becomes possible.
In extreme cases, a pad ejects from the bracket. The piston overextends. The caliper cracks. You lose braking on one wheel. The vehicle pulls hard. Collision risk spikes.
Insider Tip: Record a video of the noise. Play it for your mechanic. Intermittent sounds are hard to reproduce. Video diagnosis saves diagnostic fees.
Frequently Asked Questions
How do I know if my brake clips are bad?
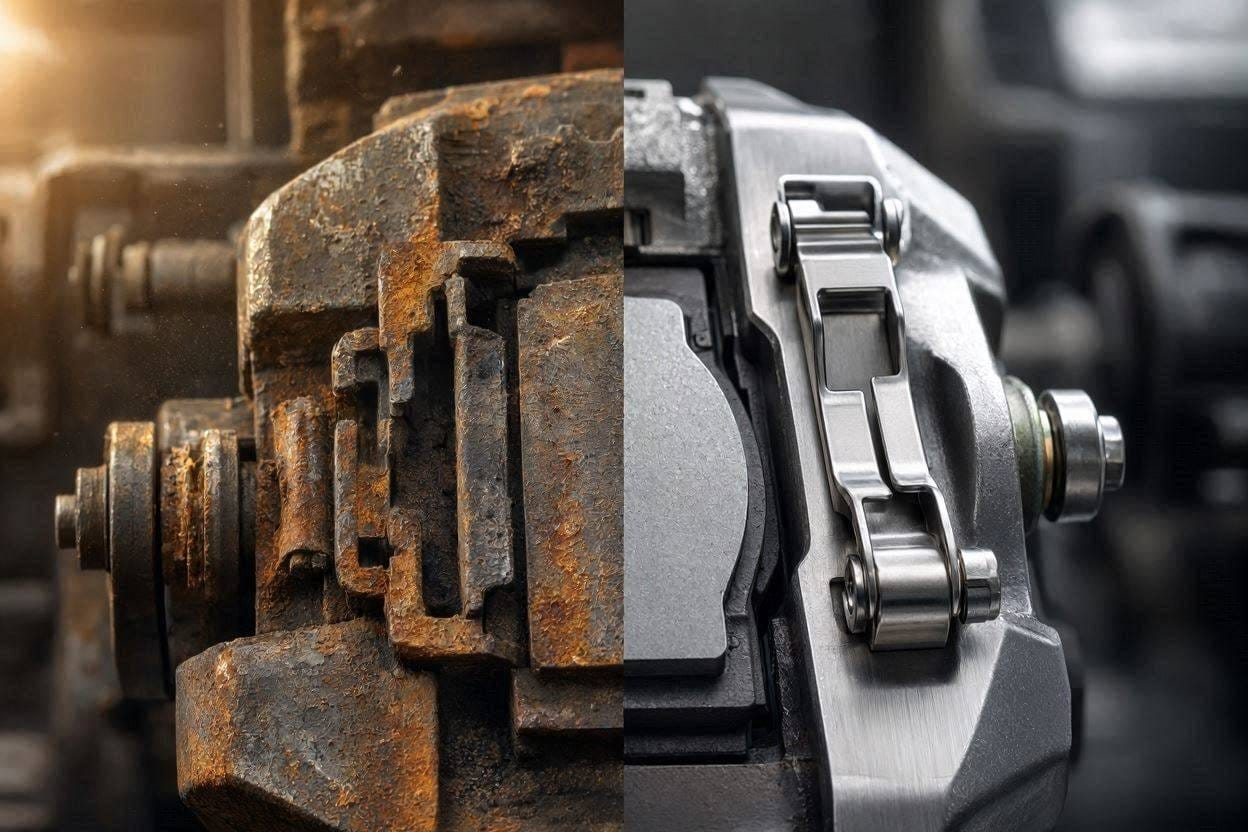
Bad clips show visible rust, cracks, or loss of spring tension. Pads rattle over bumps. Squealing occurs without brake pedal application. Remove the wheel and inspect. Replace clips at the first sign of corrosion.
Is a brake hardware kit the same as a brake pad hardware kit?
Yes. The terms are interchangeable. Kits include anti-rattle clips, pad abutment clips, slide pin boots, and sometimes shims. Verify contents before purchase. Some kits exclude pins. Pins are sold separately for certain caliper designs.
Why does my car make noise over bumps after a brake job?
Mechanics likely reused old anti-rattle clips. New pads do not seat properly in worn clips. The pads move. Movement creates noise. Return to the shop. Demand new hardware installation. The fix takes 20 minutes with the right parts.
Can I drive with broken brake hardware?
Do not drive. Broken hardware allows pad movement. Pads can dislodge. Calipers can seize. Braking becomes unpredictable. Tow the vehicle to a shop. The repair is minor. The risk is major.
Conclusion
That annoying rattle over bumps is not normal. It is a warning. Worn brake hardware replacement prevents noise, uneven wear, and dangerous brake fade. The fix costs $20-$35 in parts. Ignoring it costs $400 in pads, rotors, and labor.
Replace hardware with every brake pad replacement. Use the correct brake pad hardware kit for your vehicle. Torque every bolt to factory spec. Bed the brakes properly. Inspect the system every 15,000 miles.
Your brakes are your last line of defense. Treat the small parts with respect. The
brake clips and springs matter as much as the pads themselves. A master technician sees too many comebacks from skipped hardware. Do the job right the first time. Your ears, your wallet, and your safety will thank you.
Top Brake Hardware Replacement – Our Picks
You might also like: High Performance Brake Fluid, High Performance Brake Fluid