High Performance Brake Fluid: Racing DOT 4 and DOT 5.1 Guide
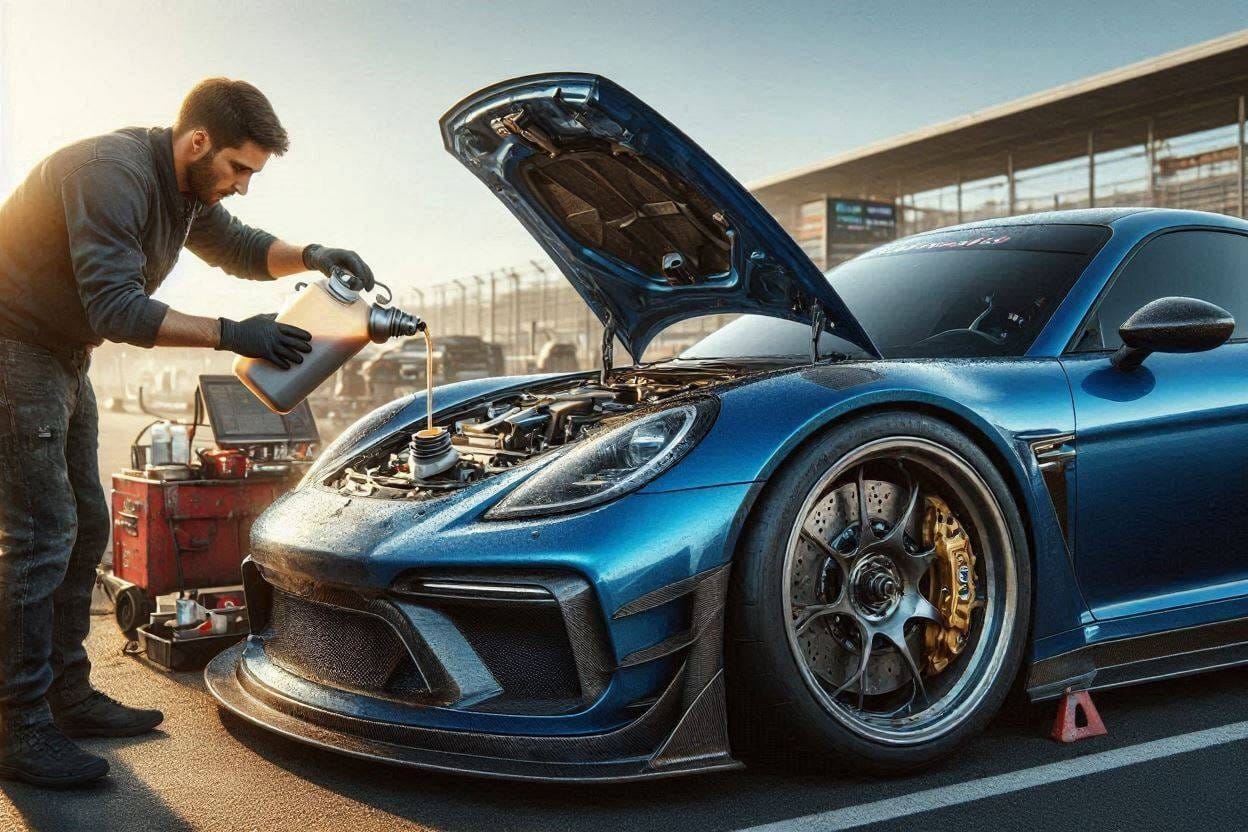
Your brakes failed on the straight-away after braking hard into Turn 3. The pedal went soft, the car didn’t slow like it should, and suddenly, your lap time ended in an off-track excursion. That terrifying moment wasn’t the pads or rotors—it was the brake fluid boiling under pressure, turning performance into panic.
High-performance brake fluid isn’t just another upgrade—it’s the hidden hero of serious track and racing setups. Wrong fluid can silently compromise your stopping power, leaving you vulnerable when it matters most.
This guide cuts through the confusion, giving real specs, real data, and proven tips from 15+ years in the shop. We’ll cover boiling points, fluid types, top brands, and step-by-step bleeding procedures so you can trust every corner, every time.
What Is Brake Fluid and Why Does It Matter for Racing?
Brake fluid is the pressurized medium that transfers force from your pedal to the brake calipers. In racing and track conditions, braking generates intense heat, which can cause standard fluid to vaporize—leading to brake fade or total failure.
Unlike daily drivers, race cars and performance street cars push components to their limits. High-performance brake fluid maintains a stable boiling point even under extreme temperatures, delivering consistent pedal feel and reliable stopping power lap after lap.
Insider tip: Always replace brake fluid before a track day—even if it looks clean. Moisture absorption over time reduces boiling point dramatically, no matter how good the fluid starts out.
What Are the Main Types of Brake Fluid?

Brake fluids fall into categories based on their chemical base: DOT 3, DOT 4, DOT 5, and DOT 5.1. Each has distinct properties affecting performance, compatibility, and boiling point. Glycol-based fluids (DOT 3, 4, and 5.1) absorb moisture over time, while silicone-based DOT 5 does not.
DOT 4 and DOT 5.1 are best for racing and track use due to their dry boiling points above 500°F (260°C) and wet boiling points exceeding 356°F (180°C). DOT 5 is not typically used in racing because it’s compressible and doesn’t meet modern ABS requirements.
Here’s how common brake fluids compare:
| Fluid Type | Dry Boiling Point | Wet Boiling Point | Base | ABS Compatible? |
|---|---|---|---|---|
| DOT 3 | 401°F (205°C) | 284°F (140°C) | Glycol | Yes |
| DOT 4 | 446°F (230°C) | 311°F (155°C) | Glycol | Yes |
| DOT 5 | 500°F (260°C) | 356°F (180°C) | Silicone | No |
| DOT 5.1 | 500°F (260°C) | 356°F (180°C) | Glycol | Yes |
| Racing DOT 4 (High Performance) | 590°F (310°C+) | 432°F (222°C+) | Glycol | Yes |
Use only fluids that meet FMVSS 116 standards and are labeled as “racing” or “ultra-high performance.” Check the bottle for dry and wet boiling points—they’re non-negotiable on track.
Why Do Boiling Points Matter in High-Performance Brake Fluid?

The boiling point of brake fluid directly determines how it performs under heat. When fluid vaporizes, it creates compressible gas bubbles—this leads to brake fade, a spongy pedal, and dramatically reduced stopping power. High-performance brake fluid resists boiling better than standard options.
During aggressive braking, rotor temperatures can exceed 1,000°F (538°C), transferring heat through the pads and calipers into the fluid. If the fluid boils inside the caliper or lines, hydraulic pressure collapses. That’s when drivers lose braking entirely—right when they need it most.
Always choose a fluid with a dry boiling point above 500°F (260°C) and a wet boiling point over 356°F (180°C). For serious track and racing use, aim for fluids with dry boiling points of 570°F (299°C) or higher to provide a wide safety margin.
Insider tip: “Wet” boiling point matters more than “dry”—it reflects fluid condition after moisture absorption. Track cars should use fresh fluid often.
How Often Should Brake Fluid Be Changed for Track Use?
Brake fluid absorbs moisture from the air over time, lowering its boiling point even if the car sits unused. For dedicated track or race cars, replace brake fluid every 3–6 months or before every track event. Daily-driven performance cars used for occasional track days should change fluid prior to each event at minimum.
Racing teams flush fluid monthly. Simpler setups should change fluid at least twice a year—and always after long storage or heavy racing use. Left unchanged, old fluid creates a ticking time bomb for pedal fade under pressure.
Use a brake fluid moisture tester to check condition regularly. These tools detect moisture content via electrical conductivity and indicate when it’s time to flush—even if the fluid looks clean.
Top 5 High-Performance Brake Fluid Brands for Racing and Track
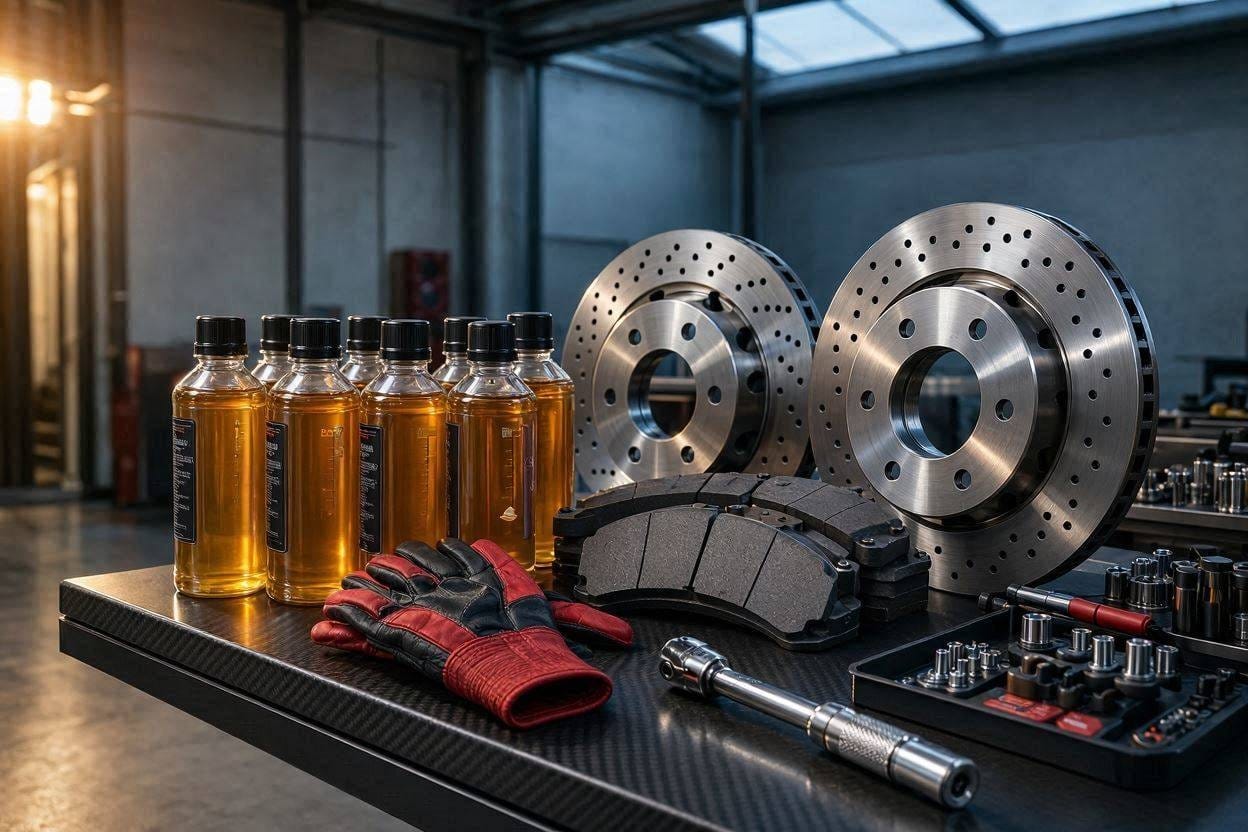
- Castrol React SRF Racing
Dry Boiling Point: 590°F (310°C+)
Wet Boiling Point: 432°F (222°C)
Known for incredible pedal feel and fade resistance. Popular in endurance racing motorsports. - Motul RBF 600 Factory Line
Dry Boiling Point: 594°F (312°C)
Wet Boiling Point: 421°F (216°C)
Reliable and consistent. Excellent for hard-use track and aggressive street driving. - ATE Typ 200
Dry Boiling Point: 536°F (280°C)
Wet Boiling Point: 392°F (200°C)
Strong performer with a good balance of performance and longevity. - Prestone MAX DOT 4
Dry Boiling Point: 504°F (262°C)
Wet Boiling Point: 356°F (180°C)
Cost-effective option for newer drivers or practice days. - Hawk HP530+
Dry Boiling Point: 600°F (316°C+)
Wet Boiling Point: 435°F (224°C)
Top-tier specs. Great for high-end track builds and race prep.
Insider tip: Buy in smaller, sealed bottles. Once opened, brake fluid absorbs moisture—even from air exposure. Discard partially used bottles after track events
Pro-Tip: Always buy high-performance brake fluid in sealed metal bottles or vacuum-sealed packaging to preserve freshness and avoid premature moisture absorption.
How to Bleed Brake Fluid Step by Step for Racing and Track Use
Bleeding your brake system is essential for maintaining proper fluid performance, especially after long track use or air exposure. Proper procedure eliminates trapped air, restores pedal feel, and keeps the system reliable under pressure. Follow this detailed guide for a complete flush.
What You’ll Need
- 3/8″ clear vinyl hose
- Catch bottle or flush kit
- New high-performance brake fluid (check compatibility with your system)
- 10mm wrench or line wrench (size varies—check your vehicle)
- One-way check valve (optional but recommended)
- Jack and jack stands (or lift)
- Brake cleaner spray
- Latex or nitrile gloves
- Shop towels or rags
Always wear gloves—brake fluid is highly corrosive and damaging to skin and paint. Keep a bottle of water nearby in case of accidental spills on the car’s surface.
Step-by-Step Guide
- Prepare the car: Lift it safely using a jack and jack stands or access it with a lift. Remove all four wheels for easy access to the calipers.
- Drain old fluid: Open the reservoir and use a suction tool or syringe to remove as much old fluid as possible. Do not let the reservoir run dry during the process to avoid air entering the master cylinder.
- Fill with fresh fluid: Pour new brake fluid into the reservoir. Use only the recommended spec—DOT 4, DOT 5.1, or compatible racing-grade product.
- Begin bleeding sequence: Start with the caliper farthest from the master cylinder (usually rear passenger side), then move to the next farthest, and so on.
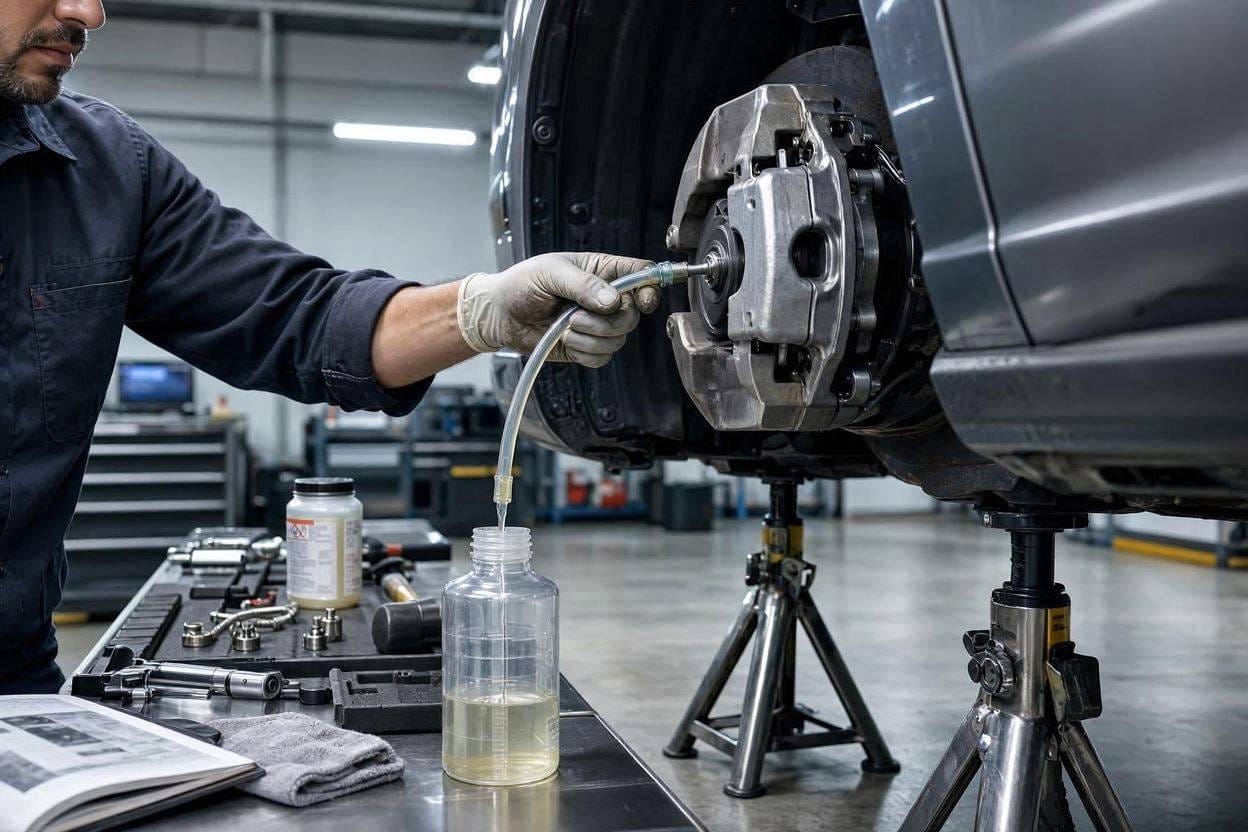
- Attach clear hose: Slide one end of the 3/8″ clear vinyl hose over the bleeder screw and place the other end in the catch bottle. Ensure the hose fits tightly.
- Open bleeder screw: Use the 10mm or correct-size wrench to loosen the bleeder screw just slightly. Have an assistant slowly press the brake pedal.
- Watch for bubbles: As old fluid flows through the hose, air bubbles indicate trapped air in the system. Continue until only clean, bubble-free fluid appears.
- Close the bleeder: Tighten the bleeder screw immediately after each cycle. Replace the cap to avoid debris or moisture entry.
- Repeat at each caliper: Move through all four corners in sequence until fresh fluid flows clearly from all bleeders. Check and refill the reservoir between each stop.
- Final check: After all four corners are complete, inspect the reservoir level—should be between the “Min” and “Max” lines. Reinstall all wheels and perform a full brake test before driving.
Insider tip: Use a one-way check valve on the bleeder screw to simplify solo bleeding. It prevents air from re-entering during pedal release—no second person required.
How Does High-Performance Brake Fluid Improve Safety Under Braking?
Safety and performance go hand in hand when choosing brake fluid. High-performance brake fluid maintains consistent hydraulic pressure, especially under prolonged or repeated braking—exactly what happens on track or during spirited mountain drives.
Unlike lower-quality fluids, high-performance fluid resists moisture absorption better and retains integrity over time. This means less risk of vapor lock, no spongy pedal, and reliable stopping when pushing hard into corners. Whether daily driving or racing, upgraded fluid is a critical part of a safe, responsive braking system.
Always look for fluids that meet or exceed DOT 4 or DOT 5.1 standards, with documented wet boiling points above 356°F (180°C). Confirm compatibility with your vehicle’s ABS and traction control systems—most modern racing fluids are designed to work seamlessly.
FAQs About High-Performance Brake Fluid
What makes brake fluid “high-performance”?
High-performance brake fluid has a dry boiling point above 500°F (260°C) and wet boiling point over 356°F (180°C). These specs ensure reliability and fade resistance under hard braking.
Can I mix different brands of brake fluid?
Avoid mixing brands or types. Use only compatible glycol-based fluids (DOT 3, 4, or 5.1) if needed in emergencies. Never mix DOT 5 with others due to chemical incompatibility.
Is brake fluid replacement safe for daily drivers?
Yes. Any car benefits from periodic fluid change. For high-performance use, follow strict intervals—every 3–6 months or pre-event. Use quality racing or performance fluid as needed.
How do I know my brake fluid is bad?
Test with a moisture tester—anything over 3% moisture content needs replacing. Other signs are dark, murky fluid or soft, spongy pedal under braking.
Conclusion – Safeguard Your Brakes with High-Performance Fluid
High-performance brake fluid is more than a product—it’s a necessity for any track-ready or safety-focused vehicle. From boiling point stability to long-term reliability, the right fluid keeps laps fast and safe. Choosing top-tier racing brake fluid is an investment in control and confidence under pressure. Whether prepping for a weekend track event or chasing podium finishes, don’t leave pedal feel to chance.
Now equipped with expert tips, specs, and a clear breakdown of your top options, you’re ready to make the best choice for your setup. Confidence at peak RPMs begins with consistent, reliable braking—and that starts with trustworthy fluid in the lines.
Keep learning, stay safe, and keep pushing those limits—with the right prep and proper components, your best laps and cleanest stops are just ahead. Always choose verified, quality brake fluid—and protect your investment from pad to caliper.
For more expert guides, real reviews, and the latest car tech insights, visit VehicleBar.com.
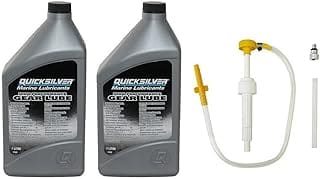
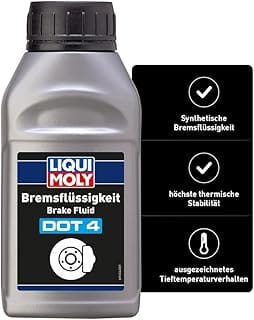
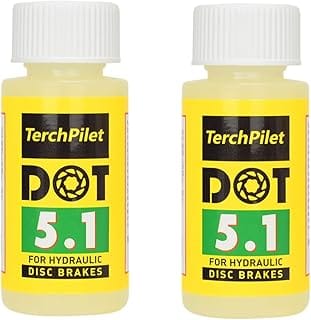
Top High Performance Brake Fluid – Our Picks
You might also like: Brake Hardware Replacement: When & Why Needed, Brake Hardware Replacement: When & Why Needed