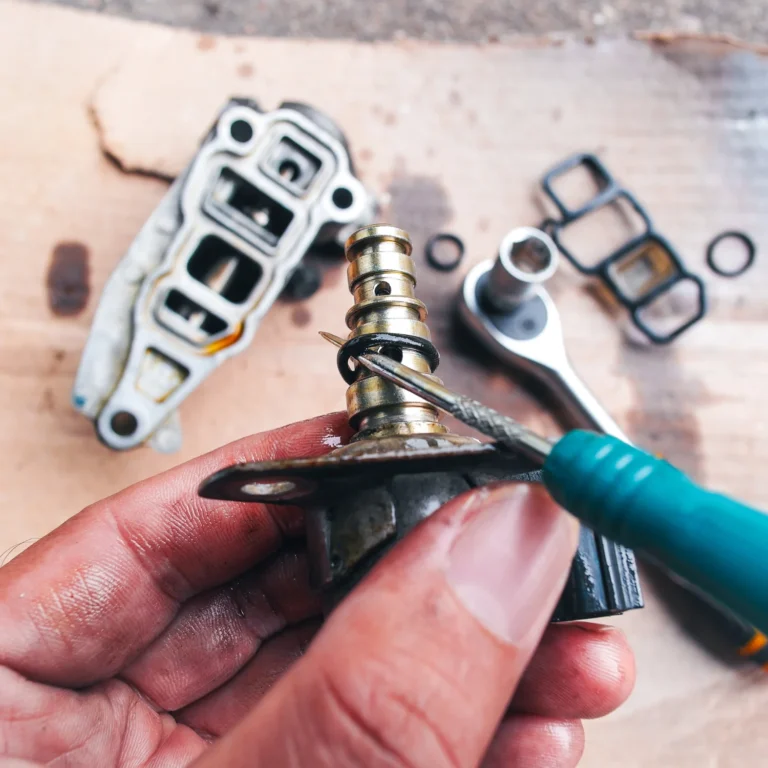
Brake Caliper Won’t Compress: Stuck Piston Fix
A brake job stops fast when the caliper piston refuses to move. The clamp tightens harder, the piston stays frozen, and frustration starts building quickly.
Many drivers damage calipers during pad replacement because they force the piston incorrectly. A seized piston can also signal dangerous brake heat, fluid contamination, or internal corrosion.
Ignoring the problem can destroy pads, rotors, wheel bearings, and brake hoses. Some vehicles can even pull hard during braking.
This guide explains why a caliper won’t compress, how to diagnose the cause, and how to fix a stuck caliper piston safely.
Why won’t a brake caliper piston compress?
A caliper piston usually stops compressing because rust, brake pressure, damaged seals, or internal caliper failure locks the piston inside the bore. Heat buildup and dirty brake fluid also create piston seizure over time.
Several brake issues can cause this problem:
| Cause | Common Symptom | Typical Repair |
|---|---|---|
| Rust inside caliper | Piston frozen solid | Replace caliper |
| Twisted brake hose | Pressure trapped | Replace hose |
| Dirty brake fluid | Slow piston movement | Flush fluid |
| Damaged piston seal | Fluid leaks | Rebuild or replace |
| Parking brake failure | Rear caliper stuck | Replace caliper |
| Wrong compression method | Piston will not rotate | Use rewind tool |
Modern brake systems run around 800-2,000 PSI during braking. That pressure creates serious force against the piston.
Insider Tip: Rear calipers with integrated parking brakes often require clockwise rotation while compressing. Straight pressure alone will not work.
How can a stuck caliper piston be diagnosed?
A stuck caliper piston usually shows heat, uneven pad wear, brake drag, or steering pull during braking. Physical inspection confirms whether the piston moves correctly.
Start with these inspection steps:
- Lift the vehicle safely.
- Remove the wheel.
- Inspect pad thickness.
- Check rotor color and heat spots.
- Attempt piston compression slowly.
A seized caliper often creates:
- Burning brake smell
- Blue rotor discoloration
- One hot wheel
- Rapid pad wear
- Reduced fuel economy
Use an infrared thermometer if available.
Normal rotor temperatures:
- 150°F-300°F during light driving
- Over 500°F indicates dragging brakes
Check the brake hose next. A collapsed hose can trap pressure inside the caliper.
Open the bleeder screw using a 10mm wrench. If the piston compresses afterward, the brake hose likely failed internally.
Insider Tip: Compare wheel temperatures after a short drive. One wheel much hotter than the others usually identifies the stuck corner quickly.
What tools are needed to compress a stuck caliper?
Proper brake tools prevent piston damage and improve repair safety. Incorrect tools often destroy the caliper completely.
Basic tools include:
- C-clamp — 6-inch or 8-inch
- Disc brake piston compressor tool
- Brake caliper rewind kit
- 3/8-inch ratchet
- 10mm and 14mm sockets
- Brake cleaner spray
- Silicone brake grease
- Torque wrench
- Line wrench set
- Infrared thermometer
Rear calipers often require a rewind tool because the parking brake mechanism threads into the piston.
Typical torque specs:
- Caliper slide pins: 20-35 lb-ft
- Caliper bracket bolts: 75-120 lb-ft
- Bleeder screws: 7-10 lb-ft
Always verify specs for the exact vehicle model.
Insider Tip: A ratcheting piston compressor tool works better than a C-clamp on dual-piston calipers.
How do you compress a caliper piston safely?
Safe caliper compression requires controlled pressure, correct piston alignment, and proper brake fluid management. Fast or uneven pressure damages seals and ABS components.
Follow these steps carefully.
Step 1: Remove excess brake fluid
Step 1: Details
Open the master cylinder reservoir first.
Brake fluid rises during piston compression. Remove excess fluid using a suction pump or turkey baster.
Never allow overflow onto paint.
Brake fluid damages painted surfaces within minutes.
Step 2: Inspect the piston boot
Step 2: Details
Check the rubber dust boot carefully.
Replace the caliper if:
- Boot is torn
- Brake fluid leaks appear
- Rust surrounds the piston
A damaged seal allows moisture inside the caliper bore.
Step 3: Position the compression tool
Step 3: Details
Place the old brake pad against the piston face.
Install the C-clamp or compressor tool evenly across the piston.
Apply pressure slowly.
Normal pistons compress with steady resistance.
Step 4: Rotate rear pistons if required
Step 4: Details
Many rear calipers require simultaneous rotation and pressure.
Use a caliper rewind tool kit with the correct adapter plate.
Common rotation directions:
- Clockwise on many imports
- Counterclockwise on some domestic vehicles
Forcing the piston straight inward can destroy the parking brake mechanism.
Step 5: Open the bleeder screw if needed
Step 5: Details
Open the bleeder screw slightly if the piston still refuses to move.
Use a clear drain hose and catch bottle.
If the piston compresses afterward, suspect:
- Collapsed brake hose
- ABS hydraulic restriction
- Master cylinder issue
Replace contaminated brake fluid immediately afterward.
Insider Tip: Dark brown brake fluid usually indicates severe moisture contamination and internal corrosion.
Why does a rear caliper piston need rotation?
Rear caliper pistons often connect to the parking brake system through threaded internal gears. Compression requires rotation to retract the mechanism correctly.
Many drivers assume all pistons compress straight inward. Rear calipers work differently on many vehicles.
Signs of a threaded piston:
- Two notches on piston face
- Parking brake cable attached
- Electronic parking brake motor installed
Electronic parking brake systems may require service mode activation using a scan tool.
Common systems needing scan tools:
- Audi EPB
- Volkswagen EPB
- BMW electronic parking brake
- Ford electronic rear brake systems
Without service mode, the caliper motor can break internally.
Insider Tip: Disconnecting the battery rarely retracts electronic parking brake motors safely.
Can a seized caliper piston be rebuilt?
Some seized calipers can be rebuilt successfully if corrosion remains minor and the piston bore stays smooth. Severe rust usually requires complete replacement.
A rebuild kit normally includes:
- Piston seal
- Dust boot
- Retaining ring
- Silicone grease
Typical rebuild kit cost:
- $10-$35
Replacement caliper cost:
- $70-$350
Inspect the piston bore carefully.
Replace the caliper if:
- Pitting exists
- Rust flakes appear
- Bore scoring feels rough
- Piston chrome peels
Most professional shops replace calipers instead of rebuilding them because labor costs exceed replacement value.
Insider Tip: Replace calipers in pairs on the same axle whenever possible for balanced braking performance.
What causes a brake caliper to seize repeatedly?
Repeated caliper seizure usually comes from moisture-contaminated brake fluid, damaged hoses, overheating, or neglected maintenance. Installing new pads alone will not solve the root issue.
Brake fluid absorbs moisture naturally over time.
Most manufacturers recommend brake fluid replacement every:
- 2-3 years
- 30,000 miles
Other repeated seizure causes include:
- Torn dust boots
- Cheap aftermarket calipers
- Sticking slide pins
- Corroded bracket hardware
- Overheated rotors
Lubricate slide pins with:
- Silicone brake grease
- Synthetic caliper grease
Never use standard wheel bearing grease on slide pins.
Heat ratings matter.
Quality brake grease withstands:
- 400°F-600°F
Insider Tip: Stainless steel abutment clips reduce rust buildup around brake pads and improve pad movement.
Should a stuck caliper or hose be replaced first?
Brake hose testing should happen before replacing the caliper because trapped hydraulic pressure can mimic piston seizure symptoms.
A collapsed hose acts like a one-way valve.
Brake pressure enters the caliper but cannot return properly.
Symptoms include:
- Brake drag after release
- Wheel locks temporarily
- Piston retracts slowly
- Hot rotor after driving
Use this quick test:
- Attempt piston compression.
- Open bleeder screw.
- Retry compression.
Results:
- Piston moves freely = hose restriction likely
- Piston remains stuck = caliper failure likely
Many technicians replace both parts together on older vehicles.
Typical brake hose lifespan:
- 6-10 years
Insider Tip: Cracked outer hose rubber often indicates internal hose failure already started.
How can future caliper seizure be prevented?
Regular brake maintenance prevents most caliper seizure problems. Fluid changes, lubrication, and heat control protect internal brake components.
Follow these maintenance intervals:
| Service | Recommended Interval |
|---|---|
| Brake fluid flush | Every 2-3 years |
| Slide pin lubrication | Every brake job |
| Rotor inspection | Every 12,000 miles |
| Brake hose inspection | Every oil change |
| Caliper inspection | Every pad replacement |
Avoid these habits:
- Riding brakes downhill
- Ignoring brake smell
- Mixing old and new fluid
- Using incorrect brake grease
- DOT 3
- DOT 4
- DOT 5.1
Never mix silicone-based DOT 5 with glycol-based systems.
Insider Tip: Frequent short trips create more brake moisture buildup because the brakes never heat fully enough to evaporate condensation.
FAQ
Why won’t my caliper compress with a C-clamp?
A seized piston, collapsed brake hose, or threaded rear caliper usually prevents compression. Rear calipers often require a rewind tool instead of straight pressure.
Can a stuck caliper free itself?
Minor sticking sometimes improves temporarily after cooling. Severe internal rust or damaged seals will continue causing brake drag and overheating.
Should brake fluid come out when compressing the piston?
Brake fluid should rise inside the reservoir during compression. Opening the bleeder screw may release old fluid and trapped pressure safely.
Can driving with a seized caliper damage the car?
Yes. A stuck caliper overheats pads, rotors, wheel bearings, brake hoses, and tires. Severe heat can also damage ABS sensors and wheel seals.
Conclusion
A brake caliper that won’t compress usually points to internal corrosion, trapped hydraulic pressure, or parking brake mechanism failure. The problem often appears during routine pad replacement, but the root cause usually develops slowly over time.
Careful diagnosis matters before replacing parts. A collapsed brake hose can mimic a seized piston perfectly. Rear calipers also create confusion because many require rotation during compression.
Using the correct tools prevents expensive damage. A proper rewind kit, piston compressor, and torque wrench make the job safer and easier. Rushing the repair often destroys seals, slide pins, or parking brake components.
Regular brake fluid changes remain the best long-term prevention method. Fresh fluid reduces moisture buildup, prevents internal rust, and protects expensive ABS parts. Proper lubrication also keeps pads and slide pins moving freely.
Never ignore burning brake smell, uneven pad wear, or excessive wheel heat. Those early warning signs often appear before a complete caliper seizure happens.
You might also like: Sticky Brake Caliper Symptoms: Diagnosis Guide, Electronic Brake Force Distribution (EBD): Explained, ABS Sensor Cleaning: Remove Metal Shavings