
⚡ Quick Answer: How to Clean a Carburetor
- Remove the carburetor after disconnecting the battery and labeling all hoses and linkages.
- Disassemble completely — float, needle valve, jets, emulsion tubes — photographing as you go.
- Soak all metal parts in Berryman B-12 carburetor cleaner for 30–60 minutes. Scrub passages with a brush, blow clear with compressed air.
- Reassemble with new gaskets from a rebuild kit. Never reuse old gaskets.
- Reinstall and tune — set idle speed, adjust mixture screws, verify no leaks.
DIY cost: $23–$50 | Time: 2–4 hours | Pro cost: $120–$250
Jump to full step-by-step guide ↓ | troubleshooting ↓ | cost breakdown ↓
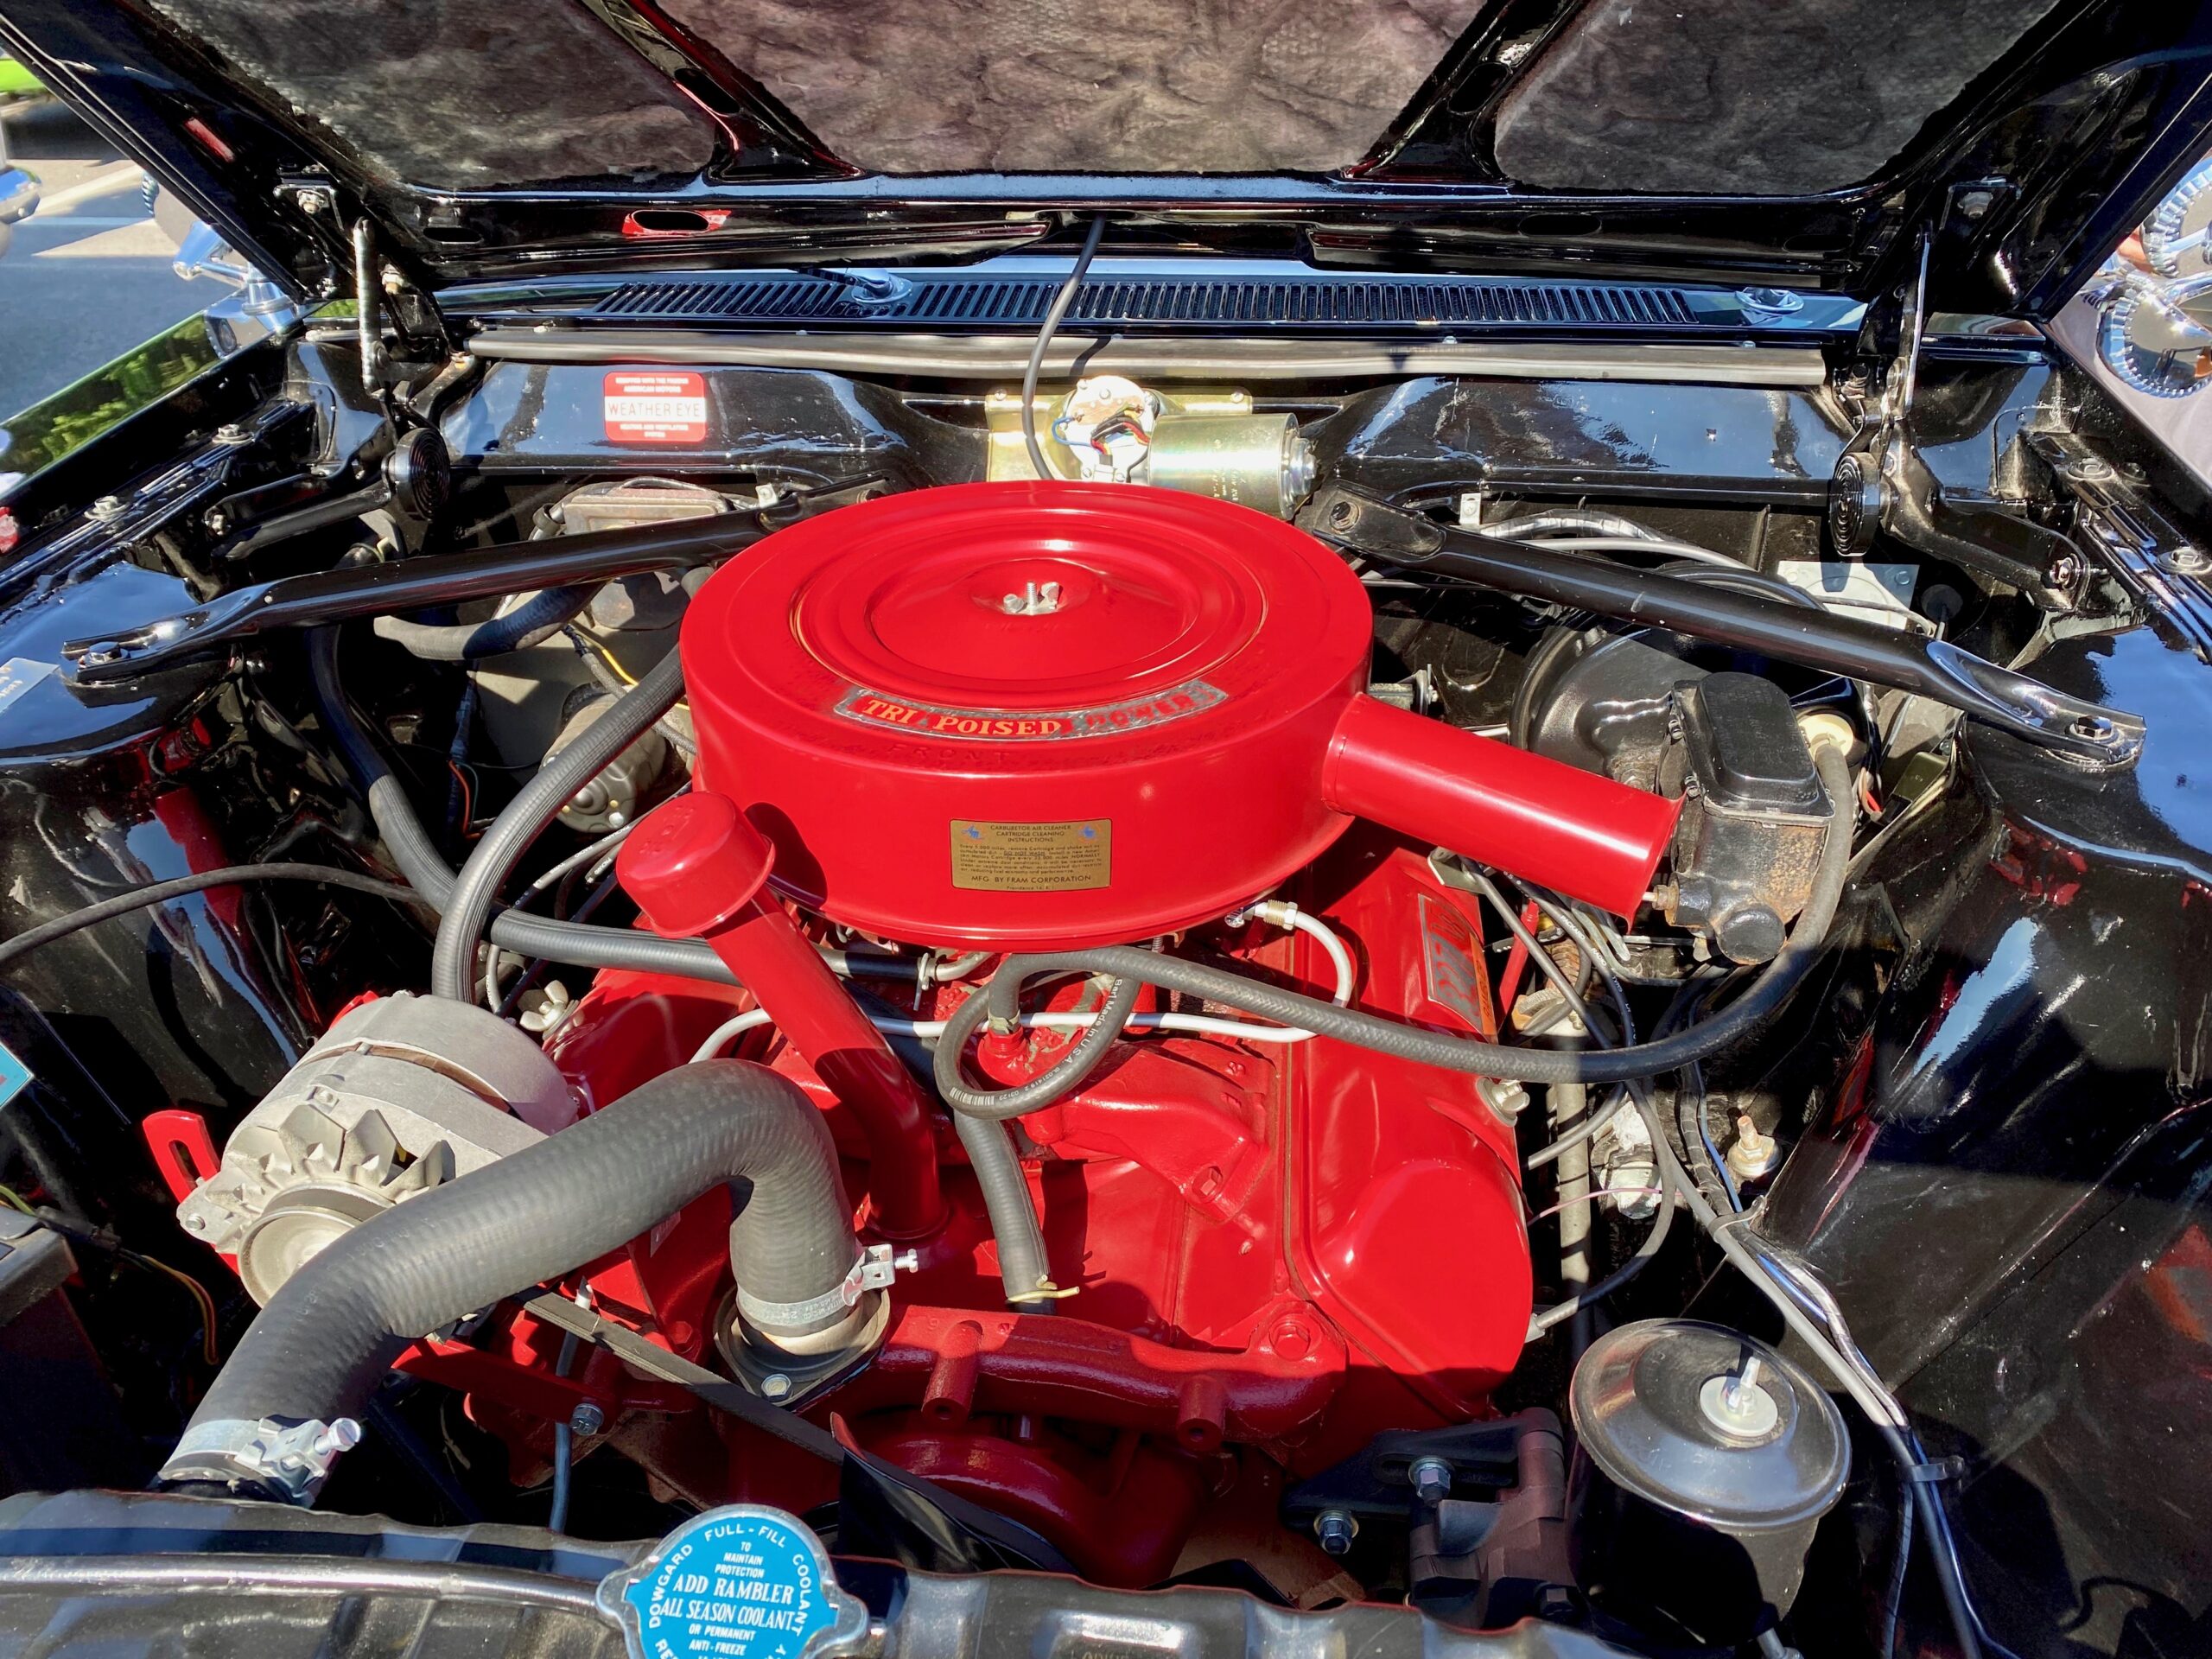
When a ’67 Impala Taught Me Everything About Varnish
It was a sweltering July afternoon when Old Man Jenkins rolled into my shop in his 1967 Chevy Impala. The car was running rougher than a farm tractor, and the smell of raw gas hit me before he even popped the hood. “Fahim,” he said, wiping sweat off his brow, “she’s got the shakes somethin’ fierce. Reckon it’s that dang carburetor again?”
He wasn’t wrong. That Impala had been in three times in two years for the same issue — clogged jets, varnished float bowl, a choke that stuck like glue. Each time, the previous shop had sprayed some cleaner into the throat and called it done. Each time, the deposits came back within a few months because nobody had done a proper teardown.
That’s the story behind most carburetor problems: not a failed part, but accumulated varnish from ethanol-blended fuel sitting in passages too small to see. Clean them correctly once, and you’re done for years. Skip the teardown, and you’re back in three months.
📌 In This Guide
Best Carburetor Cleaners
As an Amazon Associate, VehicleBar earns from qualifying purchases at no extra cost to you.


Why Carburetors Get Dirty: Ethanol, Varnish & Gum
Carburetors don’t fail overnight. Deposits accumulate slowly, starving the engine of fuel, air, or both. Understanding the cause determines how aggressively you need to clean.
Ethanol Varnish — The Primary Modern Culprit
Modern pump gasoline contains 10–15% ethanol (E10/E15). Ethanol is hygroscopic — it absorbs moisture directly from the atmosphere. When ethanol-blended fuel sits in a float bowl or jet passage without being used, the ethanol evaporates and leaves behind a varnish-like residue combined with absorbed water. This varnish coats the inside of every passage it touches.
On a carburetor with passages as small as 0.028″, it takes very little varnish to restrict or block fuel flow entirely. A float bowl that sat for 60–90 days with E10 fuel can produce enough varnish to clog the pilot jet and idle circuit completely — producing all of the classic “hard starting, rough idle” symptoms without any mechanical failure.
Other Causes of Carburetor Contamination
- Old gasoline: Gasoline oxidizes and forms gum deposits after 3–6 months without stabilizer. These gum deposits are softer than ethanol varnish but equally effective at blocking passages.
- Dirt and debris: A worn, improperly seated, or missing air filter allows fine abrasive particles to enter the throttle bore. These particles settle in the float bowl and get drawn into jets.
- Carbon blowby: On high-mileage engines with worn piston rings, combustion gases can enter the crankcase ventilation system and deposit carbon in the throttle body and idle passages.
- Water contamination: Water in the fuel tank (from condensation in a partially-filled tank during temperature swings) enters the float bowl and prevents fuel from atomizing properly.
Carburetor Cleaning Symptoms: What Your Engine Is Telling You
| Symptom | What’s Clogged | Circuit Affected |
|---|---|---|
| Hard starting — cranks a long time before catching | Pilot jet, idle circuit passages, choke mechanism | Idle / choke circuit |
| Rough idle, engine shakes at a stop | Pilot jet, idle mixture screw passages, emulsion tubes | Idle circuit |
| Hesitation or bog when pressing the accelerator | Accelerator pump nozzle, pump check valve, main jets | Accelerator pump / transition circuit |
| Black smoke, rich running, fouled spark plugs | Stuck float, leaking needle valve, stuck choke | Float / fuel delivery |
| Engine stalls at low speeds or coming to a stop | Idle circuit, idle mixture screws, throttle bore deposits | Idle circuit |
| Poor performance at high RPM only | Main jets, emulsion tubes, power valve passages | Main circuit |
💡 Pro Tip: Surface Cleaning Won’t Fix Varnish
If your carburetor hasn’t been cleaned in 5+ years, spraying cleaner into the throat while it’s on the engine is a temporary fix at best. Varnish in the idle jet passages and emulsion tubes requires submersion and soak time to dissolve. A surface clean typically holds for 4–8 weeks before symptoms return.
Tools & Materials for Carburetor Cleaning
Required:
- Carburetor cleaner — soaking grade: Berryman B-12 Chemtool. Not the spray can — the liquid concentrate in a gallon or quart container. This is what dissolves heavy varnish that spray cleaner cannot touch.
- Compressed air: A can of canned air or a compressor with a blow gun. Never use your mouth — fuel residue is toxic and the pressure is insufficient to fully clear passages.
- Small screwdrivers: Flathead #1 and #2 with proper tip fit for jet screws. A magnetic tip prevents dropping screws into the intake. Using a screwdriver that doesn’t fit the jet slots strips them — and stripping a main jet is a $15 problem that becomes a $150 problem.
- Needle-nose pliers: For spring clips, cotter pins, and float pins.
- Jet cleaning kit or fine wire: The Lisle carburetor jet cleaning kit includes drill bits sized for pilot and main jets. Use only bits smaller than the jet opening — never ream a jet larger than spec.
- Carburetor rebuild kit: Includes all new gaskets, O-rings, needle valve, and float bowl gasket for your specific carburetor model. $10–$30 at any auto parts store. Gaskets must be replaced — an old gasket that seals perfectly during reassembly will leak within weeks as it dries.
- Parts tray or egg carton: Small parts management is the difference between a 2-hour job and a 4-hour job with a missing part.
- Safety gear: Nitrile gloves, safety glasses, respiratory protection in enclosed spaces. Carburetor cleaner is a strong solvent — it penetrates nitrile gloves within 10–15 minutes of sustained contact.
Helpful for frequent or multiple carb work:
- Ultrasonic cleaner: A $50–$80 Harbor Freight unit filled with Berryman B-12 removes varnish from motorcycle carburetors with tiny passages in 20–30 minutes with zero scrubbing. If you’re cleaning motorcycle carbs or multi-carb setups, this tool pays for itself on the first use.
- Digital caliper: For measuring jet diameters when diagnosing wear or preparing performance modifications.
- Carburetor synchronizer: For multi-carb setups on motorcycles or classic muscle cars.
⚠ Fire and Chemical Safety
- Work in a well-ventilated area or outdoors. Carburetor cleaner fumes are both toxic and highly flammable.
- Keep a dry chemical fire extinguisher within reach. No open flames, no smoking, no ignition sources within 10 feet.
- Nitrile gloves and safety glasses are mandatory — carb cleaner causes chemical burns on skin and can cause permanent eye damage on contact.
- Dispose of soaked rags in a sealed metal container — solvent-soaked rags can spontaneously combust if left in a pile.
How to Clean a Carburetor: Step-by-Step
This process applies to most carbureted vehicles: classic cars with Holley, Edelbrock, Carter, or Rochester carburetors; motorcycles with Keihin or Mikuni carbs; and small engines (lawnmowers, generators, ATVs). The principles are identical — only the physical size and part count vary.
Step 1: Remove the Carburetor
Disconnect the negative battery terminal. Eliminates any risk of ignition spark near fuel fumes. On fuel-injected vehicles, also relieve fuel pressure — on carbureted systems, just have a rag ready for the float bowl drain.
Photograph everything before disconnecting. Take 3–4 photos from different angles showing all vacuum hose connections, fuel line routing, throttle linkage positions, and choke cable routing. This takes 60 seconds and saves hours of reassembly confusion.
Label all vacuum hoses and linkages with masking tape and a marker before disconnecting. A Sharpie on a piece of tape wrapped around each hose works perfectly.
Drain the float bowl before removing the carburetor. Most carburetors have a drain screw on the bowl — open it and drain into a rag or container. This prevents a gasoline spill during removal.
Unbolt the carburetor from the intake manifold — typically four 5/16″ or 3/8″ nuts or bolts. Support the carburetor as you remove the final fastener; it’s heavier than expected with residual fuel in the bowl.
Stuff a clean shop rag into the intake manifold opening immediately. Any dirt, bolt, or small part that falls in requires intake manifold removal to retrieve — a 2-hour job on most engines.
Step 2: Disassemble the Carburetor
Work on a clean, well-lit surface. Use a parts tray or egg carton to keep components organized by sub-assembly. The goal is complete disassembly — every removable jet, passage plug, and screw.
Remove the air horn / top cover (usually 4–6 screws). This exposes the float chamber, needle valve, and choke assembly.
Remove the float and needle valve. The float pin slides out laterally — use a small punch or nail if it’s stuck, but don’t force it. Note the float height (distance from the gasket surface to the bottom of the float) before removing — this is your reassembly reference.
Remove the main jets, pilot jets, and emulsion tubes. These are the brass screws or plugs threaded into the carb body. Use a screwdriver that fits the slot perfectly — a loose-fitting tip strips the soft brass slot with minimal torque. If a jet is stuck, do not force it; soak the area with penetrating oil and wait 15 minutes.
Remove the idle mixture screws. Count the turns as you remove them (e.g., “2.5 turns from seated”) and note it — this is your baseline for reassembly. Some carburetors have tamper-resistant caps over the mixture screws; remove these carefully with needle-nose pliers.
Remove the throttle plate and choke plate screws if accessible. These often have staked threads — go slowly and use an impact screwdriver if they resist.
Separate the main body from the throttle body if your carburetor is a two-piece design (most Holley and Edelbrock carbs). These are typically held by four to six screws.
💡 Pro Tip: Use an Impact Driver on Stuck Screws
Never strip a stuck carburetor screw by forcing a regular screwdriver. If a screw resists, soak it in PB Blaster overnight, then use a manual impact driver (strike it once firmly with a hammer while applying rotational pressure). I’ve saved dozens of carburetors this way — a stripped main jet means drilling it out or replacing the carb body.
Step 3: Soak, Scrub & Clear Every Passage
This is where 90% of the actual cleaning happens. The soak time cannot be rushed — varnish that took months to deposit needs time to dissolve.
Submerge all metal parts in Berryman B-12 Chemtool or equivalent concentrate in a parts tray. This includes the carb body, throttle body, jets, emulsion tubes, float bowl, and throttle plate. Do not soak rubber parts, plastic floats, or diaphragms — carburetor cleaner destroys them.
Soak for 30–60 minutes minimum. For carburetors with heavy varnish buildup (5+ years without service), soak for 2–3 hours or overnight. The cleaner turns brown as it works — this is normal and indicates the varnish is dissolving.
Scrub every passage and surface with an old toothbrush or small parts brush. Focus on: the tiny holes in main jets and emulsion tubes, idle mixture screw passages, throttle shaft bores (carbon builds up here and causes throttle sticking), float bowl interior, and the main bore of the carburetor body.
Blow out every passage with compressed air. Hold each jet up to a light source after blowing — you must be able to see light through the jet opening. If you cannot, it’s not clean. Repeat the soak-and-scrub cycle.
Clear stubborn clogs with wire or a jet cleaning drill bit. Use only wire or a drill bit smaller than the jet opening. Never ream a jet larger — jet diameter is a precision measurement that controls the fuel-to-air ratio. A main jet bored 0.004″ oversized changes the mixture enough to cause noticeable running problems.
ℹ Ultrasonic Cleaning for Motorcycle Carbs
Motorcycle carburetors — particularly Keihin CV and Mikuni VM/BS types — have passages as small as 0.012″ that are nearly impossible to clean with brushes alone. A $50–$80 ultrasonic cleaner filled with Berryman B-12 or dedicated ultrasonic solution removes varnish from these passages in 20–30 minutes with no scrubbing. If you own a carbureted motorcycle or multi-carb setup, this tool is the single best investment you can make for carburetor maintenance.
Step 4: Reassemble with New Gaskets
Rushing reassembly is where most DIY carburetor cleanings fail. A gasket reused from a 40-year-old carburetor that felt fine going back on will be leaking air or fuel within weeks.
Install all new gaskets and O-rings from your rebuild kit. Every single one — float bowl gasket, main body-to-throttle body gasket, emulsion tube O-rings, and idle mixture screw O-rings.
Reinstall jets and emulsion tubes. Finger-tighten first, then snug with a screwdriver — never more than firm hand pressure. Brass jets are soft; overtightening strips the threads in the aluminum body and requires helicoil repair.
Install the needle valve and set float height. Float height is the distance from the mating gasket surface to the bottom of the float — typically 1/8″ to 1/4″ depending on the carburetor. Set per your service manual. Incorrect float height is the most common cause of richness issues after a cleaning.
Reinstall the idle mixture screws to the number of turns you noted during disassembly. If you didn’t note it: seat them gently and back out 1.5 turns as a starting baseline for most carburetors.
Reinstall and verify throttle and choke plates open and close fully without binding. A choke plate that sticks 10% closed causes permanent rich running and poor fuel economy.
Reassemble the carburetor body sections and torque the cover screws evenly in a crisscross pattern. Uneven torque warps the thin gasket surface and creates air leaks.
Step 5: Reinstall, Start & Tune
Remove the intake manifold rag and lower the carburetor into place. Start all mounting fasteners by hand before tightening any of them to prevent cross-threading the intake studs.
Tighten mounting nuts/bolts in a crisscross pattern to 15–20 ft-lbs. Do not exceed this — the intake manifold gasket and carburetor flange are both soft.
Reconnect all hoses, linkages, and electrical connections per your photographs and labels. Double-check every vacuum hose — a missing or disconnected vacuum line creates a massive leak that makes the carburetor impossible to tune.
Start the engine — it may require 5–10 seconds of cranking to prime the float bowl. Listen for any hissing (vacuum leak) or fuel odor (fuel leak at the bowl gasket or inlet fitting).
Once running, adjust idle speed to 600–800 RPM (cars) or 1,000–1,200 RPM (motorcycles). Adjust idle mixture screws in 1/8-turn increments for the smoothest idle. See our full carburetor adjustment guide for complete tuning instructions.
Troubleshooting Post-Cleaning Carburetor Problems
| Problem | Likely Cause | Fix |
|---|---|---|
| Runs but idles rough | Idle circuit still clogged or mixture screws mis-set | Remove idle mixture screws, spray cleaner through passages, confirm light passes through the port. Readjust mixture screws from baseline. |
| Stalls under acceleration | Cracked accelerator pump diaphragm or clogged pump nozzle | Remove the carb top, visually inspect the pump diaphragm for cracks. Replace from rebuild kit. Verify pump nozzle is clear. |
| Fuel leaking from the carburetor | Float height too high, needle valve not seating, bowl gasket leak | Recheck float height against spec. Replace needle valve if the rubber tip shows wear. Verify bowl gasket is seated in its groove. |
| Rich running — black smoke, black plugs | Float level too high, choke stuck partially closed, oversized jets | Lower float level 1/16″ and recheck. Manually verify choke plate opens completely when warm. Verify jet sizes match spec. |
| Vacuum / air leak symptoms (lean, rough, won’t tune) | Missing vacuum hose, warped gasket from uneven torque, missing O-ring | Spray carburetor cleaner around base gasket and all vacuum ports with engine running. RPM change at any point = leak location. Retorque evenly. |
| Still clogged after full cleaning | Corroded passages, warped carb body, damaged jets | Consider a full carburetor rebuild with new jets and needle valve, or replacement carburetor. At this point cleaning alone is insufficient. |
Cost Analysis: DIY Carburetor Cleaning vs. Professional Service
DIY Carburetor Cleaning Cost
Professional Carburetor Service Cost
💡 Buy Berryman B-12 in Bulk
A gallon of Berryman B-12 costs approximately $30 and will clean 8–10 carburetors. If you’re cleaning multiple carbs (motorcycle set, V8 with a Quadrajet, or any multi-carb setup) or doing annual maintenance, the gallon format is the best value in the shop. It stores for years in a sealed container.
Carburetor Cleaning FAQs
How often should a carburetor be cleaned?
Every 2–3 years on regularly driven vehicles. Annually on any vehicle that sits for months between uses — ethanol gasoline degrades in 30–60 days and leaves varnish behind. If you use a fuel stabilizer like STA-BIL for storage, you can extend to every 3–4 years. Clean immediately whenever symptoms appear (rough idle, hard starting, hesitation) regardless of the maintenance interval.
Can I clean a carburetor without removing it?
On-engine spray cleaning provides only surface-level cleaning and typically fails within 4–8 weeks on a carburetor with real varnish buildup. For any carburetor that hasn’t been cleaned in 5+ years, or one actively showing symptoms, complete removal and disassembly is necessary. The pilot jet and idle circuit passages are too small and too deep to reach with spray alone. I’ve seen “quick clean” jobs fail within weeks every time. Do it once, do it right.
What is the best carburetor cleaner?
For soaking: Berryman B-12 Chemtool (liquid concentrate, not the spray can). It dissolves heavy petroleum varnish and gum that weaker cleaners leave intact. For spray cleaning on the engine: Gumout Carb & Choke Cleaner. For motorcycle carbs with tiny passages: an ultrasonic cleaner with Berryman B-12 is the most effective combination available. Avoid generic house-brand cleaners — they lack the solvent strength required for ethanol varnish.
Can I use vinegar or Coca-Cola to clean a carburetor?
Vinegar (acetic acid) requires 24–48+ hours and does not effectively dissolve petroleum varnish — only mineral deposits. Coca-Cola’s phosphoric acid can corrode aluminum carburetor bodies and damage zinc die-cast components. Neither approach is recommended over purpose-formulated carburetor cleaner. Berryman B-12 costs $10 and dissolves varnish in 30–60 minutes — there’s no practical reason to use home remedies.
My carburetor is still clogged after cleaning. What now?
If a complete soak-and-scrub cleaning didn’t resolve the symptoms, you’re facing one of three situations: passages that are corroded (not just dirty) and won’t clear without physical enlargement, a warped carburetor body that creates air leaks no amount of tuning fixes, or worn components (stretched needle, grooved jet seat) that need replacement. At this point, a full carburetor rebuild with replacement components is more cost-effective than continued cleaning attempts.
How do I prevent carburetor deposits in the future?
Four practices eliminate most carburetor fouling: (1) Use a fuel stabilizer (STA-BIL) whenever the vehicle will sit for more than 30 days. (2) Run the engine until the carburetor runs dry before extended storage — this empties the float bowl of deposit-forming fuel. (3) Use Top Tier certified gasoline when available — higher detergent content slows varnish formation. (4) Add a quality fuel system cleaner to the tank annually — it won’t replace a cleaning, but it slows the rate of deposit accumulation significantly.
Final Thoughts: Do It Right Once
Cleaning a carburetor is one of the most satisfying DIY jobs on a classic vehicle precisely because the results are immediate and the skill is transferable to every carbureted engine you’ll ever work on. The principles don’t change between a ’67 Impala’s Rochester Quadrajet, a Honda CB750’s Keihin CV carb, and a Briggs & Stratton lawnmower. Identify the affected circuit, disassemble completely, soak until the cleaner stops working, clear every passage with compressed air, replace all gaskets, reassemble, and tune.
Old Man Jenkins’ Impala hasn’t been back for the same issue since I did the proper teardown. That’s the difference between cleaning a carburetor and cleaning it right.
Key takeaways: Always photograph before disassembly. Never rush the soak — varnish takes time to dissolve. Never ream a jet larger than spec. Always replace every gasket. And don’t call it clean until you can see light through every jet opening.
Related Guides on VehicleBar
- Carburetor Rebuild Kits: How to Choose the Right One
- Carburetor Adjustment: Idle, Mixture & Throttle Tuning
- Rough Idle Diagnosis: Causes & Fixes
- Best Fuel System Cleaners for Carbureted Engines
- Spark Plug Reading Guide: Diagnose Rich & Lean Conditions
- Air Filter Replacement: Keep Dirt Out of Your Carb