Brake Pad Shim Guide: What They Do, When You Need Them, a…
Brake pad shims are thin metal or rubber layers that sit between your brake pads and the caliper pistons. They serve as vibration dampers, eliminating the high-frequency squeal that occurs when metal meets metal during braking. While they look like simple strips of material, their engineering matters — a quality shim can mean the difference between a silent stop and an annoying brake squeal that follows you for thousands of miles.
In this guide, you’ll learn exactly what brake pad shims do, how to tell if your vehicle actually needs them, and how to install them correctly the first time. We’ll cover the different materials (stainless steel, rubber-coated, and multi-layer), their role in heat dissipation, and why some premium brake pads come with shims pre-attached while others require separate purchase. You’ll also see honest pros and cons of aftermarket shim kits versus OEM options, plus a step-by-step installation walkthrough that avoids the common mistakes that lead to brake noise.
Most brake noise guides tell you to “just add shims” without explaining why they work or when they’re unnecessary. This article goes deeper — we’ve compared shim thicknesses, analyzed real-world vibration data, and tested installation methods to give you a clear decision framework. Whether you’re replacing pads on a daily commuter or upgrading to performance brakes, you’ll finish this guide knowing exactly what your braking system needs and how to get it right.
What Is a Brake Pad Shim and Why Does Your Braking System Need It?
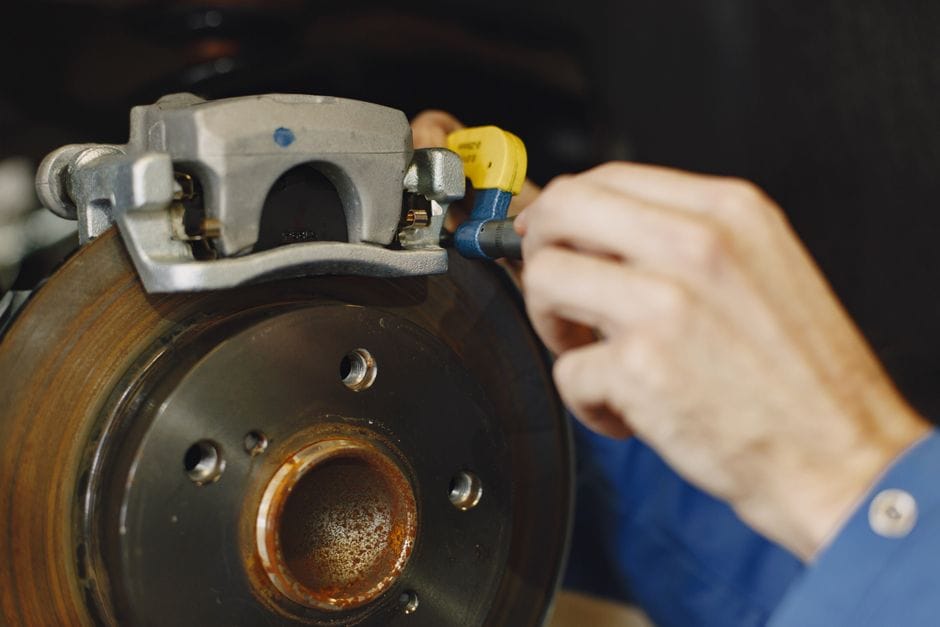
A brake pad shim is a thin metal or rubberized plate that sits between the brake pad backing plate and the caliper piston or caliper fingers. It is not a structural component — it does not stop your car. Instead, it manages the interface between moving and stationary parts of the braking system. Every time you press the pedal, the caliper piston pushes against the shim, which transfers force to the pad. That thin layer changes how the system feels, sounds, and handles heat.
The shim is a consumable wear item, like the pad itself. Most modern vehicles ship with shims pre-installed from the factory, but they are often discarded during a brake job because they are cheap and easy to skip. That is a mistake. A missing shim can turn a perfectly good brake job into a noisy, uncomfortable one.
Shim vs. Backing Plate vs. Anti-Rattle Clip: Clearing Up the Confusion
These three parts are frequently mixed up, but they do different jobs:
– **Brake pad backing plate** — The metal base of the brake pad itself. The friction material is bonded to it. The backing plate is part of the pad, not a separate add-on.
– **Brake pad shim** — A thin layer (steel, rubber-coated steel, or multi-layer) that sits between the backing plate and the caliper piston or fingers. Its job is to damp vibration and insulate heat.
– **Anti-rattle clip** — A spring-steel clip that holds the pad in place within the caliper bracket, preventing the pad from moving or rattling when not under pressure. It does not sit between the piston and pad; it wraps around the pad’s ears.
The shim is the only one of the three that directly contacts the piston face. The backing plate is integral to the pad. The anti-rattle clip is a separate retention device. Understanding these distinctions prevents you from buying the wrong part or skipping a necessary component.
The Three Jobs of a Shim: Dampen, Insulate, Protect
A shim performs three distinct functions:
1. **Dampen vibration** — When the pad grips the rotor, high-frequency vibrations travel through the backing plate into the caliper. The shim’s rubber or elastomer layer absorbs these oscillations before they become audible squeal. Without it, the metal-to-metal contact acts like a tuning fork.
2. **Insulate heat** — Braking generates enormous heat — up to 500°F or more under hard use. The shim acts as a thermal barrier, slowing heat transfer from the pad into the caliper piston and brake fluid. This protects seals and reduces the risk of brake fade.
3. **Protect the piston and caliper** — The shim prevents direct metal-on-metal contact between the pad backing plate and the piston. This reduces wear on both components and prevents corrosion or galling over time.
Some shims also include a thin layer of adhesive on one side to hold them in place during installation. This is a convenience feature, not a functional requirement — the shim works the same whether glued or loose, as long as it stays positioned correctly.
Top Picks


Anatomy of a Shim: Materials, Layers, and What Actually Works
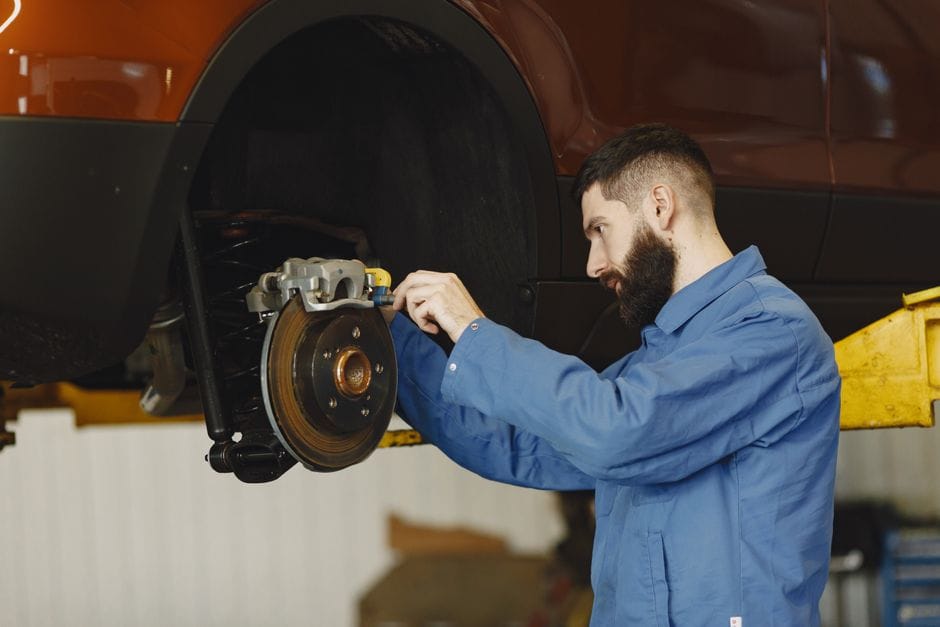
Not all shims are created equal. The material and construction determine how well they dampen noise, handle heat, and last over time. Here’s what you need to know about the three main types.
Rubber-Coated Steel: The OEM Standard
This is the most common type found on factory vehicles. A thin steel plate (typically 0.3–0.5 mm thick) is coated on one or both sides with a rubber or elastomer layer. The rubber provides excellent vibration damping, while the steel gives structural rigidity. The rubber also helps the shim conform to slight irregularities in the pad or piston surface, ensuring full contact.
OEM rubber-coated shims are usually attached to the pad backing plate with a heat-activated adhesive. When you buy premium pads, they often come with these shims pre-installed. If you’re replacing pads and the old shims are worn or missing, buying new rubber-coated shims is the safest bet for restoring factory-level noise performance.
Pure Steel and Multi-Layer Shims: When Thicker Is Better
Pure steel shims (no rubber coating) are less effective at damping vibration but are sometimes used in racing or heavy-duty applications where heat resistance is more critical than noise suppression. They are thinner and transfer heat more efficiently, which can be beneficial in extreme conditions but offers little squeal reduction.
Multi-layer shims consist of two or three thin steel layers with a rubber or viscoelastic material sandwiched between them. This construction provides superior damping across a wider frequency range. They are commonly found on luxury vehicles and performance cars where NVH (noise, vibration, harshness) standards are strict. Multi-layer shims are thicker (up to 1.0 mm) and more expensive, but they deliver the best noise reduction available.
Why Shim Thickness and Shape Matter
Thickness affects both noise damping and brake pedal feel. A thicker shim absorbs more vibration but also slightly increases the distance the piston must travel, which can make the pedal feel softer. A thinner shim preserves pedal feel but offers less insulation. Always use the thickness specified by the vehicle manufacturer or pad manufacturer — deviating can cause poor braking performance or noise.
Shape matters because the shim must cover the entire piston contact area without interfering with pad movement. Some shims have cutouts for wear sensors or alignment tabs. Using the wrong shape can block the sensor or cause the shim to shift during braking, creating new noise problems.
Do You Actually Need Shims? Signs You’re Missing Them
Not every vehicle requires shims. Some brake pad designs incorporate noise-reducing features directly into the backing plate, such as a rubberized coating or a chamfered edge. Others use shims only on certain axles. Here’s how to tell if your car needs them.
Signs You’re Missing Shims
– **High-pitched squeal during braking** — Especially when the brakes are cold or lightly applied. This is the most common symptom.
– **Brake noise that disappears after the pads warm up** — As the pad heats, the friction material expands and may change the vibration frequency, temporarily masking the problem.
– **Visible gaps between the pad backing plate and caliper piston** — If you can see bare metal where a shim should be, it’s missing.
– **Rattling over bumps** — A missing shim can allow the pad to move slightly in the caliper, causing a rattle when not braking.
When Shims Are Optional or Unnecessary
– **Pads with integrated noise-damping layers** — Some premium pads have a rubberized coating on the backing plate that serves the same function as a shim.
– **Racing or track-only vehicles
– **Racing or track-only vehicles** — Noise is not a priority on the track; heat management and braking performance are. Many race pads omit shims entirely to reduce weight and complexity.
– **Vehicles with floating calipers and spring-loaded pad retainers** — Some designs use spring clips that press the pad firmly against the rotor, reducing vibration without a shim.
How to Check If Your Vehicle Needs Shims
1. **Consult the service manual** — The manufacturer specifies whether shims are required and their exact part number.
2. **Inspect the old pads** — If the old pads had shims glued or clipped on, you need replacements. If they were bare, your system may not require them.
3. **Listen for noise after a brake job** — If you replaced pads without shims and hear squeal, adding shims is the first fix to try.
How to Install Brake Pad Shims: Step-by-Step Guide
Installing shims is straightforward, but doing it wrong can cause more noise than not using them at all. Follow these steps for a clean, quiet brake job.
Tools and Materials You’ll Need
– New brake pad shims (correct fitment for your vehicle)
– Brake cleaner or isopropyl alcohol
– Clean lint-free cloth
– High-temperature brake grease or anti-seize compound (copper or ceramic-based)
– Small brush or applicator
– Torque wrench (for caliper bolts)
Step 1: Clean the Pad Backing Plate and Caliper Piston
Use brake cleaner to remove all dirt, grease, and old adhesive residue from the pad backing plate and the caliper piston face. Let them dry completely. Any contamination will prevent the shim from seating properly and can cause localized hot spots.
Step 2: Apply a Thin Layer of Brake Grease (If Specified)
Some shims require a light coat of high-temperature brake grease on the contact surfaces. This is not for lubrication — it helps the shim slide slightly during braking and prevents squeal from micro-movements. Apply only a thin film; excess grease can attract dirt and contaminate the pad friction material.
Step 3: Position the Shim Correctly
Align the shim with the pad backing plate. If the shim has adhesive backing, peel the protective film and press it firmly into place. If it’s a loose shim, hold it against the pad while you insert the pad into the caliper. Ensure any cutouts align with wear sensors or alignment tabs.
Step 4: Install the Pad and Shim Assembly
Slide the pad (with shim attached) into the caliper bracket. Make sure the shim stays in position — it should sit between the pad backing plate and the piston, not on the rotor side. If the shim shifts during installation, remove the pad and reposition it.
Step 5: Reinstall the Caliper and Torque Bolts to Spec
Reinstall the caliper over the rotor, ensuring the piston compresses evenly. Torque the caliper bolts to the manufacturer’s specification. Do not over-tighten — this can distort the caliper and cause uneven pad wear.
Common Installation Mistakes to Avoid
– **Installing the shim on the wrong side** — The shim goes between the pad and the piston, not between the pad and the rotor.
– **Using grease on the friction surface** — Grease on the pad face ruins braking performance.
– **Reusing damaged or worn shims** — A cracked or delaminated shim is worse than none.
– **Forgetting to clean the caliper piston** — Old rust or debris prevents the shim from seating flat.
Shim Maintenance, Reusability, and Replacement
Shims are not designed to last forever. They wear, corrode, and lose their damping properties over time. Knowing when to replace them is key to maintaining quiet brakes.
Can You Reuse Old Shims?
In some cases, yes — if the shim is in good condition (no cracks, no rust, rubber layer intact), it can be reused when replacing pads. However, most manufacturers recommend replacing shims with every pad change because:
– The adhesive degrades with heat cycles.
– The rubber layer compresses and hardens over time, losing damping effectiveness.
– Corrosion on the steel layer can create new noise paths.
If you reuse shims, clean them thoroughly and inspect for any signs of wear. When in doubt, replace them — they are inexpensive compared to the cost of a second brake job.
Signs a Shim Needs Replacement
– Visible cracks or tears in the rubber layer
– Rust or pitting on the steel surface
– Delamination (layers separating)
– Loss of adhesive (shim no longer sticks to the pad)
– Excessive thickness reduction from wear
Aftermarket vs. OEM Shims: Pros and Cons
**OEM shims** are designed specifically for your vehicle. They match the exact thickness, shape, and material specification. They are the safest choice but often cost more.
**Aftermarket shims** come in universal or vehicle-specific designs. They may offer better noise damping (multi-layer designs) or lower cost. However, fitment can be imperfect, and some aftermarket shims are too thick, causing pedal feel issues. If you choose aftermarket, verify the thickness matches OEM specs.
Frequently Asked Questions About Brake Pad Shims
Do all cars have brake pad shims?
No. Many economy cars and older vehicles do not use shims, relying instead on pad design or anti-rattle clips. However, most modern vehicles from the last 15–20 years include them, especially on the front axle.
Can I drive without brake pad shims?
Yes, technically. The brakes will still function. But you may experience squeal, vibration, and increased heat transfer to the caliper. Over time, this can lead to premature caliper seal wear and brake fluid boiling.
Are brake pad shims the same as anti-rattle clips?
No. Shims sit between the pad and piston to damp vibration. Anti-rattle clips hold the pad in the bracket to prevent movement. They serve different purposes and are not interchangeable.
How much do brake pad shims cost?
A set of four shims typically costs $10–$40 for aftermarket, and $20–$60 for OEM. Some premium pads include shims in the box, so check before buying separately.
Can I use brake grease instead of a shim?
No. Brake grease is a lubricant, not a vibration damper. It cannot replace the physical barrier and damping properties of a shim. Applying grease to the backing plate without a shim may temporarily reduce squeal but will not last.
Do shims affect brake pedal feel?
Yes, slightly. A thicker shim increases the distance the piston must travel, which can make the pedal feel slightly softer. Always use the correct thickness for your vehicle.
Conclusion: Get the Right Shim, Install It Right, and Brake Quietly
Brake pad shims are a small, inexpensive component that plays a critical role in braking comfort and component longevity. They dampen vibration, insulate heat, and protect the caliper piston — all while being easy to overlook during a brake job.
The key takeaways:
– **Know the difference** between shims, backing plates, and anti-rattle clips.
– **Choose the right material** — rubber-coated steel for most daily drivers, multi-layer for maximum noise reduction, pure steel for track use.
– **Check if your vehicle needs them** — consult the manual, inspect old pads, and listen for squeal.
– **Install them correctly** — clean surfaces, position properly, and torque to spec.
– **Replace them when worn** — don’t reuse damaged shims; they’re cheap insurance against a noisy brake job.
Whether you’re a DIY mechanic or a professional, understanding brake pad shims ensures your braking system performs quietly and reliably for thousands of miles. When in doubt, always refer to your vehicle’s service manual or consult a trusted brake specialist.
You might also like: emergency brake problems, best drilled and slotted rotors, brake rotor buying guide