
Quick Answer: Where Do I Find My Belt Diagram?
Most vehicles have a sticker placed by the manufacturer in the engine bay, usually on the radiator support, the strut tower, or the underside of the hood. If that sticker is faded or gone, check your owner’s manual or repair manual (like Haynes or Chilton). For the most accurate diagrams, AllDataDIY or specific manufacturer service sites are your best bet.
The Tuesday Afternoon Tow-In
It was 2:30 PM on a rainy Tuesday—prime time for the “I tried to fix it myself” crowd. A flatbed rolled up with a 2005 Ford F-150. The owner, a guy named Dave, looked defeated. He told me, “I put the new belt on, but it squealed like a banshee for ten seconds and then snapped.”
I popped the hood. It didn’t take me long to see the issue. Dave had the belt routed correctly around the alternator and the power steering pump, but he missed the idler pulley entirely, forcing the belt at a terrible angle. He had the right parts, but he didn’t have the map.
This is why finding the correct serpentine belt routing diagram isn’t just helpful; it’s mandatory. I’ve seen guys crack water pump pulleys and seize alternators just because they “guessed” the path.
Why Serpentine Belt Routing Matters
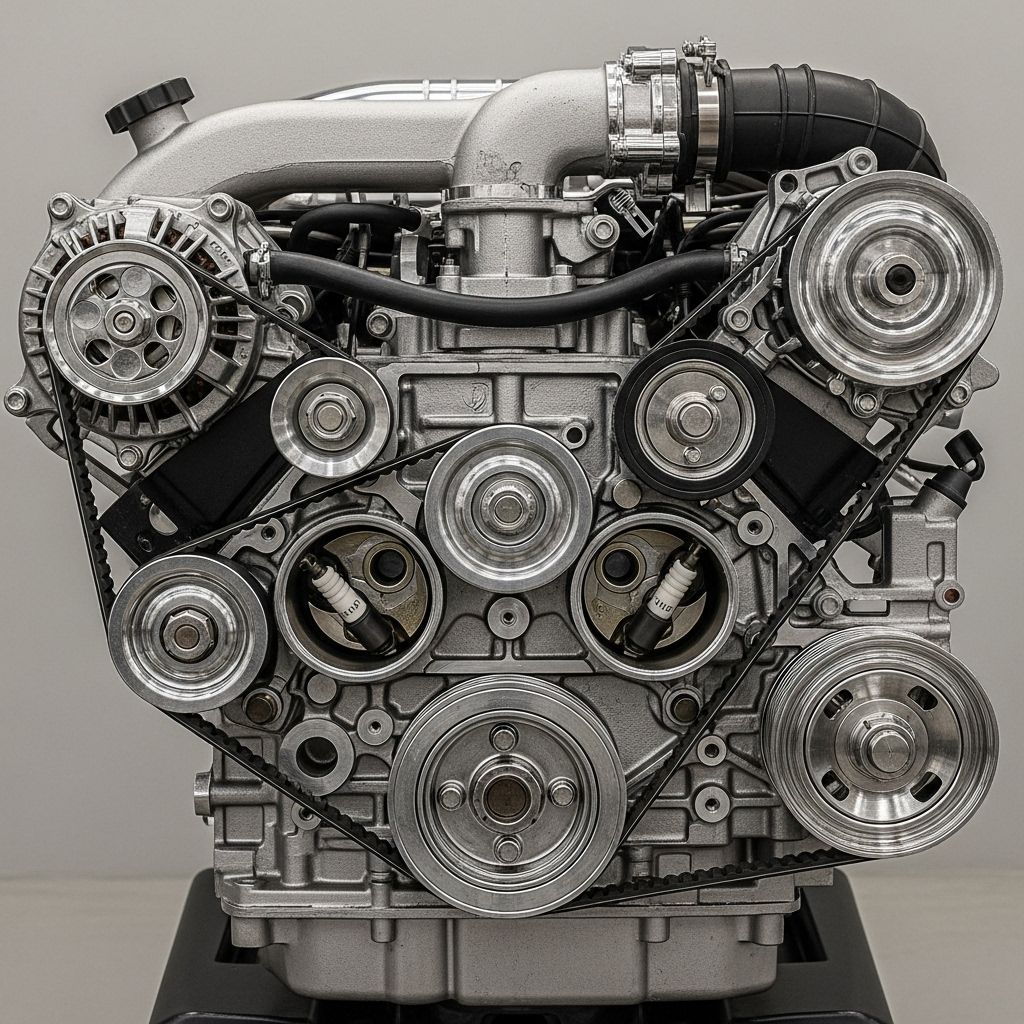
Modern engines rely on a single rubber belt to drive everything: the alternator, power steering pump, A/C compressor, and—most critically—the water pump. If your drive belt routing is off by even one pulley, you risk the belt jumping off or, worse, spinning a component in the wrong direction.
There is a logic to the chaos. The ribbed side of the belt always grips the grooved pulleys (crank, alternator, water pump). The smooth back side of the belt typically contacts the smooth pulleys (like the tensioner or specific idlers). If you try to force the smooth side into a grooved pulley, you won’t get the grip needed to turn the pump.
Pro Tip: Before you remove the old belt, take a picture with your phone. Seriously. Even if you have a diagram, a photo of how it looked *before* you touched it is the best backup plan. I do it every single time, even on cars I’ve worked on for 15 years.
Serpentine Belt Routing by Engine Type
There is no “universal” diagram. Even within the same manufacturer, routing changes based on engine size (4-cylinder vs. V6) and accessories (with or without A/C). Below are specific examples of how routing differs.
GM 3800 Series II (V6)
Found in the Buick LeSabre, Pontiac Grand Prix, and Chevy Impala (1997-2005). This engine is notorious for tight clearances near the strut tower.
- Routing Path: Starting at the crankshaft pulley (bottom center), the belt goes up and over the water pump.
- The Trap: It then loops around the power steering pump, which is located low on the passenger side. From there, it weaves behind the tensioner.
- Note: The supercharged version (L67) routes differently than the naturally aspirated version (L36). Do not mix these up.
Ford Modular 4.6L / 5.4L (V8)
Common in the F-150 and Mustang. The routing here is complex due to the deep engine bay.
- Routing Path: The belt leaves the crank, goes around the A/C compressor, then the alternator.
- Critical Check: There is a specific “decoy” pulley on some years that looks like it should be used but isn’t. Always follow the diagram.
- Torque Spec for Tensioner Bolt: If you are replacing the tensioner, tighten the mounting bolts to 37 ft-lbs.
Toyota 1GR-FE (4.0L V6)
Found in Tacoma and 4Runner. This is one of the easiest designs, provided you have the right tool.
- Routing Path: Very linear. Crank -> Idler -> Water Pump -> Power Steering -> Alternator -> A/C -> Tensioner.
- Tensioner Location: Top center, very accessible.
Step-by-Step: Using a Belt Diagram for Replacement
Okay, you have your diagram. Let’s walk through the actual replacement process. Before you start, if you are hearing chirping or squealing, you might want to read up on [serpentine belt replacement, belt tensioner replacement, belt noise issues](serpentine-belt-replacement, belt-tensioner-replacement, serpentine-belt-noise) to diagnose if you just need a belt or if the tensioner is shot.
Tools & Materials Needed
- Serpentine Belt Tool: (Or a long 1/2″ drive breaker bar). Cost: $20-$50. This is a must-have.
- 3/8″ or 1/2″ Drive Sockets: Usually 14mm, 15mm, or 18mm depending on the tensioner arm.
- Flashlight: To see the routing stickers hidden in dark corners.
- Gloves: The new belt has oil/chemical residue; old belts are sharp.
- New Belt: Ensure the part number matches exactly. Gates K-series or Continental Elite are my go-tos.
The Procedure
Critical Warning: Make sure the belt is seated *behind* any tensioner flanges or guide pins. If the belt is rubbing against a plastic guide, it will fail within 50 miles.
Troubleshooting Common Belt Issues
Sometimes, even with the correct belt diagram, you run into problems. Here is how I diagnose them in the shop.
| Symptom | Probable Cause | The Fix |
|---|---|---|
| Loud Squeal on Startup | Glazed belt or weak tensioner | Check tensioner strength (should be hard to move). If good, replace belt. |
| Chirping Noise | Misaligned pulley or seized bearing | Watch the pulleys while engine runs. Look for wobble. |
| Belt Jumps Off | Incorrect routing or stretched belt | Re-verify the serpentine belt pattern against the diagram. |
| Battery Light On / Overheating | Water pump or Alternator not spinning | Check if belt is too loose or if pulley is spinning freely on the shaft. |
Money-Saving Trick: If you are replacing the belt, check the auto parts store lifetime warranty on the tensioner. Some cheaper aftermarket tensioners fail prematurely, but if you buy the premium line (like Dayco or Gates), they usually last as long as OEM. However, for specific European cars (Volvo, VW), I always insist on OEM tensioners. The aftermarket ones just can’t hold the consistent tension required.
Cost Analysis: DIY vs. Professional
Let’s break down the numbers. Replacing a serpentine belt is one of the highest ROI (Return on Investment) repairs you can do yourself.
DIY Cost Breakdown
- Belt (Aftermarket – Gates/Continental): $25 – $60 depending on length and vehicle.
- Belt (OEM): $45 – $90.
- Tensioner (if needed): $40 – $150.
- Tools (One-time purchase): $30 (if you don’t have a breaker bar).
- Total: $25 – $250 (Most people just need the belt).
Professional Shop Pricing
- Labor: Usually 0.5 to 1.0 hour. Shop rates vary $100 – $150/hr. Labor = $50 – $150.
- Parts Markup: Shops typically mark parts up 30-50%. Belt = $60 – $100.
- Total: $110 – $300.
By doing this yourself, you save about $100 in labor for a job that, once you’ve done it, takes about 15 minutes. The hardest part is usually just figuring out where to put the tool to release the tensioner.
Safety Warnings
Engine Hazard: Never work on a running engine unless you are trained to do so. Keep hands and loose clothing far away from the cooling fan and moving belts.
Hot Parts: If the car was recently running, the radiator, exhaust manifold, and pulleys can cause severe burns. Let the engine cool for at least 30 minutes.
Tensioner Spring: The tensioner is under high pressure. When you release the tool, the tensioner snaps back forcefully. Keep your face clear of the swing path.
Frequently Asked Questions
Can I drive without a serpentine belt?
No. If the belt breaks while driving, you will lose power steering immediately (making the car very hard to steer) and the water pump will stop circulating coolant. Your engine will overheat rapidly, potentially leading to catastrophic head gasket failure. If the belt snaps, pull over and shut off the engine immediately.
How often should I replace the serpentine belt?
Most manufacturers recommend inspection every 60,000 miles and replacement between 90,000 and 120,000 miles. However, in hot climates (like Arizona or Nevada), the dry heat cracks the rubber faster. I inspect them every oil change.
Why are there two different belt diagrams for my car?
This usually indicates a difference in engine size (e.g., 2.5L vs 3.5L) or optional equipment. A car with A/C requires a longer belt that routes through the A/C compressor. A car without A/C (less common now) takes a shorter belt that bypasses that pulley. Verify your VIN to see which engine you have.
What happens if I route the belt wrong?
Best case: The belt is too tight or too loose and falls off immediately. Worst case: You drive it, and the water pump spins backward (impossible on most, but possible on some setups with reversed pulleys) or the belt slips, causing the alternator not to charge. This drains the battery and kills the ignition.
Do I need a special tool for the tensioner?
Technically, no. A standard 3/8″ drive ratchet or breaker bar usually fits into the tensioner arm. However, on cars with very crowded bays (like transverse-mounted V6s in minivans), a “serpentine belt tool”—which is essentially a long breaker bar with a crowsfoot at the end—gives you the leverage and reach needed to clear the radiator fan.
Conclusion
Replacing a serpentine belt is a fundamental DIY skill that falls right between “changing air filters” and “changing brake pads” in terms of difficulty. It requires a bit of strength to overcome the tensioner spring, but the actual logic is straightforward—provided you have the map.
Take the time to find the correct serpentine belt routing diagram for your specific year, make, and engine. Don’t guess. Once you have it routed correctly and the tensioner is released, you’ll feel the satisfaction of saving a hundred bucks and keeping your car on the road. Just remember: ribbed side to grooved pulleys, smooth side to smooth pulleys. If you stick to that rule and follow the diagram, you’ll be fine.