How to Replace a Timing Belt: Complete DIY Guide
Quick Answer: Replacing a timing belt is a complex but doable DIY job for intermediate mechanics. It requires precision, patience, and the right tools. Expect to spend 6-10 hours and save $500-$1,000 compared to a shop. Always replace the water pump, tensioners, and idlers at the same time.
Introduction: A Mechanic’s Perspective
It was a sweltering August afternoon in the shop when Mr. Thompson rolled in with his 2008 Honda Accord. The engine was running rough, and he had a sinking feeling. “I ignored the maintenance schedule,” he admitted, rubbing his temples. “Now it’s making that rattling noise.” I popped the hood, and sure enough, the timing belt was frayed, with chunks of rubber missing. He was lucky—it hadn’t snapped yet. A broken timing belt on an interference engine like his would’ve meant a $3,000+ rebuild.
That’s the thing about timing belts: they’re silent killers. Most drivers don’t think about them until it’s too late. But if you’re reading this, you’re already ahead of the game. Replacing a timing belt isn’t a walk in the park, but with the right tools, patience, and this guide, you can tackle it yourself—and save a small fortune.
I’ve replaced hundreds of timing belts over my 15+ years as a master technician. I’ve seen DIYers botch it (and pay dearly for it), and I’ve seen weekend warriors nail it on the first try. The difference? Preparation. This guide is everything I wish my customers knew before they rolled up their sleeves.
What You Need to Know Before You Start
Is Your Engine Interference or Non-Interference?
This is critical. An interference engine means the pistons and valves occupy the same space at different times. If the timing belt snaps, they collide—catastrophic damage. Non-interference engines? The pistons and valves never meet, so a broken belt just leaves you stranded.
Not sure? Look it up for your exact year/make/model. Or ask in the comments—I’ll help.
When to Replace Your Timing Belt
Most manufacturers recommend replacing the timing belt every 60,000–100,000 miles. But here’s what I’ve seen in the shop:
- Honda/Acura:7 years or 105,000 miles, whichever comes first. Their belts turn to dust after 8 years, no matter the mileage.
- Toyota:90,000–120,000 miles. Their belts last, but the tensioners wear out.
- Subaru:105,000 miles, but check the idlers at 60K—they fail early.
- Ford/Mazda:100,000 miles, but their 4-cylinder engines eat belts for breakfast. Replace at 80K if you drive in extreme heat.
Pro tip: If you buy a used car and don’t have service records ,replace the belt immediately. It’s cheaper than gambling.
Signs Your Timing Belt is Failing
- Ticking noise from the engine (sounds like a sewing machine).
- Engine misfires or runs rough.
- Oil leaks near the timing cover (common on Hondas).
- Visible cracks or missing teeth on the belt (if you remove the cover).
Tools & Materials: The Right Stuff for the Job
This isn’t a “maybe you have these” job. You need every tool listed below. Skipping one could mean starting over—or worse, damaging your engine.
Must-Have Tools
- 10mm, 12mm, 14mm, 17mm sockets and wrenches (most cars use these sizes).
- Breaker bar and torque wrench(critical for torque specs).
- Timing belt kit(includes belt, tensioner, idlers—never reuse old ones).
- Water pump(replace it now; it’s behind the timing belt and fails at similar mileage).
- Crankshaft pulley holder(or a sturdy screwdriver and hammer for DIYers).
- Camshaft holding tool(or a DIY pin kit—more on this later).
- Gasket maker (Permatex Ultra Black)for the timing cover.
- Engine support bar(or a jack with a wood block—some engines need support).
- Magnet tray(for bolts—trust me, you’ll drop them).
Nice-to-Have Tools
- Air compressor and impact wrench(speeds up bolt removal).
- Engine hoist(for transverse-mounted engines like Hondas).
- Borescope(to inspect hard-to-see areas).
- Label maker(for marking wires and hoses).
Estimated Costs
| Item | OEM Price | Aftermarket Price | Where to Buy |
|---|---|---|---|
| Timing Belt Kit (Belt + Tensioner + Idlers) | $250–$400 | $120–$250 | Rock Auto, Amazon, AutoZone |
| Water Pump | $150–$300 | $80–$150 | Same as above |
| Gasket Maker | $10–$15 | $8–$12 | Any auto parts store |
| Total DIY Cost | $410–$715 | $208–$412 | — |
| Shop Labor Cost | $500–$1,200 | ||
Pro Tip: Buy a complete kit with the water pump, tensioner, and idlers. Skipping the water pump now means doing this job twice.
Step-by-Step Timing Belt Replacement
This guide covers a transverse-mounted 4-cylinder engine (common in Hondas, Toyotas, and Subarus). V6s and inline engines have similar steps but may require additional disassembly.
Step 1:Prep the Car and Workspace
- Park on a flat, clean surface(garage or driveway).
- Disconnect the negative battery terminal.
- Remove the engine cover and any plastic shields.
- Drain the coolant(since you’re replacing the water pump).
- Label every wire and hose you disconnect. Use a label maker or masking tape.
Step 2:Remove the Serpentine Belt and Accessories
- Use a 14mm socket to loosen the serpentine belt tensioner.
- Remove the serpentine belt and set it aside.
- Unbolt the power steering pump and AC compressor(don’t disconnect the lines—just move them aside).
- Remove the crankshaft pulley bolt(use a breaker bar and hold the pulley with a holder tool or screwdriver).
Step 3:Remove the Timing Cover
- Unbolt the timing cover (usually 10mm or 12mm bolts).
- Gently pry it off with a plastic trim tool(don’t scratch the mating surface).
- Clean the mating surface with brake cleaner and a razor blade.
Step 4:Align the Engine to Top Dead Center (TDC)
- Rotate the crankshaft clockwise until the timing mark aligns with the pointer on the oil pump.
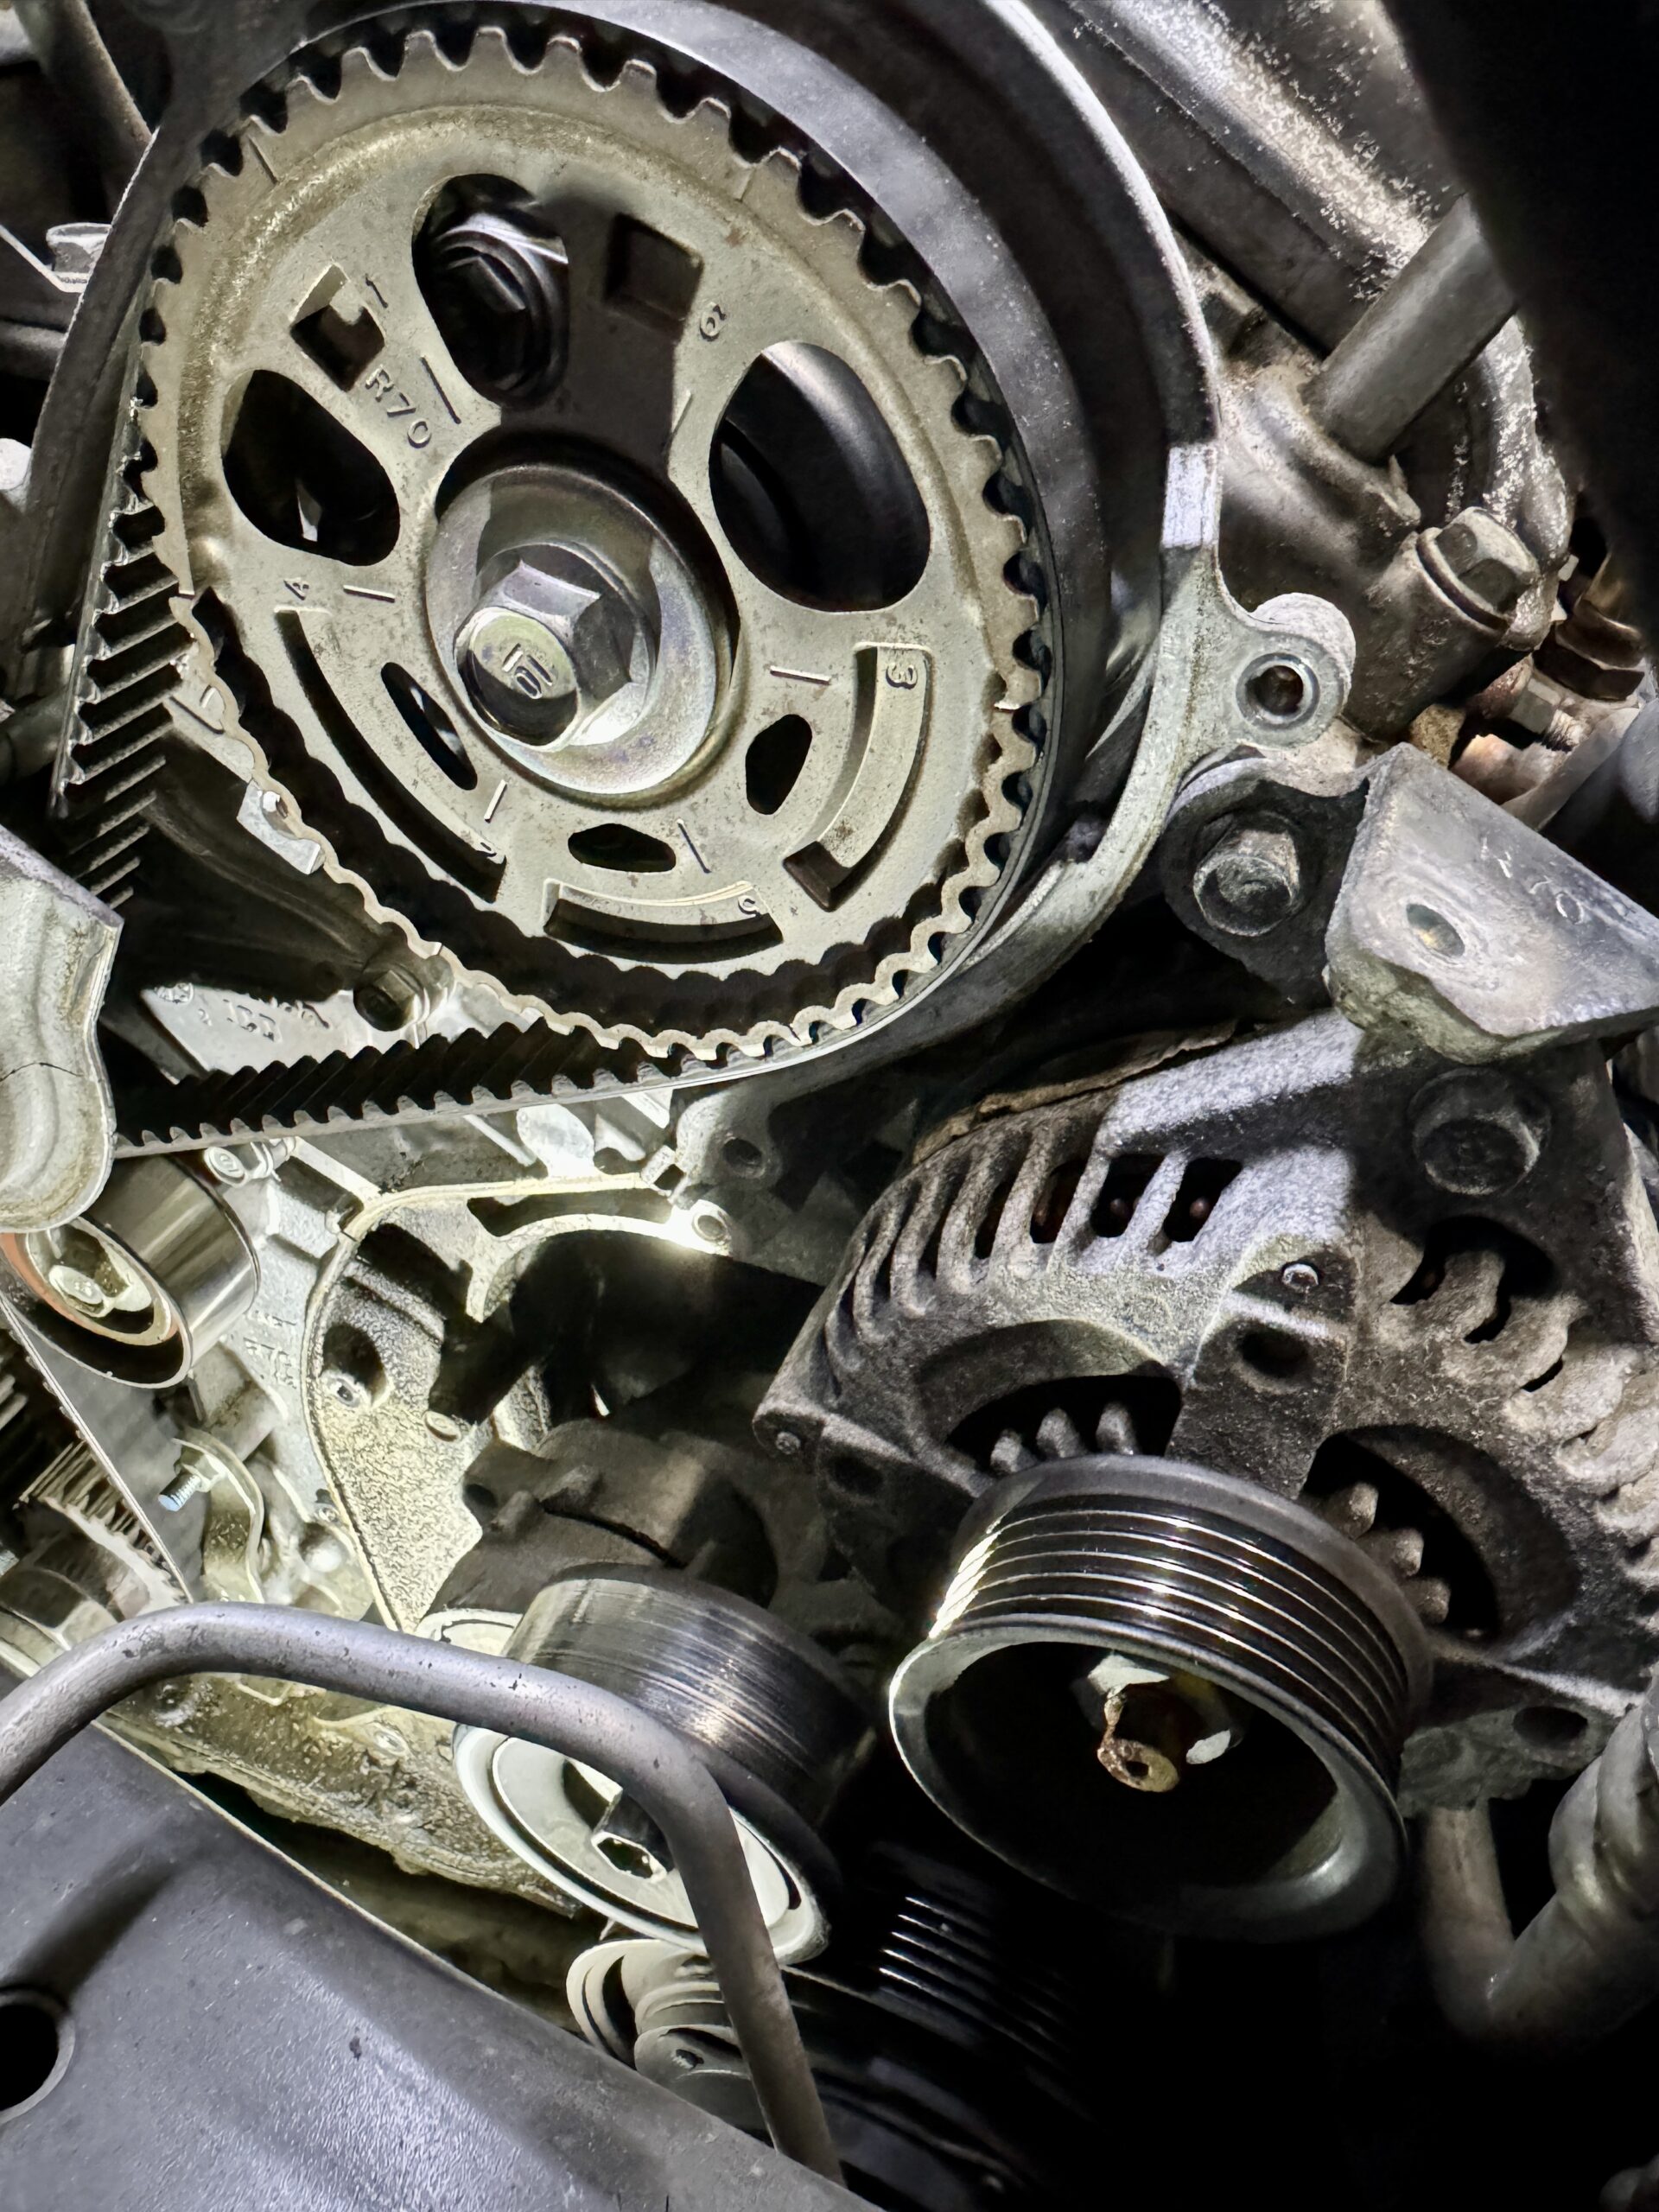
- Check the camshaft gears—both should have their marks pointing up (12 o’clock position).
- If the marks don’t align, rotate the crankshaft one full turn and recheck.
Step 5:Remove the Old Timing Belt and Components
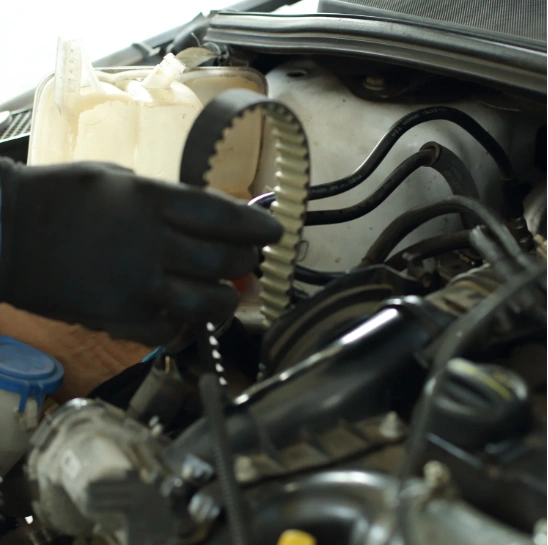
- Loosen the tensioner bolt and remove the old belt.
- Unbolt the tensioner and idlers(they wear out with the belt).
- Remove the water pump(it’s behind the timing belt—now’s the time to replace it).
- Clean the timing belt area with brake cleaner and a wire brush.
Step 6:Install the New Water Pump and Timing Components
- Install the new water pump with a fresh gasket and torque to spec(usually 10–15 ft-lbs).
- Install the new tensioner and idlers(hand-tighten for now).
- Check the camshaft and crankshaft seals—replace if leaking.
Step 7:Install the New Timing Belt
- Route the new belt exactly as the old one (use your photo).
- Start at the crankshaft gear and work counterclockwise.
- Use the tensioner tool to set proper tension (or follow the manual’s deflection spec).
- Torque the tensioner bolt to spec (usually 25–35 ft-lbs).
Step 8:Reassemble and Test
- Reinstall the timing cover with a thin bead of gasket maker.
- Reattach the crankshaft pulley and torque to spec (often 100–130 ft-lbs).
- Reinstall the serpentine belt and accessories.
- Refill the coolant and check for leaks.
- Reconnect the battery and start the engine.
- Listen for unusual noises and check for leaks.
Troubleshooting: When Things Go Wrong
Problem: Engine Won’t Start After Replacement
Problem: Details
Possible Causes:
- Timing is off: Recheck the alignment marks. Even one tooth off can prevent starting.
- Spark or fuel issue: Did you reconnect all sensors and wires?
- Immobilizer reset :Some cars need a key cycle or scan tool reset.
Fix: Pull the timing cover and verify the marks. If it’s off, you’ll need to realign the camshafts and crankshaft.
Problem: Belt is Too Loose or Too Tight
Symptoms: Whining noise (too tight), belt jumps teeth (too loose).
Fix: Loosen the tensioner, adjust the belt deflection (usually 5–8mm of play), and retorque.
Problem: Coolant Leak After Reassembly
Possible Causes:
- Water pump installed incorrectly.
- Timing cover gasket not sealed.
- Hose clamp not tightened.
Fix: Pressure-test the system with a coolant pressure tester. Look for leaks at the water pump and cover.
Problem: Engine Runs Rough or Misfires
Possible Causes:
- Timing is slightly off (one tooth can cause misfires).
- Damaged camshaft or crankshaft sensor during disassembly.
- Vacuum leak from a disconnected hose.
Fix: Recheck the timing marks and sensor connections. Use a scan tool to check for misfire codes.
Cost Analysis: DIY vs. Professional
DIY Cost Breakdown
| Item | Cost (USD) |
|---|---|
| Timing Belt Kit (Belt + Tensioner + Idlers) | $120–$250 |
| Water Pump | $80–$150 |
| Gasket Maker | $10 |
| Coolant | $20–$40 |
| Tools (if you don’t own them) | $50–$200 |
| Total DIY Cost | $280–$640 |
Professional Service Cost
| Service | Labor Cost (USD) | Parts Cost (USD) | Total (USD) |
|---|---|---|---|
| Timing Belt Replacement | $400–$800 | $200–$400 | $600–$1,200 |
| Water Pump Replacement | Included | $100–$200 | Included |
Savings: DIY saves you $320–$960—enough to buy a whole set of tools!
FAQ: Your Timing Belt Questions Answered
How Long Does a Timing Belt Replacement Take?
For a first-timer:8–12 hours spread over a weekend. For an experienced DIYer: 4–6 hours. Shops usually quote 3–5 hours of labor, but they have lifts and air tools.
Pro Tip: Start early in the morning. If you hit a snag, you’ll have time to troubleshoot or run to the parts store.
Can I Reuse the Old Water Pump?
No. The water pump’s bearing wears out at the same rate as the timing belt. Reusing it risks failure within 20,000 miles—and that means redoing the entire job.
I’ve seen customers cry over this. Don’t be that person.
What’s the Difference Between a Timing Belt and Timing Chain?
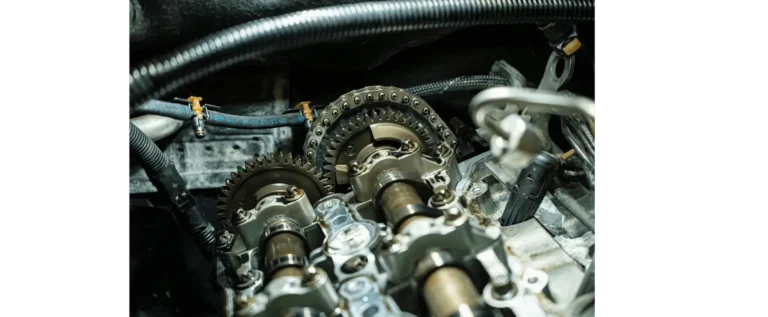
Timing belts are rubber and need replacement every 60K–100K miles. Timing chains are metal and usually last the life of the engine—but they can stretch or fail if the oil isn’t changed regularly.
Learn more: [Timing Chain vs. Timing Belt: Which is Better?](timing-chain-vs-timing-belt)
How Much Does a Timing Belt Replacement Cost at a Shop?
Expect $600–$1,200 for parts and labor. Dealers charge more ($800–$1,500), while independent shops are usually cheaper.
Check out: [Timing Belt Replacement Cost: What to Expect](timing-belt-replacement-cost)
Can I Drive with a Bad Timing Belt?
No. If it snaps, your engine could be destroyed in seconds. If you suspect it’s failing, tow the car or drive it only to the shop.
Do I Need to Replace the Serpentine Belt Too?
It’s a good idea. The serpentine belt is cheaper ($20–$50) and easier to replace while everything’s apart. If it’s cracked or glaze, swap it.
Guide: [Serpentine Belt Replacement: Step-by-Step](serpentine-belt-replacement)
Final Thoughts: A Mechanic’s Perspective
Replacing a timing belt is one of those jobs that separates the weekend tinkerers from the serious DIYers. It’s not “hard” in the sense of needing brute strength, but it demands precision, patience, and attention to detail. One skipped step or overtightened bolt can turn a $300 job into a $3,000 nightmare.
But here’s the thing: if you take your time, follow this guide, and don’t cut corners, you can do it. I’ve seen farmers, teachers, and even a dentist pull it off in their driveways. The satisfaction of firing up your car after a job like this? That’s the stuff that hooks you on wrenching for life.
And the savings? Let’s just say that $600–$1,000 you’re not spending at the shop could buy you a lot of tools—or a nice weekend getaway.
If you’re on the fence, ask yourself: Do I want to learn, or do I want to pay? If you’re here, you’re already halfway to the first option. Now grab your tools, take a deep breath, and let’s get to work.
Top How To Replace A Timing Belt – Our Picks