Belt Tensioner Replacement: Signs & DIY Guide
VehicleBar Affiliate Product Box
Parts & Tools You’ll Need
As an Amazon Associate, VehicleBar earns from qualifying purchases at no extra cost to you.
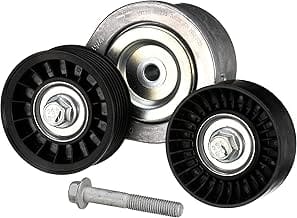
Parts
Tools
End VehicleBar Affiliate Product Box
Opening: The Day the Belt Tensioner Gave Up
It was a sweltering July afternoon in the shop, the kind of heat that makes the air shimmer over the hoods of parked cars. I was elbow-deep in a 2014 Honda Accord when the service writer walked in with a customer who looked like he’d just seen a ghost. “It’s making a noise like a dying animal,” he said, mimicking a high-pitched squeal. I didn’t even need to pop the hood—I knew exactly what it was.
The belt tensioner.
This little component, often overlooked until it fails, is the unsung hero of your engine’s accessory drive system. When it goes bad, it doesn’t just squeal—it can leave you stranded, kill your battery, or even overheat your engine. Over the years, I’ve replaced hundreds of them, and I’ve seen firsthand what happens when drivers ignore the early warning signs.
If you’re hearing a squeal, seeing a loose belt, or noticing your accessories acting up, this guide is for you. I’ll walk you through the signs of a failing belt tensioner, how to diagnose it, and—most importantly—how to replace it yourself, saving you hundreds in labor costs.
What Is a Belt Tensioner, and Why Does It Fail?
The Basics
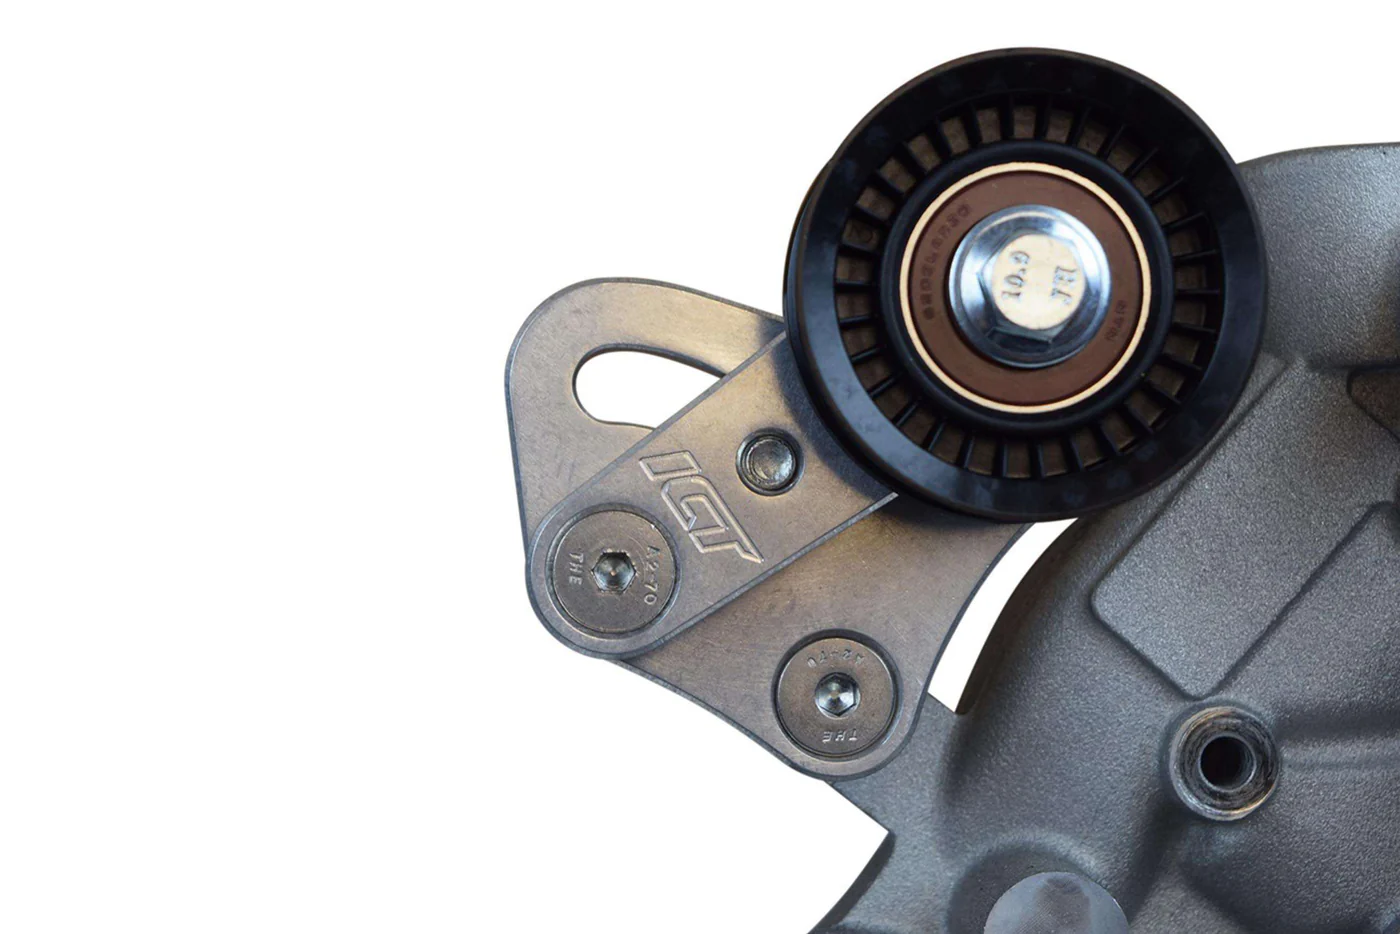
A belt tensioner is a spring-loaded or hydraulic pulley that keeps your serpentine belt tight. Without it, the belt would slip, and your alternator, power steering pump, A/C compressor, and water pump wouldn’t function properly. Most modern vehicles use an automatic tensioner, which adjusts tension dynamically as the belt wears or stretches.
Common Failure Points
- Worn Spring or Hydraulic Mechanism:Over time, the spring loses tension or the hydraulic fluid leaks, causing the belt to slack.
- Bad Bearings:The pulley bearing can wear out, leading to noise, wobble, or complete seizure.
- Cracked or Damaged Housing:Plastic or metal components can fracture, especially in high-heat environments.
- Contamination:Oil, coolant, or debris can gum up the mechanism, accelerating wear.
How Long Should It Last?
- OEM tensionerstypically last60,000–100,000 miles, but aftermarket quality varies.
- Pro Tip:If you’re replacing the serpentine belt, replace the tensioner and idler pulleys too. They’re cheap insurance against future failures.
Bad Belt Tensioner Symptoms: Don’t Ignore These Warning Signs
1. Squealing or Chirping Noises
- What it sounds like:A.
- Why it happens:The tensioner can’t maintain proper tension, causing the belt to slip.
- Diagnosis:Spray a little water on the belt while the engine is running (carefully!). If the noise stops temporarily, the tensioner or belt is likely the culprit.
2. Visible Belt Wear or Looseness
- What to look for: Cracks, fraying, or a belt that sags more than½ inch when pressed.
- Why it matters: A loose belt won’t drive accessories efficiently, leading to poor charging, overheating, or A/C failure.
3. Accessory Failures
- Symptoms:Dim headlights, weak A/C, or a dead battery.
- Why?The alternator isn’t spinning fast enough to charge the battery, or the water pump isn’t circulating coolant.
4. Tensioner Arm Movement
- Test it: With the engine off, press on the tensioner arm. If it moves more than¼ inch or feels loose, it’s worn out.
5. Rust or Leaks
- Hydraulic tensioners can leak fluid, while mechanical ones may show rust bleed between the arm and base.
Pro Tip:If you see rust stains or cracks on the tensioner housing, replace it immediately—it’s a ticking time bomb.
Belt Tensioner Replacement: Step-by-Step DIY Guide
Tools & Materials You’ll Need
| Tool/Material | Size/Type | Estimated Cost |
|---|---|---|
| Socket set | 10mm–19mm | $20–$50 |
| Breaker bar | ½” drive | $15–$30 |
| Torque wrench | 10–100 ft-lbs | $30–$80 |
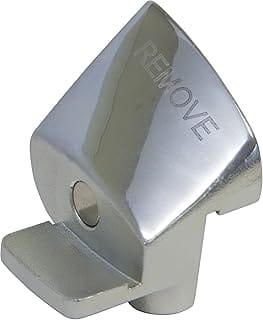
| Serpentine belt tool | Optional | $10–$20 |
| New tensioner | OEM or premium aftermarket | $30–$150 |
| New serpentine belt | Match OEM length | $20–$50 |
| Thread locker | Blue (optional) | $5 |
Recommended Brands:
- OEM:Always the safest bet (e.g., Motorcraft, Aisin, Litens).
- Aftermarket:Gates, Dayco, or Continental for quality alternatives.
Step 1: Safety First
- Park on a level surface, engage the parking brake, and disconnect the negative battery terminal.
- Never work on a hot engine—let it cool for at least 30 minutes.
Step 2: Locate the Tensioner
- Open the hood and find the serpentine belt routing diagram (usually on a sticker).
- The tensioner is typically a spring-loaded pulley with a square hole for a breaker bar.
Step 3: Release Belt Tension
- Insert a½” breaker bar into the tensioner’s square hole.
- Rotate clockwise (or counterclockwise, depending on the vehicle) to release tension.
- Slip the belt off the pulleys.
Warning:The belt is under high tension—release it slowly to avoid injury.
Step 4: Remove the Old Tensioner
- Remove the mounting bolts (torque specs vary by vehicle—see below).
- Inspect the mounting area for debris or damage.
Common Torque Specs (Always Check Your Manual!):
- Chevy/GMC (3.6L):37 ft-lbs
- Jeep (3.6L Pentastar):Top bolt: 24 ft-lbs, bottom bolt: 17 ft-lbs
- BMW (N52/N62):25Nm (18.5 ft-lbs)
Step 5: Install the New Tensioner
- Align the new tensioner andhand-tightenthe bolts.
- Torque tomanufacturer specs(over-tightening can strip threads or damage the housing).
- Reinstall the serpentine belt using the routing diagram.
Step 6: Test & Final Checks
- Reconnect the battery.
- Start the engine and listen for noises.
- Check for proper belt alignment and tension.
Troubleshooting Common Issues
| Problem | Likely Cause | Solution |
|---|---|---|
| Belt squeals after replacement | Incorrect tension or misalignment | Recheck tensioner installation and belt routing |
| Tensioner arm won’t move | Seized bearing or spring | Replace the tensioner |
| Belt jumps off pulleys | Worn idler pulley or misaligned tensioner | Inspect and replace idler pulleys |
| Accessories still not working | Faulty alternator, A/C compressor, or water pump | Test each component individually |
Cost Analysis: DIY vs. Professional Replacement
DIY Cost Breakdown
- Parts:$50–$200 (tensioner + belt + idler pulleys)
- Tools:$30–$100 (if you don’t already own them)
- Total: $80–$300
Professional Cost
- Labor:$100–$250
- Parts:$50–$200
- Total: $150–$450
Money-Saving Tip:Buy a complete serpentine belt kit (tensioner, idler pulleys, and belt) for $80–$150—it’s cheaper than buying parts separately.
FAQs About Belt Tensioner Replacement
1. How long does it take to replace a belt tensioner?
- DIY:1–2 hours, depending on accessibility.
- Shop:30–90 minutes (they do this daily).
2. Can I drive with a bad belt tensioner?
- Short answer: No. A failing tensioner can cause belt slippage, leading to overheating, battery drain, or even a snapped belt.
3. Should I replace the idler pulleys too?
- Yes.Idler pulleys wear out at the same rate as the tensioner. Replace them all at once to avoid repeat labor.
4. What’s the difference between a serpentine belt tensioner and a timing belt tensioner?
- Serpentine:Drives accessories (alternator, A/C, etc.).
- Timing:Keeps the timing belt tight for engine synchronization.Never DIY a timing belt tensioner—it requires precise timing and is best left to pros.
5. How do I know if my tensioner is hydraulic or mechanical?
- Hydraulic :Usually found on timing belts or high-end vehicles.
- Mechanical: Spring-loaded, common on serpentine systems.
Final Thoughts: Is This a DIY Job for You?
Replacing a belt tensioner is a moderate-difficulty job, but it’s one of the most rewarding DIY repairs. You’ll save $100–$300 in labor, and you’ll gain the confidence to tackle more complex maintenance.
If you’re unsure:
- Watch a vehicle-specific YouTube tutorial before starting.
- Double-check torque specs—over-tightening is a common rookie mistake.
From the shop floor:I’ve seen $1,000 repair bills from ignored tensioners. Don’t let a $50 part turn into a towed car and a blown engine. If you hear the squeal, act fast.
Related Serpentine Belt Guides
- Timing Belt Water Pump Replacement: Do Both Together?
- Bad Belt Tensioner Symptoms: 7 Warning Signs
- Mazda Timing Belt Replacement: Symptoms and Cost
- Serpentine Belt Routing Diagrams: How to Read Them
- Serpentine Belt Lifespan: How Long Does It Last
- Serpentine Belt Noise: Causes and How to Fix It
- Serpentine Belt Replacement: DIY Steps and Cost