
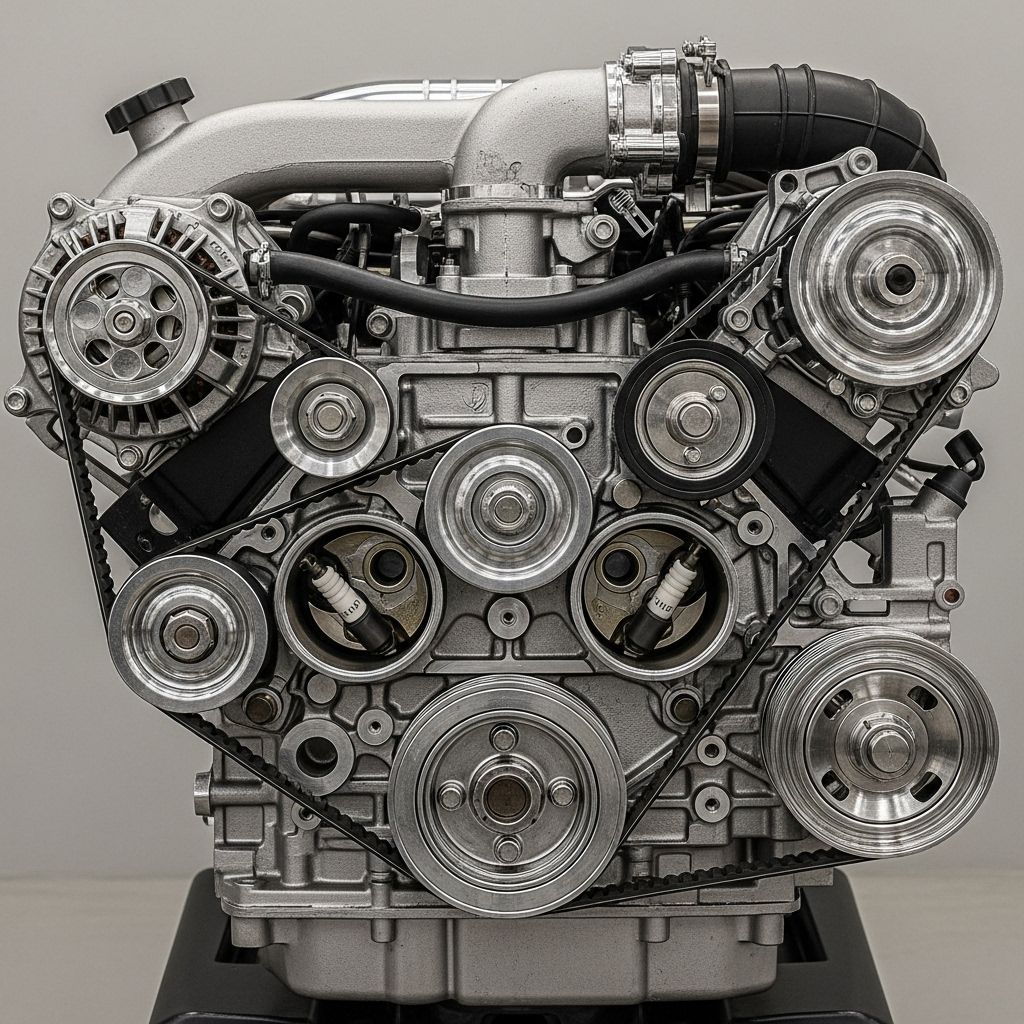
Serpentine Belt Routing Diagrams: How to Read Them
A serpentine belt diagram is the map for your engine’s accessory drive. One rubber loop turns the alternator, water pump, power steering pump, and A/C compressor. Get the routing wrong and the belt shreds. I’ve watched it happen in my bay more times than I can count.So this guide covers three things. Where to find the correct belt routing diagram for your exact vehicle. How to read one without guessing. And how to use it to replace the belt yourself in about fifteen minutes.
The Tuesday Afternoon Tow-In
It was 2:30 PM on a rainy Tuesday. Prime time for the “I tried to fix it myself” crowd. A flatbed rolled up with a 2005 Ford F-150. The owner, a guy named Dave, looked defeated.
He told me he put the new belt on. It squealed like a banshee for ten seconds, then snapped.
I popped the hood and spotted it fast. Dave had routed the belt correctly around the alternator and the power steering pump. But he missed the idler pulley entirely. That forced the belt to run at a terrible angle. He had the right parts. He just didn’t have the map.
That’s why finding the correct serpentine belt routing diagram isn’t just helpful. It’s mandatory. I’ve seen guys crack water pump pulleys and seize alternators because they guessed the path.
Where to Find Your Serpentine Belt Diagram
Start under the hood. Most manufacturers place a belt routing sticker in the engine bay. Check the radiator support first. Then the strut tower. Then the underside of the hood.
That sticker is your fastest and most accurate source. It was printed for your exact engine and accessory package.
If it’s faded or missing, work down this list.
Where to Find a Belt Routing Diagram
Pro Tip: Photograph It First
Pro Tip: Details
Before you remove the old belt, take a picture with your phone. Seriously. Even with a diagram in hand, shoot a photo of how it looked before you touched anything. That’s the best backup plan there is. I do it every single time, even on cars I’ve worked on for 15 years.
How to Read a Serpentine Belt Routing Diagram
There’s a logic underneath the chaos. Once you see it, most diagrams read the same way.
The ribbed side of the belt always grips the grooved pulleys. That’s the crankshaft, alternator, water pump, power steering pump, and A/C compressor. The smooth back side contacts the smooth pulleys, usually the tensioner and certain idlers.
Force the smooth side into a grooved pulley and you won’t get the grip needed to turn that accessory. The belt will slip, glaze, and squeal.
Diagrams also show rotation direction with an arrow. Follow it. A belt driving the water pump backwards will overheat the engine even though nothing looks wrong.
Off by One Pulley Is Enough
If your drive belt routing misses a single idler, the belt runs at the wrong angle. It will either jump off or spin a component the wrong direction. Both fail fast.
Serpentine Belt Routing by Engine Type
There is no universal diagram. Routing changes within the same manufacturer based on engine size and accessories. A 4-cylinder routes differently than a V6. A truck with A/C routes differently than one without.
Here’s how the path differs across four common engine families.
GM 3800 Series II (V6)
Found in the Buick LeSabre, Pontiac Grand Prix, and Chevy Impala from 1997 to 2005. This engine is notorious for tight clearance near the strut tower.
Starting at the crankshaft pulley at bottom center, the belt goes up and over the water pump. It then loops around the power steering pump, which sits low on the passenger side. From there it weaves behind the tensioner.
Watch out for one thing. The supercharged L67 routes differently than the naturally aspirated L36. Do not mix these up.
Ford Modular 4.6L and 5.4L (V8)
Common in the F-150, Expedition, and Mustang. Routing gets complex because the engine bay is deep.
The belt leaves the crank, wraps the A/C compressor, then the alternator. Some model years include a decoy pulley that looks like it should carry the belt but doesn’t. Follow your diagram, not your instinct.
Belt width matters here too. The 4.6L typically uses a six-rib belt. The 5.4L uses an eight-rib belt. Grab the wrong one and it won’t sit right in the grooves.
Toyota 1GR-FE (4.0L V6)
Found in the Tacoma, 4Runner, and FJ Cruiser. One of the friendlier designs, provided you have the right tool.
The path runs linear. Crank, idler, water pump, power steering, alternator, A/C, tensioner. The tensioner sits top center and stays very accessible. Toyota often uses a 19mm hex on the tensioner, so check your socket set before you start.
Chrysler 3.6L Pentastar (V6)
Used across the Ram 1500, Jeep Wrangler, Grand Cherokee, and Dodge Charger. Routing is tight on the passenger side near the alternator.
Later model years moved to a stretch-fit belt on some accessory circuits. Those need a specific installation tool rather than a standard tensioner release. Check which style you have before ordering parts.
Best Overall
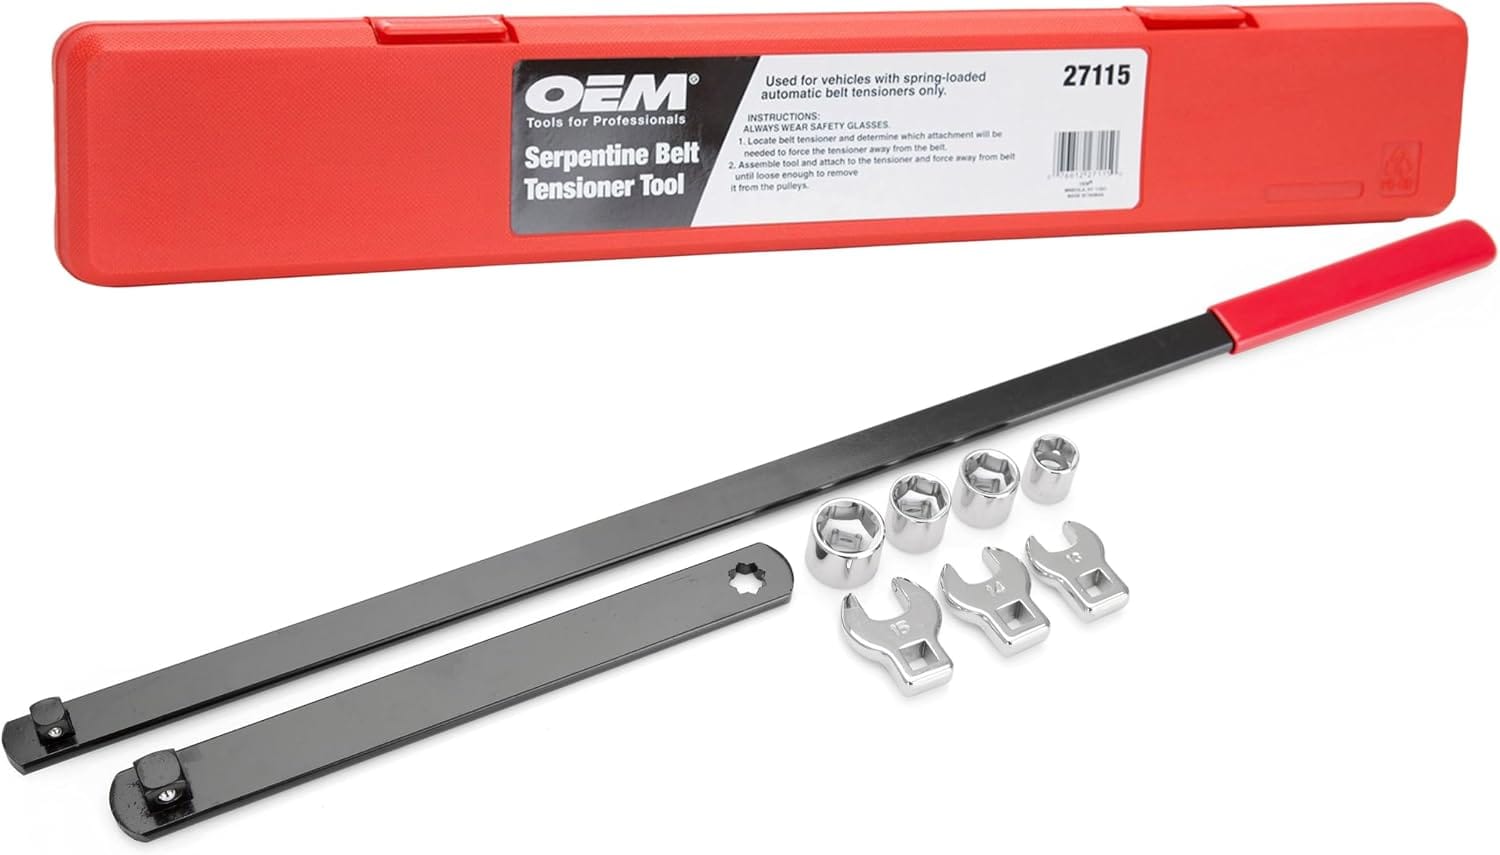
USA Made
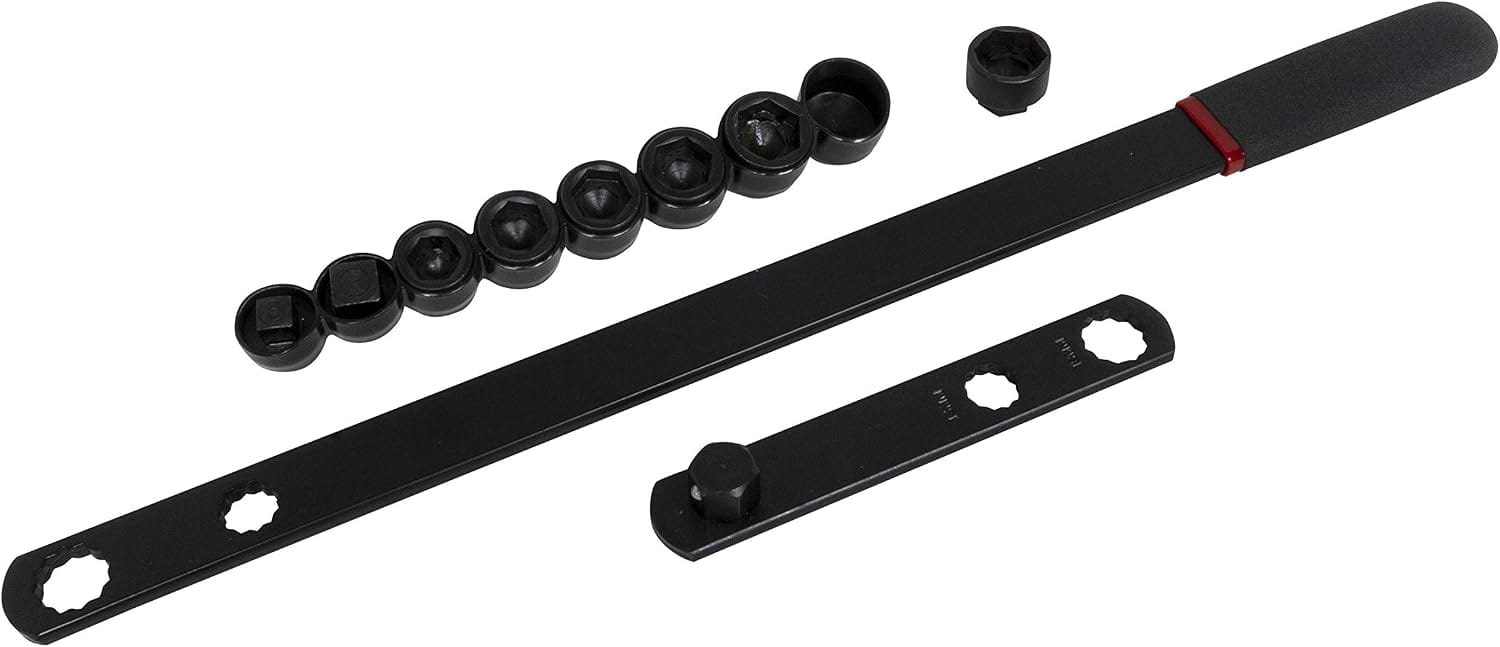
Belt Pick
Step-by-Step: Using a Belt Diagram for Replacement
You have your diagram. Now here’s the actual replacement, the way I do it on the lift.
Verify the routing
Compare the under-hood sticker against a diagram from your manual or a manufacturer lookup. If they match, proceed. If the sticker is gone, do not rely on memory. Print the diagram and keep it in your hand.
Relieve the tension
Slip your belt tool or breaker bar into the square hole on the tensioner arm. Some setups use a socket on the pulley bolt instead. Rotate the tensioner away from the belt, usually counter-clockwise, though it varies by engine.
Remove the old belt
While holding tension, slip the belt off one pulley. Pick whichever is easiest to reach, often the alternator or A/C. Release the tensioner slowly, then pull the belt clear.
Inspect every pulley
Spin each pulley by hand. You want zero resistance and zero grinding. Rough or wobbly means replace it now. I’ve watched a $10 seized bearing shred a brand new $50 belt in five minutes.
Route the new belt
Follow the diagram exactly. Make sure the belt seats flush in the grooves of every ribbed pulley before you apply tension.
Critical Warning
Make sure the belt sits behind any tensioner flanges or guide pins. If it rubs a plastic guide, it will fail within 50 miles.
Apply tension
Rotate the tensioner again and slide the belt over the final pulley. That last pulley should always be a smooth one if you can manage it.
Final check
Release the tool and inspect alignment on every pulley with a flashlight. Then turn the crankshaft bolt by hand one full rotation. The belt should track straight without creeping toward an edge.
Troubleshooting Common Belt Issues
Sometimes the routing is right and you still have a problem. Here’s how I sort it out in the shop.
| Symptom | Probable Cause | The Fix |
|---|---|---|
| Loud squeal on startup | Glazed belt or weak tensioner | Check tensioner strength, which should be hard to move. If solid, replace the belt. |
| Chirping noise | Misaligned pulley or seized bearing | Watch the pulleys with the engine running. Look for wobble. |
| Belt jumps off | Incorrect routing or stretched belt | Re-verify the serpentine belt pattern against the diagram. |
| Battery light on or overheating | Alternator or water pump not spinning | Check whether the belt is loose or the pulley spins free on its shaft. |
| Belt edge frayed or shredded | Pulley misalignment or a bad idler | Straightedge across the pulley faces. Replace whichever sits out of plane. |
Money-Saving Trick
Ask about the lifetime warranty on the tensioner while you’re at the parts counter. Cheap aftermarket tensioners fail early, but premium lines like Dayco or Gates usually last as long as OEM. For European cars such as Volvo and VW, I still insist on OEM tensioners. The aftermarket units can’t hold consistent tension on those engines.
Cost Analysis: DIY vs Professional
Replacing a serpentine belt is one of the highest return repairs you can do yourself. Here are the 2026 numbers.
DIY Cost Breakdown
Professional Shop Pricing
So doing it yourself saves roughly $100 in labor. Once you’ve done the job once, it takes about fifteen minutes. The hardest part is figuring out where the tool goes to release the tensioner.
Safety Warnings
Engine Hazard
Never work on a running engine unless you’re trained for it. Keep hands and loose clothing far from the cooling fan and moving belts.
Hot Parts
If the car ran recently, the radiator, exhaust manifold, and pulleys can cause severe burns. Let it cool at least 30 minutes.
Tensioner Spring
The tensioner sits under high spring pressure. When you release the tool it snaps back hard. Keep your face out of the swing path.
Serpentine Belt Diagram: Frequently Asked Questions
Can I drive without a serpentine belt?
No. If the belt breaks you lose power steering immediately and the water pump stops circulating coolant. The engine overheats fast, which can mean catastrophic head gasket failure. Pull over and shut it off.
How often should I replace the serpentine belt?
Most manufacturers call for inspection every 60,000 miles and replacement between 90,000 and 120,000 miles. Hot climates and heavy accessory loads shorten that. Modern EPDM belts often look fine while worn out, so measure rib depth rather than trusting appearance.
Where is the serpentine belt diagram on my car?
Check the engine bay first. Most stickers sit on the radiator support, a strut tower, or the underside of the hood. If it’s gone, try your owner’s manual or a Gates or Dayco lookup tool. A parts counter can also print one from your VIN.
What happens if the serpentine belt is routed wrong?
The belt runs at the wrong angle and either jumps off or drives a component backwards. A backwards water pump overheats the engine while everything looks normal. Most misrouted belts fail within minutes.
Can I use a breaker bar instead of a serpentine belt tool?
Often yes. A long half-inch breaker bar fits many tensioners with a square drive hole. But tight engine bays and low-profile tensioners sometimes leave no swing room. That’s where a dedicated belt tool earns its cost.
Does the serpentine belt go on a specific way?
Yes. The ribbed side must contact grooved pulleys and the smooth back side contacts smooth idlers and the tensioner. Rotation direction matters too, so follow the arrow on your diagram.
How much does a serpentine belt replacement cost in 2026?
Doing it yourself runs $25 to $90 for most vehicles. A shop typically charges $110 to $300 once labor and parts markup are added. Adding a tensioner pushes either figure higher.
The Bottom Line on Belt Routing
Find the sticker. Photograph the old belt before you touch it. Match ribbed side to grooved pulleys and follow the rotation arrow.
Do that and this is a fifteen minute job that saves you $100. Skip it and you end up on a flatbed like Dave.