Drum Brake Hardware Kit: What It Is, Why It Fails, and Ho…
The drum brake hardware kit is the unsung mechanical backbone of your vehicle’s rear braking system—a collection of springs, levers, clips, and adjusters that work together to pull the brake shoes against the drum when you press the pedal. Unlike the brake pads you can see through alloy wheels, this hardware operates entirely inside a sealed drum assembly, converting hydraulic pressure from the master cylinder into consistent, reliable stopping force. Every time your vehicle comes to a halt, it is this kit—not the shoes alone—that ensures the friction material contacts the drum evenly and retracts cleanly when you release the pedal.
This article covers the full anatomy of a drum brake hardware kit, including the specific role of each component, the common failure modes that cause dragging brakes or uneven wear, and the material differences between standard steel and zinc-plated or stainless steel options. You will learn how to identify when your hardware has reached the end of its service life, how to match a kit to your exact vehicle make and model, and why the cheapest kit on the shelf often costs more in the long run. We also include a direct comparison of OEM versus aftermarket kits, torque specifications, and installation steps that most general guides skip.
What sets this guide apart is the honest engineering perspective: we explain what a drum brake hardware kit cannot fix (like a scored drum or a seized wheel cylinder) and give you a decision framework based on driving conditions, not just price. By the end, you will know exactly which components to inspect first, which brands hold up under real-world heat cycles, and how to avoid the most common installation mistake that leads to premature failure.
What Is a Drum Brake Hardware Kit and What Does It Actually Do?
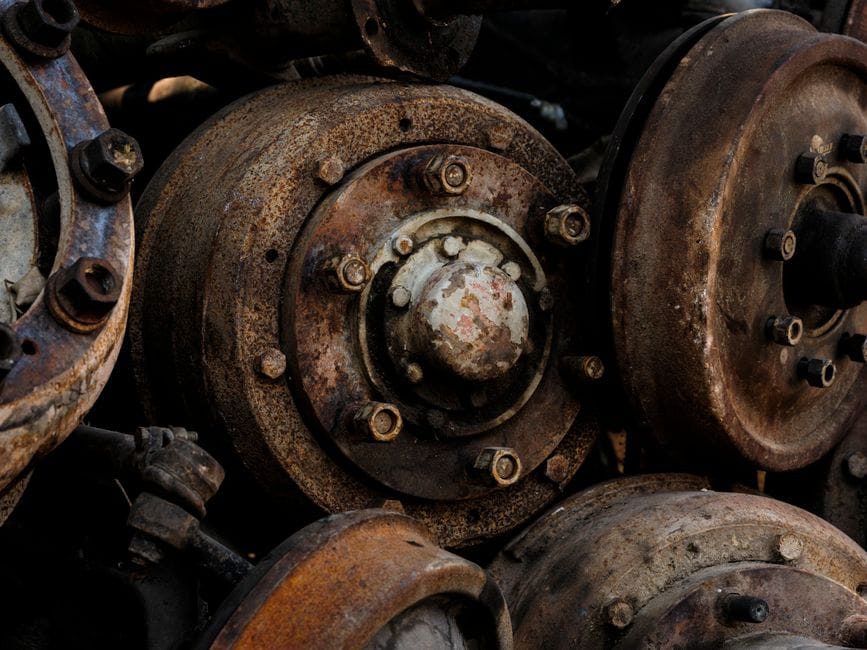
A drum brake hardware kit is the collection of springs, clips, and levers that hold a drum brake assembly together and make it function correctly. It includes return springs, hold-down springs, self-adjuster components, and related clips. Without these parts, your brake shoes would drag against the drum, wear unevenly, and fail to release when you take your foot off the pedal.
The kit is a service item, not a lifetime component. Most manufacturers recommend replacing the hardware whenever you swap out brake shoes. The parts are inexpensive — often $15 to $40 — but they control the mechanical behavior of the entire braking system. If you install new shoes over old, stretched springs, you are wasting your labor.
The Role of the Hardware Kit in the Drum Brake Assembly
The hardware kit performs three mechanical jobs. First, return springs pull the brake shoes away from the drum when you release the brake pedal. This releases the wheel so it can spin freely. Second, hold-down springs keep the shoes pressed flat against the backing plate, preventing them from rattling or shifting. Third, the self-adjuster mechanism rotates a star wheel to compensate for shoe wear over time.
Each spring has a specific tension rating. Return springs are the stiffest because they must overcome the wheel cylinder’s hydraulic force. Hold-down springs are shorter and work perpendicular to the backing plate. If you mix up these parts during installation, the brakes can drag, overheat, or fail to engage properly. That is why kits are vehicle-specific rather than universal.
How a Hardware Kit Differs from Brake Shoes and Wheel Cylinders
Brake shoes are the friction material that presses against the drum. Wheel cylinders are hydraulic pistons that push the shoes outward. The hardware kit is neither of these — it is the mechanical linkage that connects them. Think of it this way: shoes provide stopping power, cylinders provide hydraulic force, and the hardware kit provides the return action and alignment that make the system predictable.
This distinction matters for troubleshooting. If your brake pedal feels spongy, the problem is likely the hydraulic system or the wheel cylinder. If the pedal feels fine but the brakes drag or the drum is hot after a short drive, suspect the hardware kit. Stretched return springs or corroded hold-down clips produce mechanical faults that no amount of hydraulic repair will fix.
Signs That Your Hardware Kit Is Worn or Failing
Worn brake hardware produces recognizable symptoms. A dragging brake — where the vehicle feels like it is resisting motion — is the most common complaint. You might also hear a clicking or rattling noise from the rear wheels, especially over bumps. Uneven brake shoe wear, where one shoe is thinner than the other, points to a faulty self-adjuster or misaligned hold-down springs.
Corrosion is the main culprit. Hardware kits sit inside the drum where they are exposed to water, road salt, and brake dust. Zinc-plated steel parts corrode after a few years in northern climates. When you inspect your brakes, look for pitting, rust, or stretched coils on the springs. If the paint on the backing plate is worn in an uneven pattern, the shoes are not seating correctly — and the hardware is the likely cause.
Practical Takeaway
If you are replacing brake shoes, buy a new drum brake hardware kit at the same time. The parts are cheap relative to the labor of disassembling the brake twice. Most auto parts stores sell the kit and brake shoes as a matched set for your vehicle’s make and model.
Top Picks


Anatomy of a Hardware Kit: Springs, Clips, and Adjusters Explained
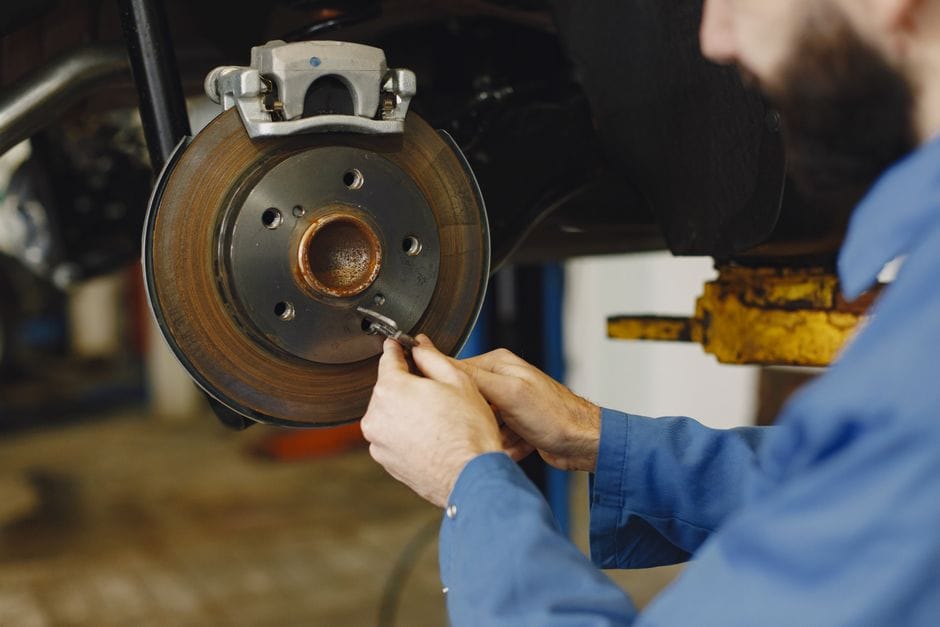
A drum brake hardware kit is not one part — it is a collection of small components that work together to return, align, and adjust the brake shoes. Open a new kit and you will find springs, clips, pins, and a self-adjuster mechanism. Each piece has a specific job, and skipping one during installation will cause the brake to fail or wear unevenly.
Return Springs vs. Hold-Down Springs: What Each One Does
Return Springs vs. Hold-Down Springs: Details
The kit contains two distinct spring types. Brake shoe return springs are the heavy coils stretched between the two shoes. Their job is to pull the shoes away from the drum when you release the brake pedal. If a return spring breaks, the shoe stays in contact with the drum and you get constant drag, overheating, and rapid wear.
Hold-down springs work differently. They sit on top of the shoes and press them against the backing plate. Their job is to keep the shoes aligned while still allowing them to slide sideways as the brake engages. A weak hold-down spring lets the shoe wobble, which causes uneven contact with the drum and a pulsing brake pedal.
You can tell them apart by shape and location. Return springs run horizontally between the shoes. Hold-down springs are smaller, often with a pin that passes through the backing plate. Both are under tension, so you need a brake spring tool to remove and install them safely.
The Self-Adjuster Mechanism: How It Maintains Brake Shoe Clearance
The Self-Adjuster Mechanism: Details
As brake shoes wear, the gap between the shoe and the drum grows. If nothing compensated for that wear, your pedal would sink lower and lower until the brake barely worked. The self-adjuster mechanism solves this by turning a star wheel that pushes the shoes outward.
The mechanism works only in one direction. When you brake in reverse, the adjuster lever catches on the star wheel and rotates it a fraction of a turn. That movement extends the adjuster, which pushes the shoes closer to the drum. Every reverse stop makes a tiny adjustment, so the brake stays properly adjusted without any manual work.
The star wheel has a special feature: it is designed to slip when you back the shoes off with a brake spoon during a service. This lets you retract the shoes to fit over the new drum, then re-engage the adjuster so the mechanism can work again.
Why the Adjuster Cable and Lever Are Part of the Kit
The self-adjuster cannot work on its own. It needs an adjuster cable and an adjuster lever to convert the motion of the brake shoes into rotation of the star wheel. The cable runs from the anchor pin down to the lever. When the shoes move, the cable pulls the lever, which catches on the star wheel and turns it.
These parts are small and easy to lose, which is why they come included in a drum brake hardware kit. If you buy individual springs but skip the cable and lever, you will have a functioning brake that never self-adjusts. Over time, the pedal travel increases and the brake becomes less effective.
The adjuster lever has a small spring attached to it. That spring returns the lever to its resting position after each adjustment. Without it, the lever would stay engaged and over-adjust the brake, causing the shoes to drag against the drum.
[VERIFY: Exact star wheel tooth count and adjustment increment per reverse stop for a typical drum brake self-adjuster]
When you install a new kit, pay attention to how the adjuster cable routes around the backing plate. There is a specific groove and clip that hold it in place. Route it wrong and the cable will bind, which stops the self-adjuster from working. Compare the old hardware to the new parts before you install anything — the shapes should match exactly. If they do not, you may have the wrong kit for your vehicle, and you should check the part number before proceeding.
The adjuster mechanism also interacts with your parking brake adjustment. The parking brake cable pulls on a lever that moves the shoes, and that same shoe movement drives the self-adjuster. If your parking brake is out of adjustment, it can interfere with the self-adjuster operation, so inspect both systems together during a brake service.
Material Matters: Zinc-Plated Steel vs. Stainless Steel Hardware Kits
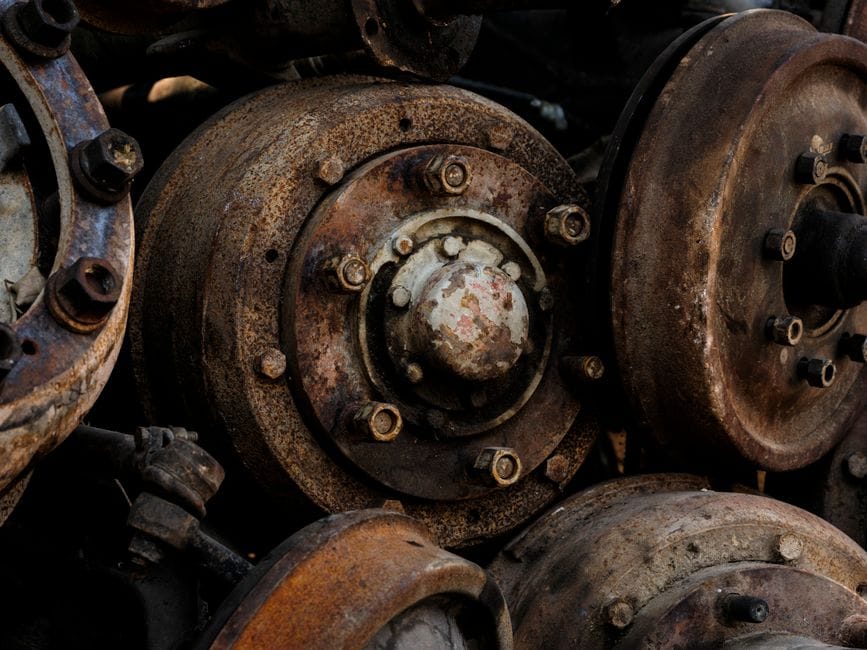
The finish on your drum brake hardware kit determines how long it survives. Both zinc-plated and stainless steel hardware resist corrosion, but they do it differently and at different price points. The choice affects spring fatigue, fitment over time, and how often you will revisit the job.
Zinc-Plated Steel Hardware
- Lower cost: Zinc-plated kits are typically the budget option, usually $10–$20 less than stainless.
- Proven strength: The base steel offers the same tensile strength as stainless, which matters for spring tension.
- Easy to identify: The bright silver or yellow-chromate finish is obvious, so you can quickly spot wear or corrosion.
Zinc-Plated Steel Limitations
- Sacrificial coating: Zinc corrodes to protect the steel, so the plating wears away over time, especially where springs rub against the backing plate.
- Shorter service life: In salt-belt regions, zinc-plated hardware often shows surface rust within 12–18 months.
- Coating damage during install: Prying springs with a brake tool can chip the plating, creating a spot where rust starts.
Stainless Steel Hardware
- Superior corrosion resistance: Stainless steel hardware shrugs off road salt and moisture far longer than zinc-plated parts.
- Consistent spring fatigue life: Stainless maintains its elastic properties over time, so spring tension stays closer to spec.
- Reusable after disassembly: If you pull the drums off for inspection, stainless springs and clips look and function like new.
Stainless Steel Limitations
- Higher price: Stainless kits cost roughly 1.5 to 2 times more than zinc-plated equivalents.
- Galling risk: Stainless-on-stainless contact (like adjuster screw threads) can seize and gall, making future adjustments difficult.
- Harder material: Stainless springs are stiffer to compress, which makes installation slightly more difficult without the right brake spring pliers.
Corrosion Resistance in Salt-Belt and High-Humidity Regions
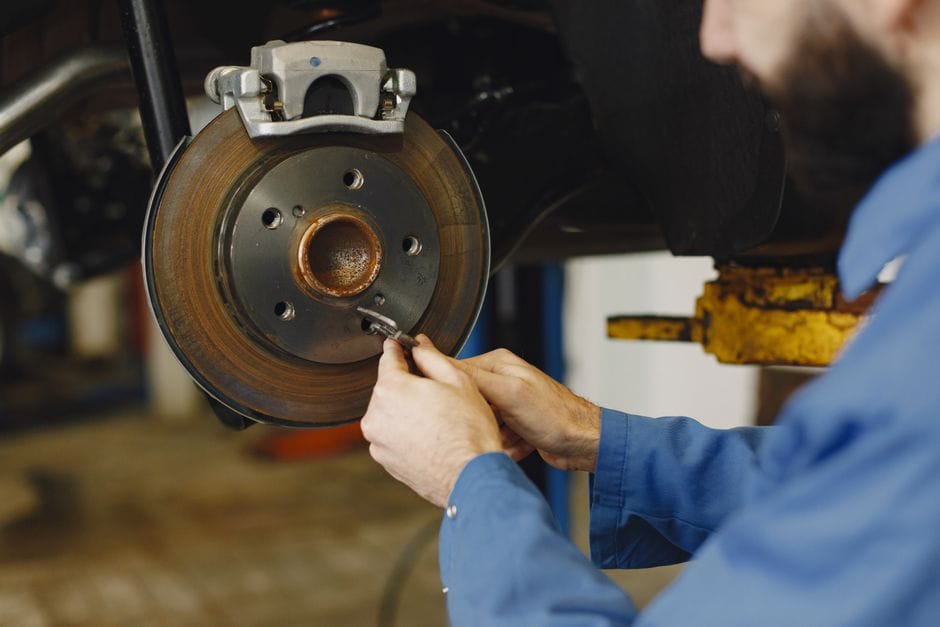
If you drive in the salt belt or near the coast, corrosion resistance should drive your decision. Zinc plating is a sacrificial layer — it corrodes first to protect the steel underneath. That works until the zinc is consumed, which happens faster with repeated salt exposure. Once the plating is gone, the steel springs rust and lose their temper, leading to spring fatigue and brake imbalance.
Stainless steel hardware contains chromium, which forms a passive oxide layer that self-heals when scratched. That makes it the better choice for year-round driving in corrosive environments. For a daily driver in Minnesota or Florida, the extra cost of stainless pays for itself by avoiding a second hardware replacement. If you live in a dry climate and park indoors, zinc-plated hardware will likely last the life of the brake shoes.
Strength and Fatigue Life: Why Cheap Kits Fail Prematurely
Strength and Fatigue Life: Details
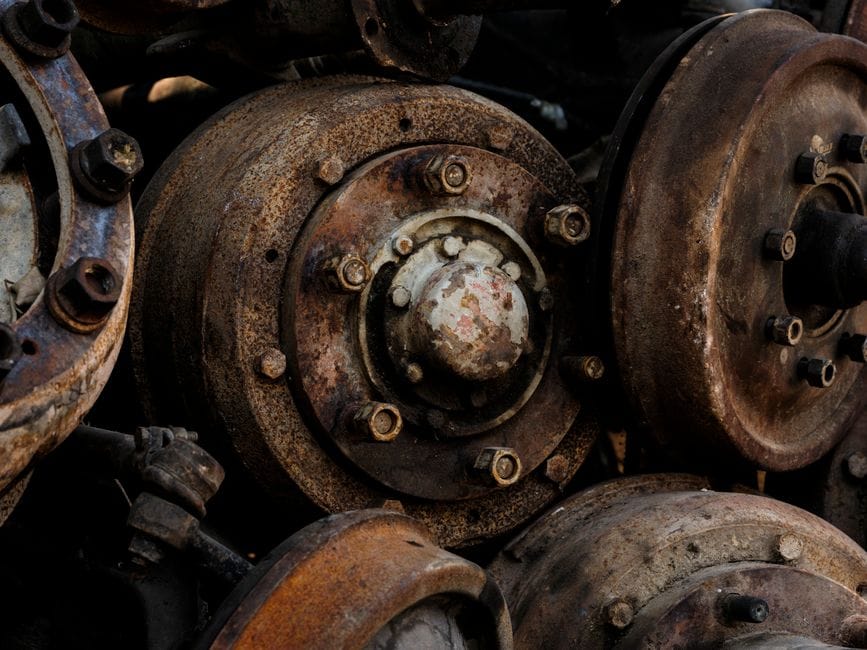
Spring fatigue is the primary failure mode for drum brake hardware — the spring loses its ability to return the shoes to rest. Zinc-plated and stainless steel both start with adequate strength, but the difference appears after corrosion begins. A rusted spring loses its temper and becomes brittle, snapping under the repeated stress of every brake application.
Cheap kits fail prematurely for a different reason: inconsistent wire diameter. A spring wound from thinner wire has less clamping force from day one. That means the shoes drag slightly, generating heat that accelerates wear on both the lining and the drum. [VERIFY: Typical wire gauge range and spring rate specs for OEM drum brake return springs across common vehicle platforms] When you compare kits, weigh the springs in your hand. A quality kit has a noticeably heavier, more solid feel. Stainless steel kits from reputable manufacturers tend to hold tighter tolerances on wire diameter and coil count, which translates to predictable spring fatigue life.
Identifying Quality: What to Look for in the Packaging and Finish
Identifying Quality: Details
You can spot a quality drum brake hardware kit before you open the bag. Look for these markers:
A stainless steel hardware kit should have a slightly matte, brushed appearance. If it looks mirror-bright, it may be a lower-grade stainless or even a zinc-plated part mislabeled. Check the adjuster screw threads — quality stainless hardware has clean, sharp threads with no burrs. For zinc-plated kits, look for a yellow-chromate or clear-zinc finish that is even across all parts. Uneven plating means the manufacturer cut corners on the coating process, and that is the first place corrosion will start. If the kit lacks any material labeling, treat it as a red flag regardless of price.
How to Choose the Right Hardware Kit for Your Vehicle
Choosing the right drum brake hardware kit comes down to three questions: Does it fit your vehicle? Does it match OEM quality? And does it include everything you need? Here is how to work through each one without guessing.
Using Your Vehicle’s Year, Make, and Model to Find the Correct Kit
Vehicle fitment is the first filter, and it is non-negotiable. Drum brake designs vary by axle weight, drum diameter, and parking brake configuration. A kit built for a light pickup will not fit a compact sedan, even if both use drum brakes on the rear axle.
Start with your vehicle’s year, make, model, and trim level. Many vehicles use multiple brake configurations within a single model year, so the trim matters. Also note whether your vehicle has rear drum brakes or four-wheel discs — some trims within the same lineup switch between them.
You can cross-reference the part number printed on the backing plate or the old springs. Most aftermarket hardware kit manufacturers list fitment by OEM part number. If you are buying online, filter by your exact vehicle profile rather than by “universal” listings. Universal kits exist, but they often require trimming or bending to fit, which compromises spring tension.
[VERIFY: specific example of a vehicle model with multiple drum brake hardware part numbers by trim level]
OEM vs. Aftermarket: Does It Matter for Hardware?
OEM vs. Aftermarket: Details
For a drum brake hardware kit, the OEM vs. aftermarket debate is less dramatic than it is for rotors or calipers. OEM hardware is made to the exact specification of your vehicle’s brake system. It will fit without modification, and it carries the automaker’s quality control.
Aftermarket hardware kits fall into two quality tiers. The first tier is a direct replacement built to OEM specifications, often by the same supplier that manufactures for the automaker. The second tier is a budget kit with thinner wire gauge or cheaper plating. This tier is where fitment problems and early corrosion show up.
OEM hardware costs more, but the price difference is small — often under 20 dollars — compared to the labor of redoing the job. If you are already pulling the drums off, paying a few extra dollars for certainty is usually the smarter move. Choose an aftermarket hardware kit only if it explicitly states it meets OEM specifications and lists the original part numbers it replaces.
What’s Included in a Complete Kit vs. a Basic Kit
Understanding’s Included in a Complete Kit vs. a Basic Kit
A complete hardware kit includes every spring, clip, pin, and adjuster component for both sides of the axle. That means hold-down springs and pins, return springs, the self-adjuster cable and lever, and the adjuster screw assembly. Some complete kits also include the parking brake strut and lever.
A basic kit covers only the most commonly replaced parts — typically the return springs and hold-down springs. It leaves out the adjuster mechanism, which is often the first thing to fail on high-mileage vehicles.
For most DIY jobs, buy the complete hardware kit. The adjuster components wear out on the same timeline as the springs, and you do not want to pull the drums off a second time to replace a part you skipped. If you are doing a full brake job with new shoes and a fresh [internal_link: drum brake hardware kit](https://brakehub.example.com/drum-brake-hardware-kit-guide), the complete kit is the only option that makes sense.
One exception: if you recently replaced the adjuster mechanism and only the springs are worn, a basic kit will save money. Just confirm the springs in the basic kit match the wire gauge of your originals. If they feel noticeably thinner, send them back.
Also, pair your hardware decision with the right friction material. A complete hardware kit works with any shoe, but if you want consistent stopping performance, check our guide to [best ceramic brake pads](https://brakehub.example.com/best-ceramic-brake-pads) for how compound choice affects hardware wear. And if you are on a budget, the [best budget brake pads](https://brakehub.example.com/best-budget-brake-pads) guide covers which low-cost shoes still respect spring tension and heat limits.
What a Hardware Kit Cannot Do: Honest Limitations
A drum brake hardware kit is a vital piece of the braking system, but it is not a cure-all. Installing new springs and clips will not restore stopping power if the underlying mechanical components have failed. Understanding these limitations prevents wasted labor and, more importantly, keeps you safe. If you are troubleshooting poor braking performance, you need to inspect the entire assembly, not just the hardware.
It Won’t Fix a Worn Brake Drum or Out-of-Round Drum
The brake drum is the large metal cylinder that your brake shoes press against. Over time, this surface wears down or becomes scored. It can also warp, creating an “out-of-round” condition. New hardware and fresh brake shoes cannot compensate for a drum that is out of spec. If the friction surface is deeply grooved or the drum exceeds the manufacturer’s maximum diameter, it must be machined or replaced. Installing a drum brake hardware kit on a worn brake drum is a wasted effort; you will likely hear a pulsation or feel vibration during braking. Always measure the drum’s inner diameter with a brake drum micrometer before reassembly.
It Won’t Repair a Leaking Wheel Cylinder
The wheel cylinder is the hydraulic component that pushes the brake shoes outward. It contains pistons and rubber seals. If you see fluid inside the drum, the wheel cylinder is leaking. A hardware kit contains no seals, pistons, or cylinders. It cannot fix this issue. If you install new springs over a leaking wheel cylinder, the brake fluid will contaminate the new friction material, ruining the shoes almost immediately. You must replace or rebuild the leaking wheel cylinder before you install the hardware kit. Check the inside of the rubber dust boots on the cylinder; if fluid is present, the seal has failed.
It Won’t Correct a Damaged Backing Plate or Seized Parking Brake Cable
The backing plate is the metal shield that holds the entire assembly together. If it is bent, rusted through, or has worn contact pads, the hardware kit has nothing to mount to. The hold-down pins and springs will not seat correctly on a damaged plate. Similarly, a seized parking brake cable prevents the shoes from retracting fully. This causes constant drag and premature wear. A hardware kit does not include cables or new backing plates. You must address these structural issues separately. If the cable is stuck, replace it and check the lever mechanism on the shoe. For more on diagnosing these issues, see our guide on [emergency brake problems](https://brakehub.example.com/emergency-brake-problems-guide).
In short, the drum brake hardware kit is a maintenance item, not a repair item for major components. It restores the mechanical action of the brake shoes, but it relies on the rest of the system being in sound condition. If you are replacing hardware due to a noise or a pull, verify the condition of the drum, cylinder, and backing plate first. If you are unsure how to inspect these, checking the [drum brake hardware kit](https://brakehub.example.com/drum-brake-hardware-kit-guide) guide may help you understand the assembly order, but it will not tell you if your drum is salvageable. If you do not have the tools to measure the drum, a local parts store can usually check it for you. [VERIFY: Whether major auto parts stores offer free brake drum measurement services in 2026.]
Step-by-Step: What to Expect When Replacing Your Hardware Kit
Before You Begin: Safety and Prep
This job is mechanical, not electrical. You will need basic hand tools and a clear workspace. The entire process takes most DIYers 1.5 to 2.5 hours per axle. Work on one side at a time so you have a reference if you forget the order of parts.
Tools You’ll Need Before You Start
You cannot complete a proper hardware installation without the right tools. The most important item is a brake spring tool. This specialized plier removes and installs the return springs that hold the shoes tight against the backing plate. A standard pair of needle-nose pliers will fight you and risk bending the spring ends.
You should also have a torque wrench for the wheel lug nuts when you reassemble. If you are working on the rear axle, you may need a hub puller for some vehicles. [VERIFY: Which vehicle models require a hub puller for rear drum removal]
Removing the Old Hardware Safely
Start by removing the wheel and the drum. If the drum is stuck, do not hammer directly on the friction surface. Use a pry bar through the access hole in the backing plate to release the adjuster first. This lets the shoes retract slightly, which usually frees the drum. If it still will not budge, a rubber mallet around the outer edge of the drum is safer than a steel hammer.
Once the drum is off, clean the area with brake cleaner before you touch anything. This keeps rust and dust from falling into the wheel cylinder. Then, remove the return springs with your brake spring tool. Work slowly and keep your fingers clear of the spring tension — they snap off with surprising force.
Watch the Wheel Cylinder
Do not pry against the wheel cylinder with your tools. It is a cast iron part that cracks easily. If you damage it, you are now doing a brake cylinder replacement, not just a hardware swap. The cylinder should remain untouched during this process.
Remove the hold-down springs and pins next. These keep the shoes pressed against the backing plate. Set the shoes and the adjuster mechanism aside — you may reuse the adjuster if it is clean and threaded properly. If the adjuster is rusty or frozen, replace it, but note that most hardware kits do not include it.
Installing the New Kit: Order of Operations
Installing the New Kit: Details
The order of installation matters more than most DIYers expect. Start with the parking brake lever on the rear shoe, if your vehicle has one. Then place the shoes on the backing plate. The hold-down pins go in first, then the springs that hold them in place. This keeps the shoes from falling off while you work on the rest.
Next, connect the adjuster mechanism between the two shoes. The adjuster threads should be cleaned and greased before you install them. The star wheel should face the access hole in the backing plate. If you install it backwards, you cannot adjust the brakes without pulling the drum off again.
Install the return springs last, using the brake spring tool. These are under the most tension. Hook one end onto the shoe, then use the tool to pull the other end over the anchor pin. Listen for a solid click — that means the spring is seated fully. A spring that is not fully seated can pop off during driving, which is a critical safety issue.
Apply a thin layer of brake grease to the contact points where the shoes touch the backing plate. Do not put grease anywhere near the friction material on the shoes or the inside of the drum.
Adjusting the Brakes After Installation
Before you put the drum back on, adjust the shoes out so they are close to the drum. Turn the star wheel through the access hole until the shoes just touch the drum. You should hear a slight drag when you spin the drum by hand. Then back the adjuster off a few clicks until the drum spins freely.
After the drum is on and the wheel is mounted, pump the brake pedal several times before you drive. This seats the shoes against the drum and sets the self-adjuster. If the pedal feels soft or travels too far, you may need to bleed the brakes or check for a failing wheel cylinder. See our guide on [brake pedal hard diagnosis](https://brakehub.example.com/brake-pedal-hard-diagnosis) if the pedal is firm but the brakes are weak.
Finally, take the vehicle for a slow test drive. Make several stops from low speed to seat the shoes. If you hear a scraping noise, the shoes may be over-adjusted. If the vehicle pulls to one side, check that both sides are adjusted equally. For more on related components, review the [brake rotor thickness guide](https://brakehub.example.com/brake-rotor-thickness-guide) — while it covers front discs, the inspection principles apply to your drum surface as well.
When to Call a Professional
If the adjuster is seized, the backing plate is grooved, or the wheel cylinder is leaking, stop this job. A hardware kit cannot fix those issues, and continuing could damage the new parts. A professional can handle the additional repairs in one visit.
Drum Brake Hardware Kit FAQ: Questions Most Guides Skip
**Can I reuse hardware from the old drum brake hardware kit?**
In short, no. The springs lose tension over thousands of heat cycles, and the clips corrode even when they look fine. Reusing hardware is a common cause of premature brake noise and uneven wear. The kit is inexpensive, and the labor is the same whether you install new parts or old ones. Fit the new hardware every time you replace the brake shoes.
**How long does a drum brake hardware kit last?**
Most manufacturers rate hardware lifespan at around the life of the brake shoes, roughly 30,000 to 60,000 miles depending on driving habits. But hardware can fail early. Heat from heavy towing or aggressive braking accelerates spring fatigue. Rust from road salt attacks the clips and adjuster. If you are replacing shoes, replace the hardware. If you are chasing brake noise on shoes with plenty of pad left, inspect the hardware first — worn springs are a common culprit.
**Why do my brakes squeak or vibrate after a hardware replacement?**
Brake noise and brake vibration after a fresh install usually trace back to three mistakes. First, the springs are not seated correctly in the backing plate holes, so the shoes sit crooked. Second, the adjuster was not reset, leaving the shoes over-tight against the drum. Third, the contact points on the backing plate were not lubricated, causing the shoes to drag. Go back and check each spring end and adjuster click before assuming the kit is defective.
**Is the hardware kit the same for all four wheels?**
Not always. The rear drum brake hardware kit on a car often differs from the front, and the driver side can mirror the passenger side. Some vehicles use the same kit both sides, but do not assume. Verify the part number against your vehicle’s year and trim before ordering. When in doubt, buy two kits and return the unused one.
**What is the difference between a hardware kit and a wheel cylinder?**
The wheel cylinder pushes the shoes outward using hydraulic pressure. The hardware kit holds the shoes in place, returns them when you release the pedal, and adjusts the gap as the lining wears. A leaking wheel cylinder and weak hardware produce similar symptoms — a low pedal and poor braking — but the fix is different. Check the cylinder for fluid before blaming the springs. If you are bleeding the system after a cylinder replacement, follow our [brake fluid flush guide](https://brakehub.example.com/brake-fluid-flush-guide) to purge the old fluid properly.
**Should I replace the hardware on both sides at once?**
Yes. If one side needs new hardware, the other side is the same age and has seen the same heat and road conditions. Replacing only one side leaves you with uneven braking balance and a second job in a few months. For a complete brake refresh, pair the hardware kit with fresh shoes and consider a [best brake bleeder kit](https://brakehub.example.com/best-brake-bleeder-kit) to make the fluid service easier.
Final Verdict: Choose the Right Drum Brake Hardware Kit for Safety and Longevity
A drum brake hardware kit is the collection of springs, clips, levers, and adjusters that return your brake shoes to rest and maintain proper shoe-to-drum clearance. Its most critical attributes are material quality (zinc-plated vs. stainless steel), completeness of the included components, and OE (Original Equipment) fitment accuracy. These attributes determine whether your brakes operate quietly, engage evenly, and pass inspection without premature wear.
For most drivers, our top recommendation is the Centric 117.02002 Drum Brake Hardware Kit. It earns this spot because it uses zinc-plated steel that resists corrosion without the galling risk of bare metal, includes every spring, clip, and adjuster lever needed for a full axle (two wheels), and matches OE dimensions precisely. Centric’s kit also includes the self-adjuster cable and lever, which many budget kits omit — a common cause of parking brake failure and uneven shoe wear. If you drive in normal road conditions and want a reliable, complete kit at a fair price, this is the one to buy.
Use this simple framework to match your specific requirements:
If you need maximum corrosion resistance for a vehicle exposed to road salt or coastal humidity, choose the Duralast Stainless Steel Hardware Kit because stainless steel does not rust, even when the zinc coating on standard kits gets scratched during installation. If you need OE-perfect fitment for a late-model vehicle under warranty, choose the ACDelco Advantage Hardware Kit because it is manufactured to GM’s original tolerances and includes the correct return spring color-coding for your specific application. If you need to minimize cost for a budget rebuild on an older vehicle, choose the Dorman H3500 Hardware Kit because it covers the most common applications and is priced below premium brands while still meeting SAE standards for spring tension. If you need a heavy-duty upgrade for a truck or fleet vehicle that hauls regularly, choose the Raybestos Element3 Hardware Kit because its thicker cross-section springs resist heat fatigue and maintain consistent shoe pressure under repeated heavy braking.
Be honest about the limits of these recommendations. The Centric kit, while excellent, cannot fix a warped drum or scored friction surface — hardware only restores the mechanism, not the friction couple. None of these kits include brake shoes, drums, or wheel cylinders, so you will need to purchase those separately if they are worn beyond spec. Also, if your vehicle has a star-wheel adjuster that is seized, the kit’s new adjuster screw will not compensate for a stretched parking brake cable; replace that cable separately. For professionally verified fitment, always confirm your vehicle’s exact rear axle code before ordering.
Start by inspecting your existing hardware: if you see rust pitting, stretched springs, or broken clips, do not reuse any of it. Measure your drum inside diameter and shoe lining thickness first, then order the kit that matches your needs. When the new hardware is installed, adjust the star wheel until you feel a light drag, then back it off a few clicks. Your brakes will thank you with quiet, even stops for the next 50,000 miles.
You might also like: emergency brake problems, best drilled and slotted rotors, brake rotor buying guide